
Room Makeovers
-

English Cottage Inspired Office / Family Room
Testing, testing. Is this thing on? This is my first blog post on Holland Avenue Home…
-
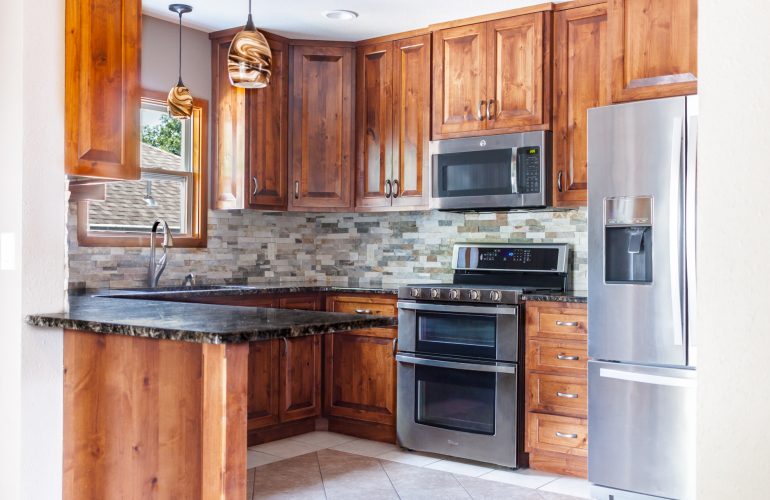
Annie Sloan Chalk Paint Kitchen Makeover
I will share many posts over the next few weeks with a detailed process for how…
-
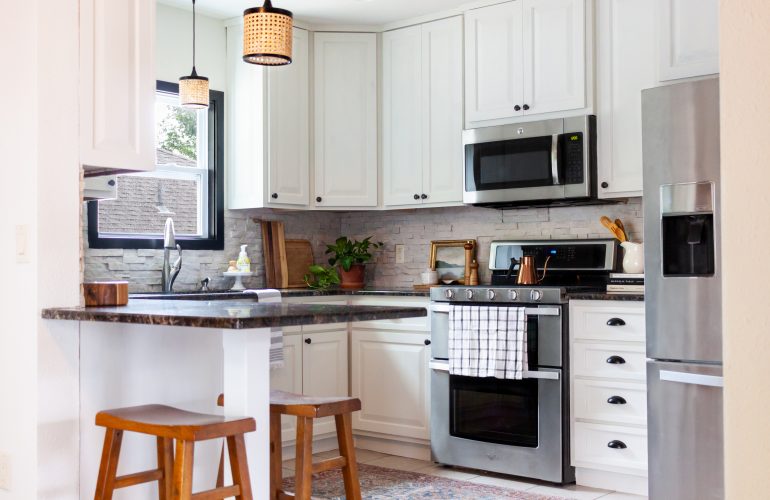
Low-Budget Kitchen Makeover with Annie Sloan Chalk Paint
Hi, everyone! I have an exciting new chalk paint kitchen transformation to share with you today.
-

Patio Makeover with Better Homes & Gardens
Outdoor decorating usually isn’t my strong suit, but partnering with Better Homes & Gardens to makeover…
-

Low Budget Pantry Makeover with Leftover Paint and $20 of Organization Supplies
Hi, everyone! Today, I have a quick and easy, low-budget pantry makeover to share with you.…
-
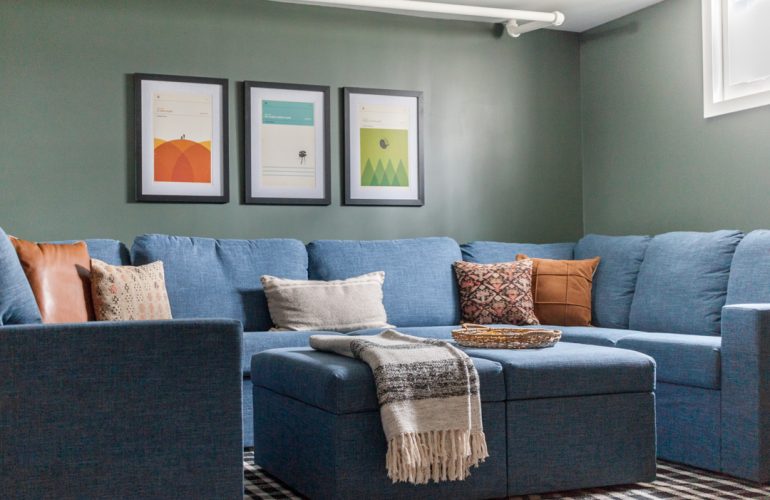
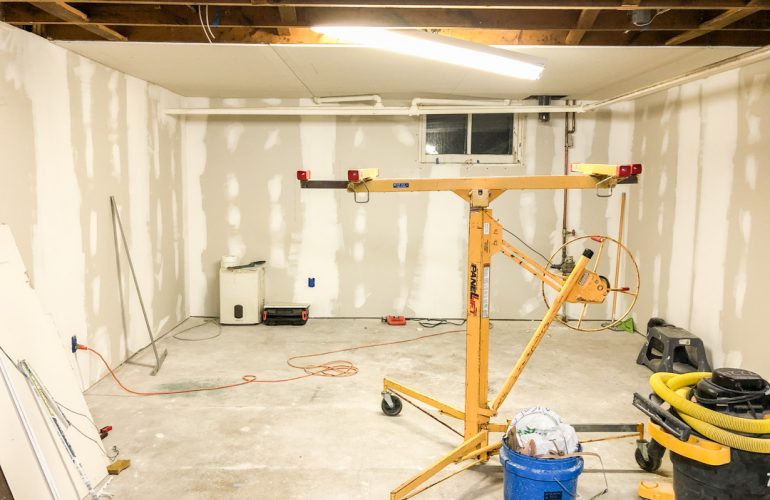
Basement Family Game Room Reveal: One Room Challenge Week Six
Five weeks ago, we knocked out a wall and began the intimidating process of finishing our…
-

Flooring, Trim, and Furniture: One Room Challenge Week Five
We are almost finished. I can’t believe I’m able to say that, but in just one…
-
The Power of Paint: One Room Challenge Week Four
If you’re finding me through the One Room Challenge, welcome to my home on the internet!…
-
Catch-up and Ketchup: One Room Challenge Week Three
If you’re finding me through the One Room Challenge, welcome to my home on the internet!…