
kitchen
-
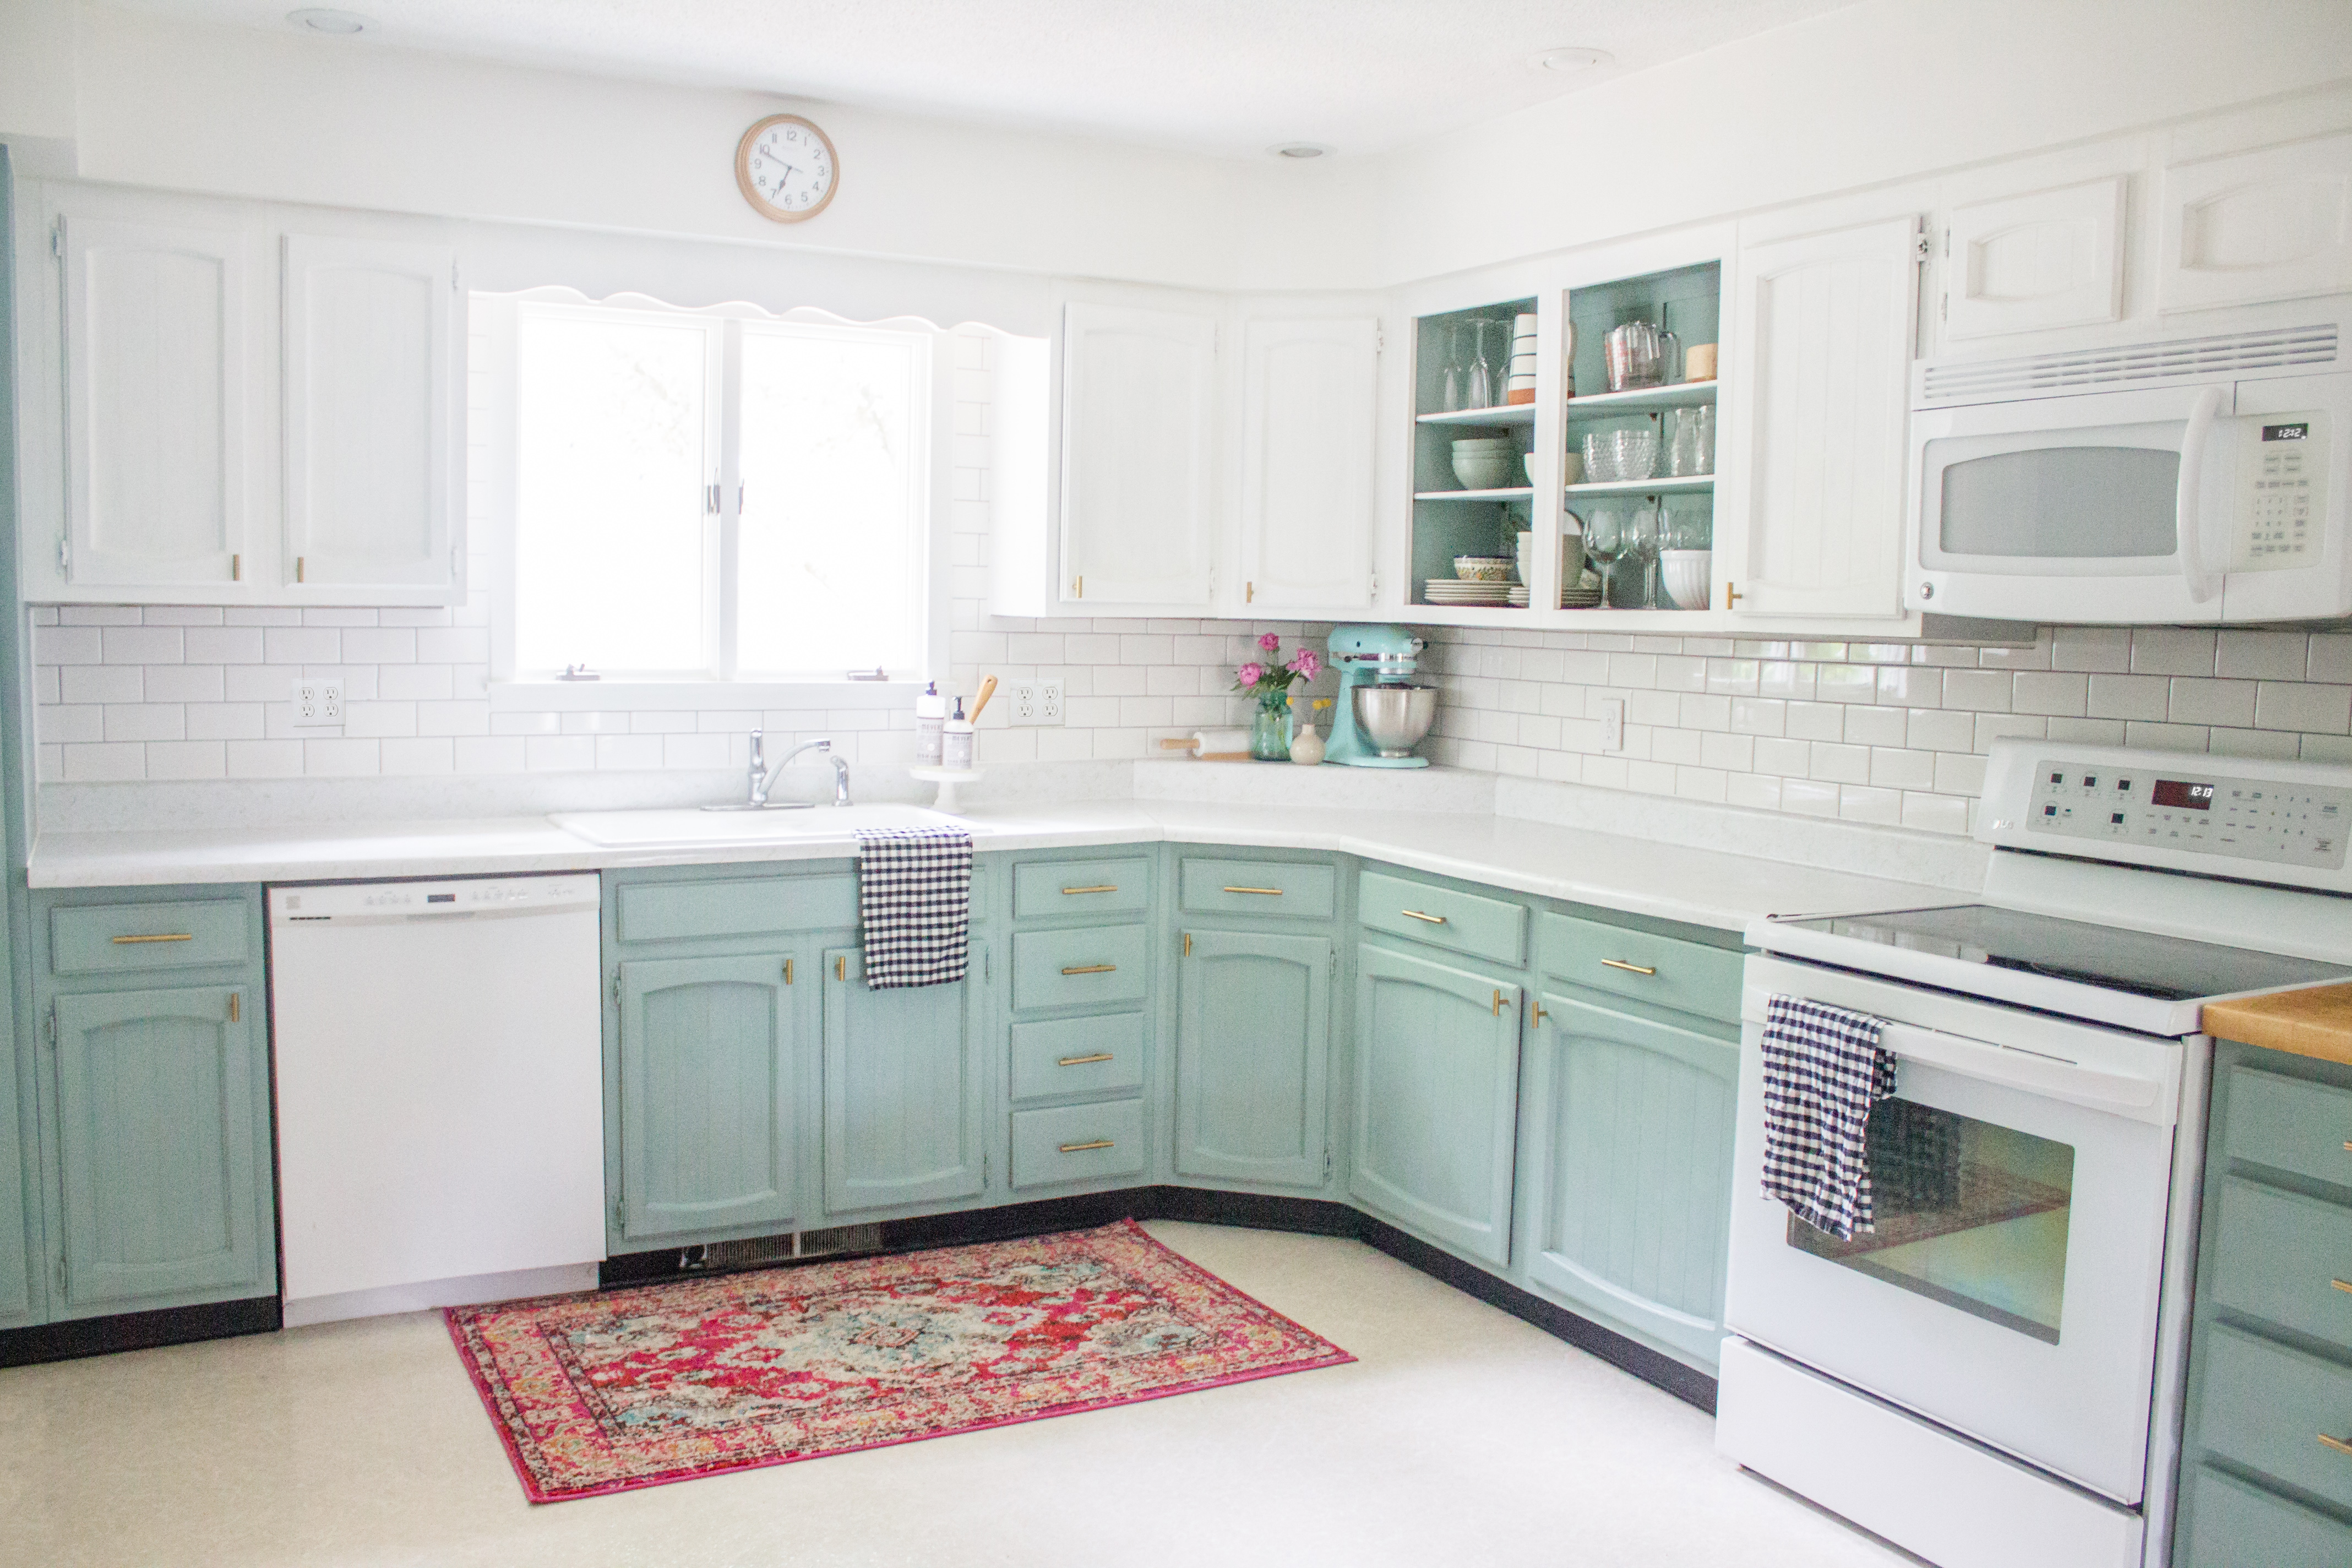
Annie Sloan Chalk Paint Kitchen Makeover
I will share many posts over the next few weeks with a detailed process for how…
-
Low-Budget Kitchen Makeover with Annie Sloan Chalk Paint
Hi, everyone! I have an exciting new chalk paint kitchen transformation to share with you today.
-
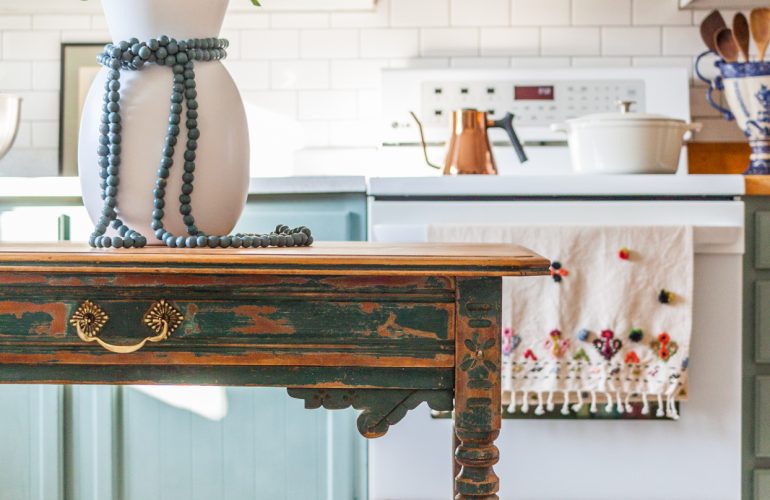
How-to Repurpose an Antique Table as a Kitchen Island: Thrift Shop Challenge
Hi, everyone! I’m writing today to share about my latest project as part of a Thrift…
-
Chalk Painted Kitchen Cabinets Two Years Later
My honest opinion of Annie Sloan Chalk Painted cabinets two years later.
-

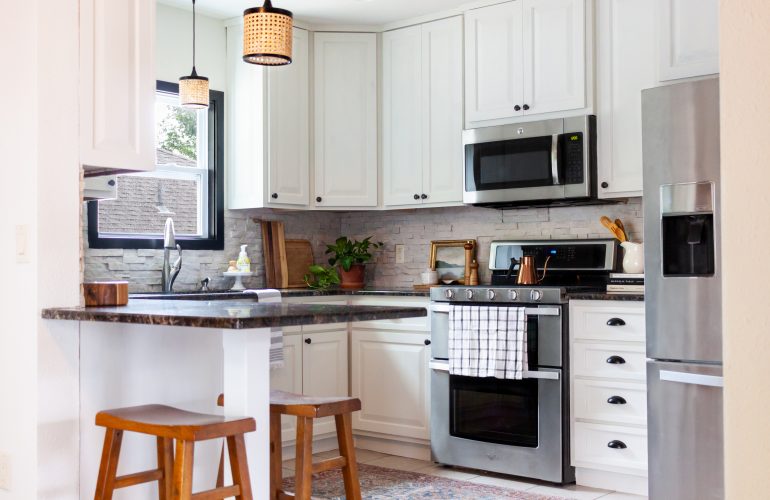
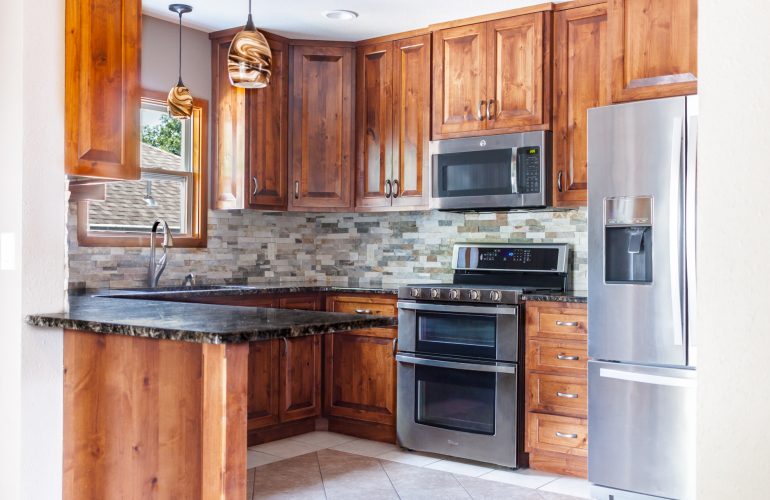
Kitchen Update: Stephanie
My friend Stephanie’s kitchen was just like mine. Large, dark, and perfectly fine. The dark 80’s…
-
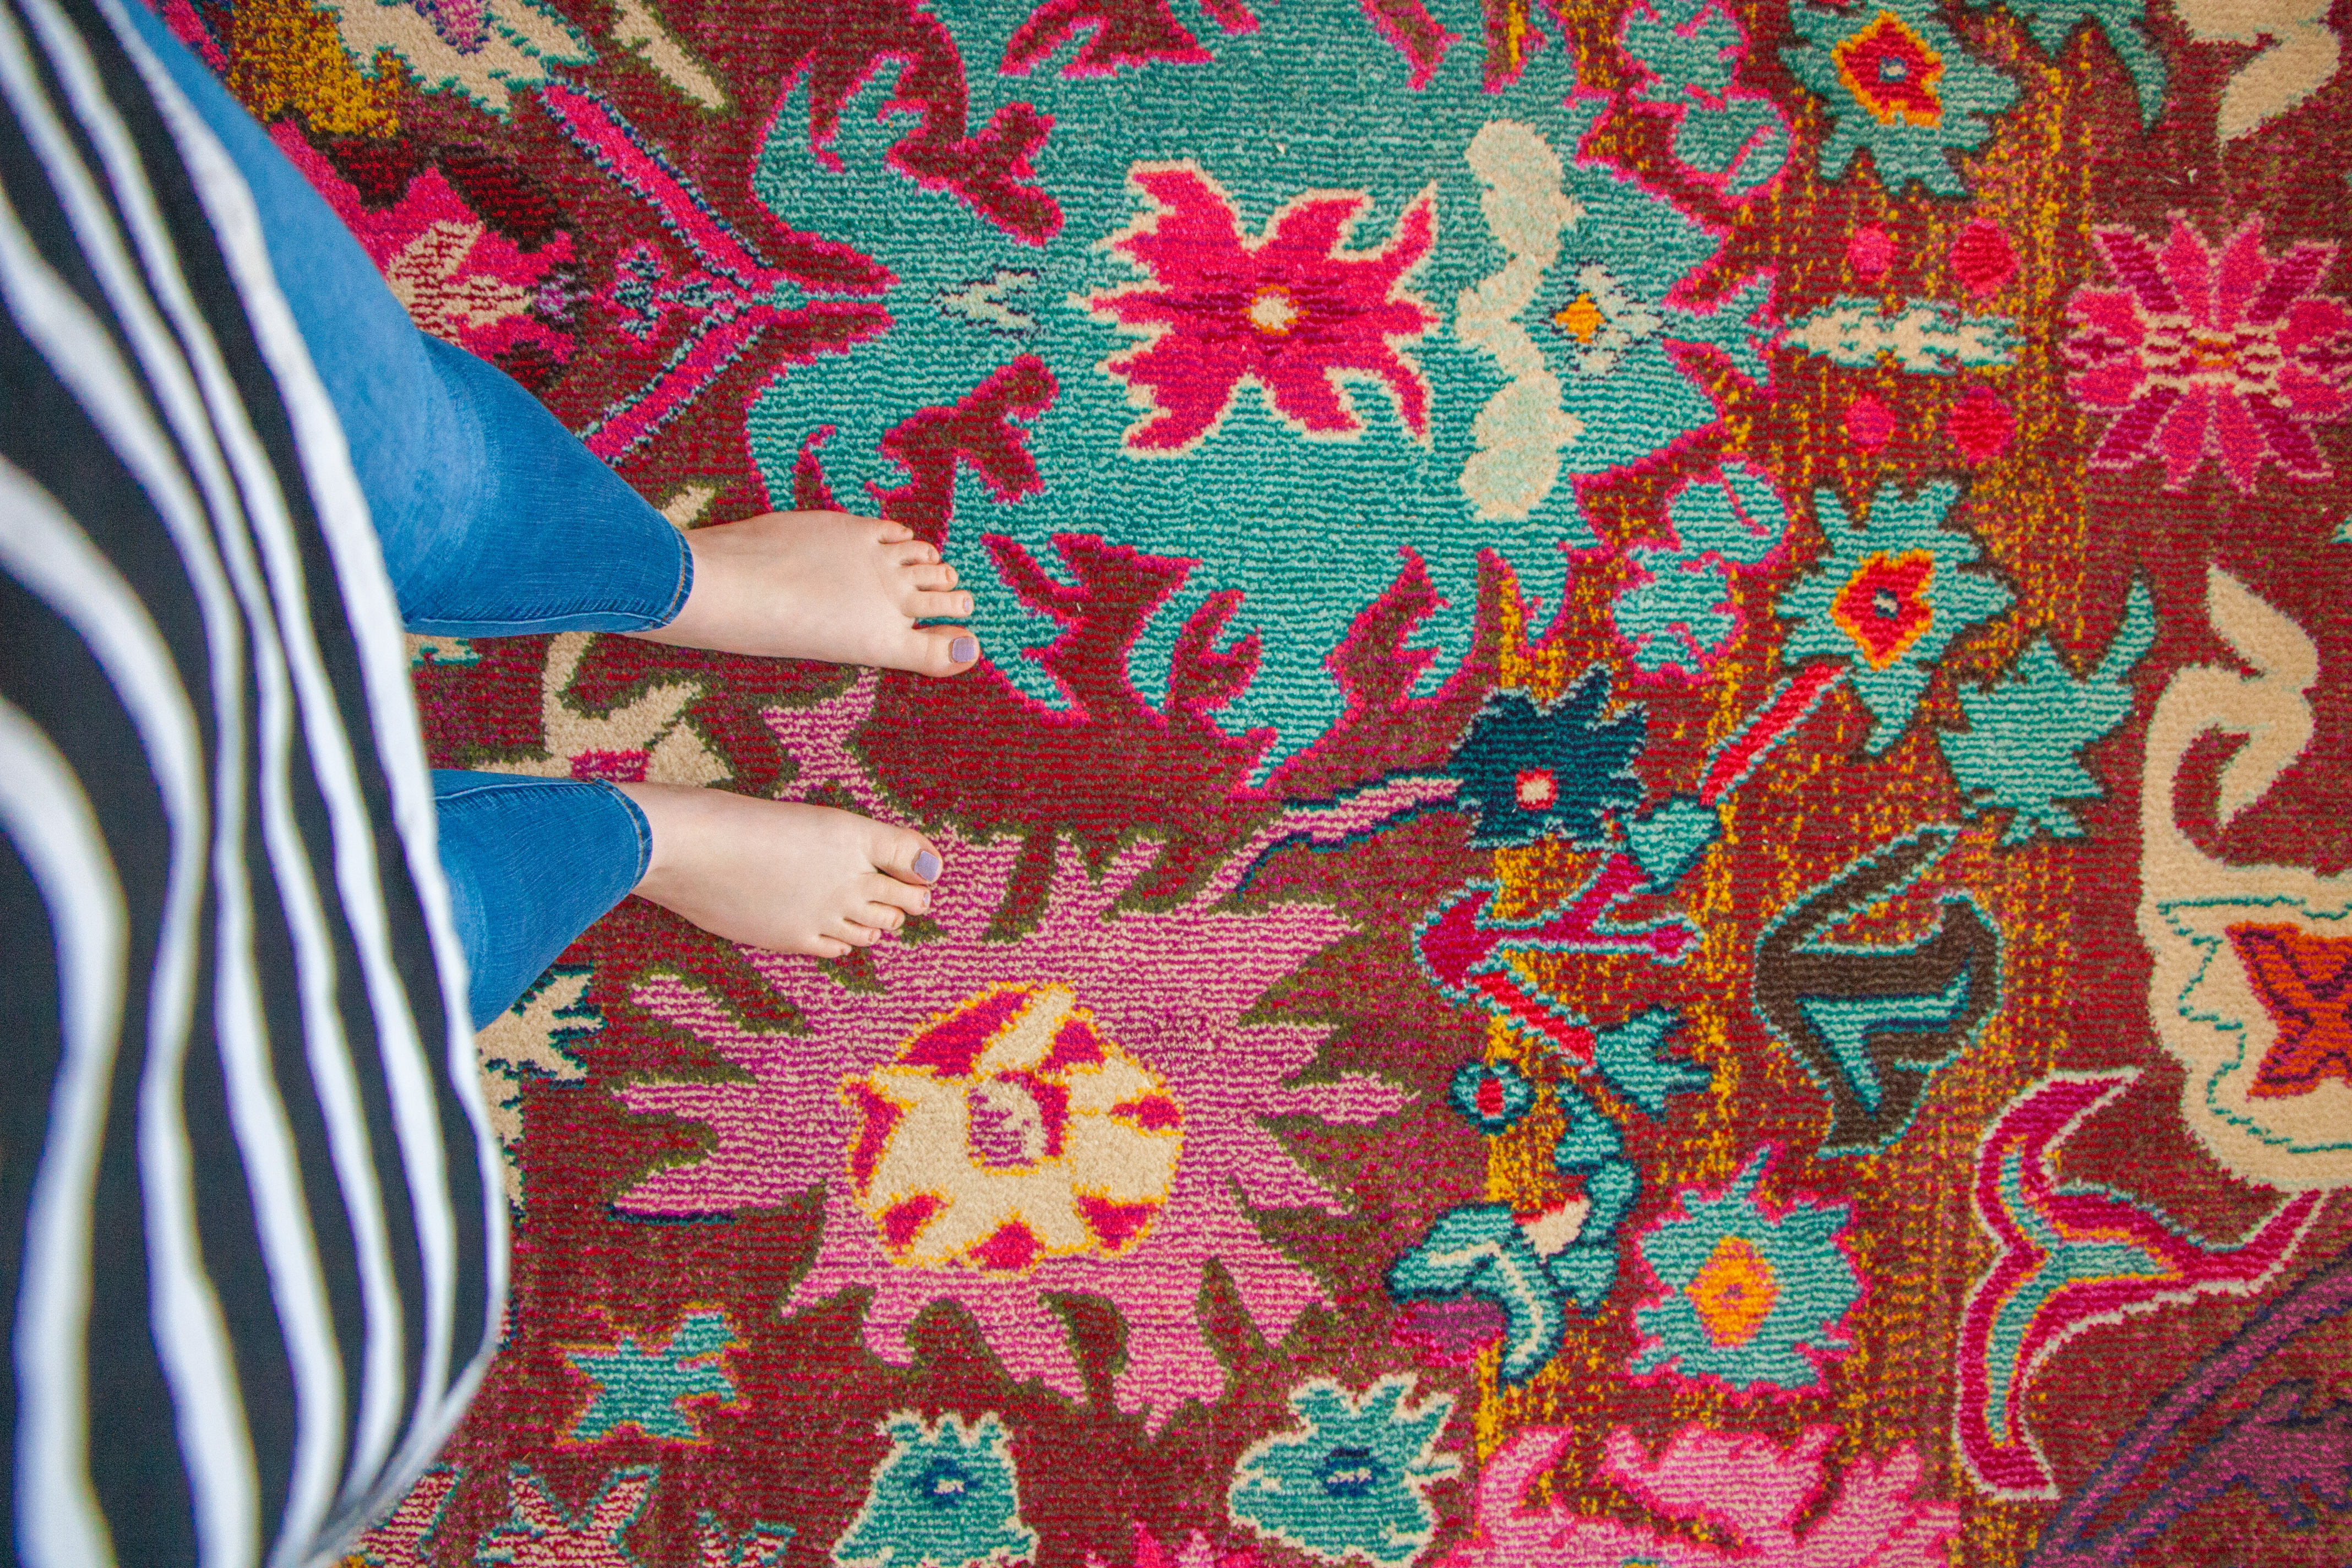
Our Controversial Kitchen Rug
T*This post contains affiliate links* When I finally pressed “publish” on the post about our DIY…
-

$200 Kitchen Update: Sources and Process
*This post contains affiliate links* A few weeks ago, I posted the full reveal of our…
-
Before & After: A Bright, Affordable DIY Kitchen Update
My $250 kitchen update that started it all…