
diy
-
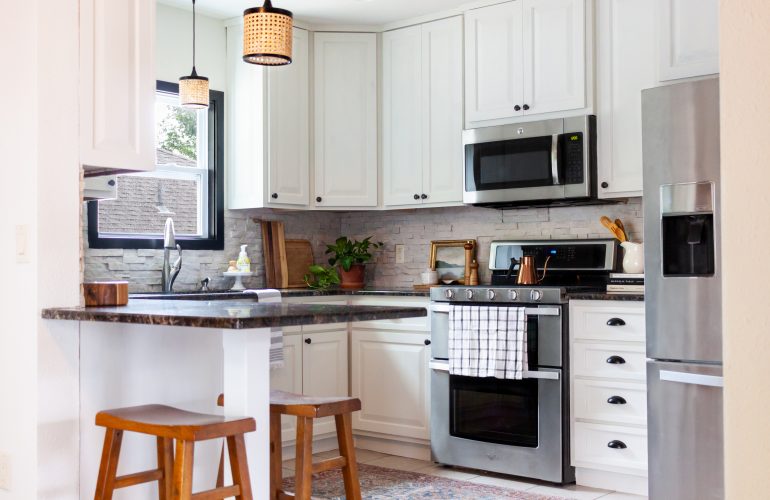
Annie Sloan Chalk Paint Kitchen Makeover
I will share many posts over the next few weeks with a detailed process for how…
-

Low Budget Pantry Makeover with Leftover Paint and $20 of Organization Supplies
Hi, everyone! Today, I have a quick and easy, low-budget pantry makeover to share with you.…
-
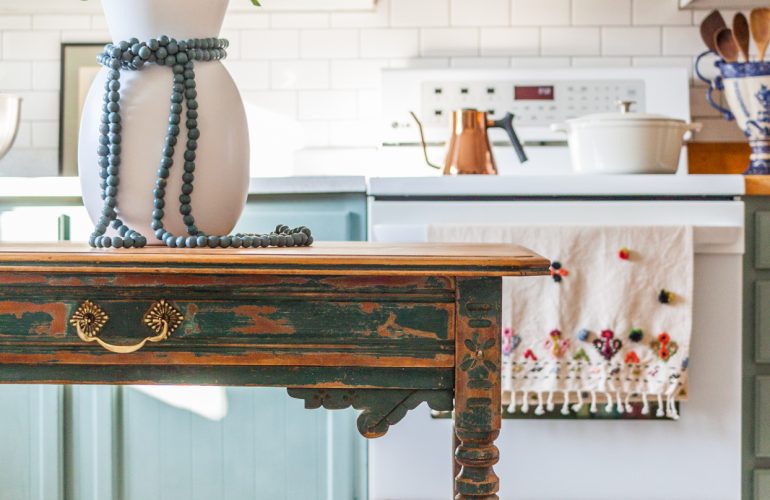
How-to Repurpose an Antique Table as a Kitchen Island: Thrift Shop Challenge
Hi, everyone! I’m writing today to share about my latest project as part of a Thrift…
-
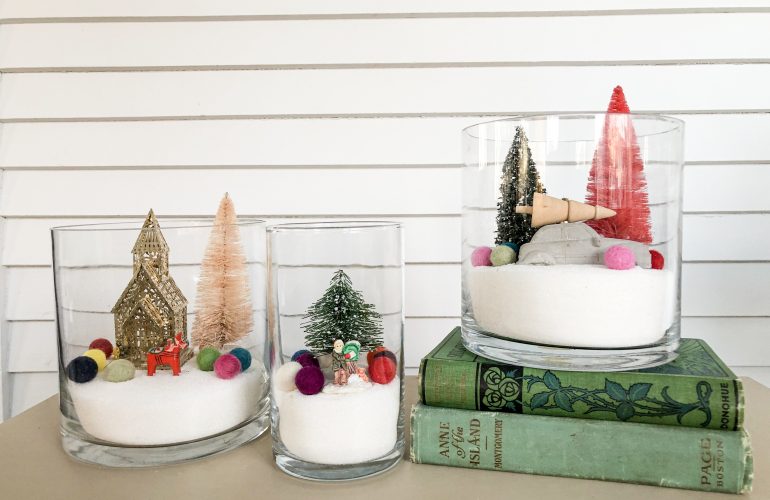
DIY Christmas Terrariums
Christmas decorating is in full swing over at our house, and a trip to the thrift…
-
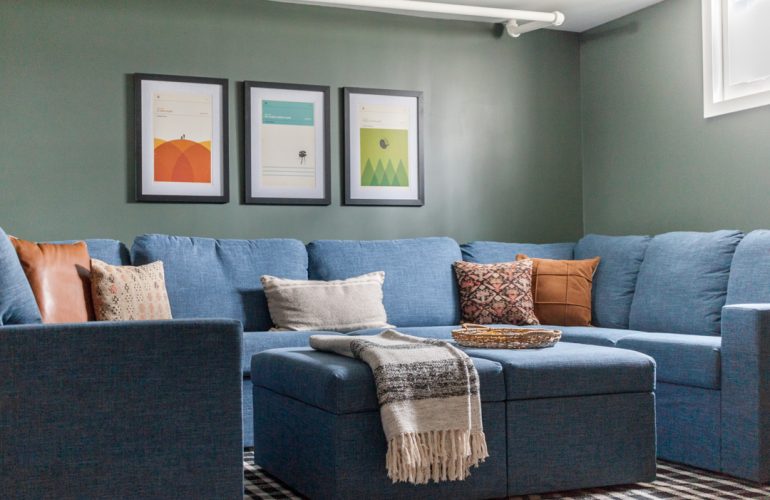
Basement Family Game Room Reveal: One Room Challenge Week Six
Five weeks ago, we knocked out a wall and began the intimidating process of finishing our…
-

Basement Demo and Waterproofing with Drylok: One Room Challenge Week 2
If you’re finding me through the One Room Challenge, welcome to my home on the internet!…
-

Before & After High Style, Low Budget Sunroom: One Room Challenge Week 6
Six weeks of painting, building, creating, sewing, cleaning, styling, shooting, writing, editing, posting, and cheerleading have…
-
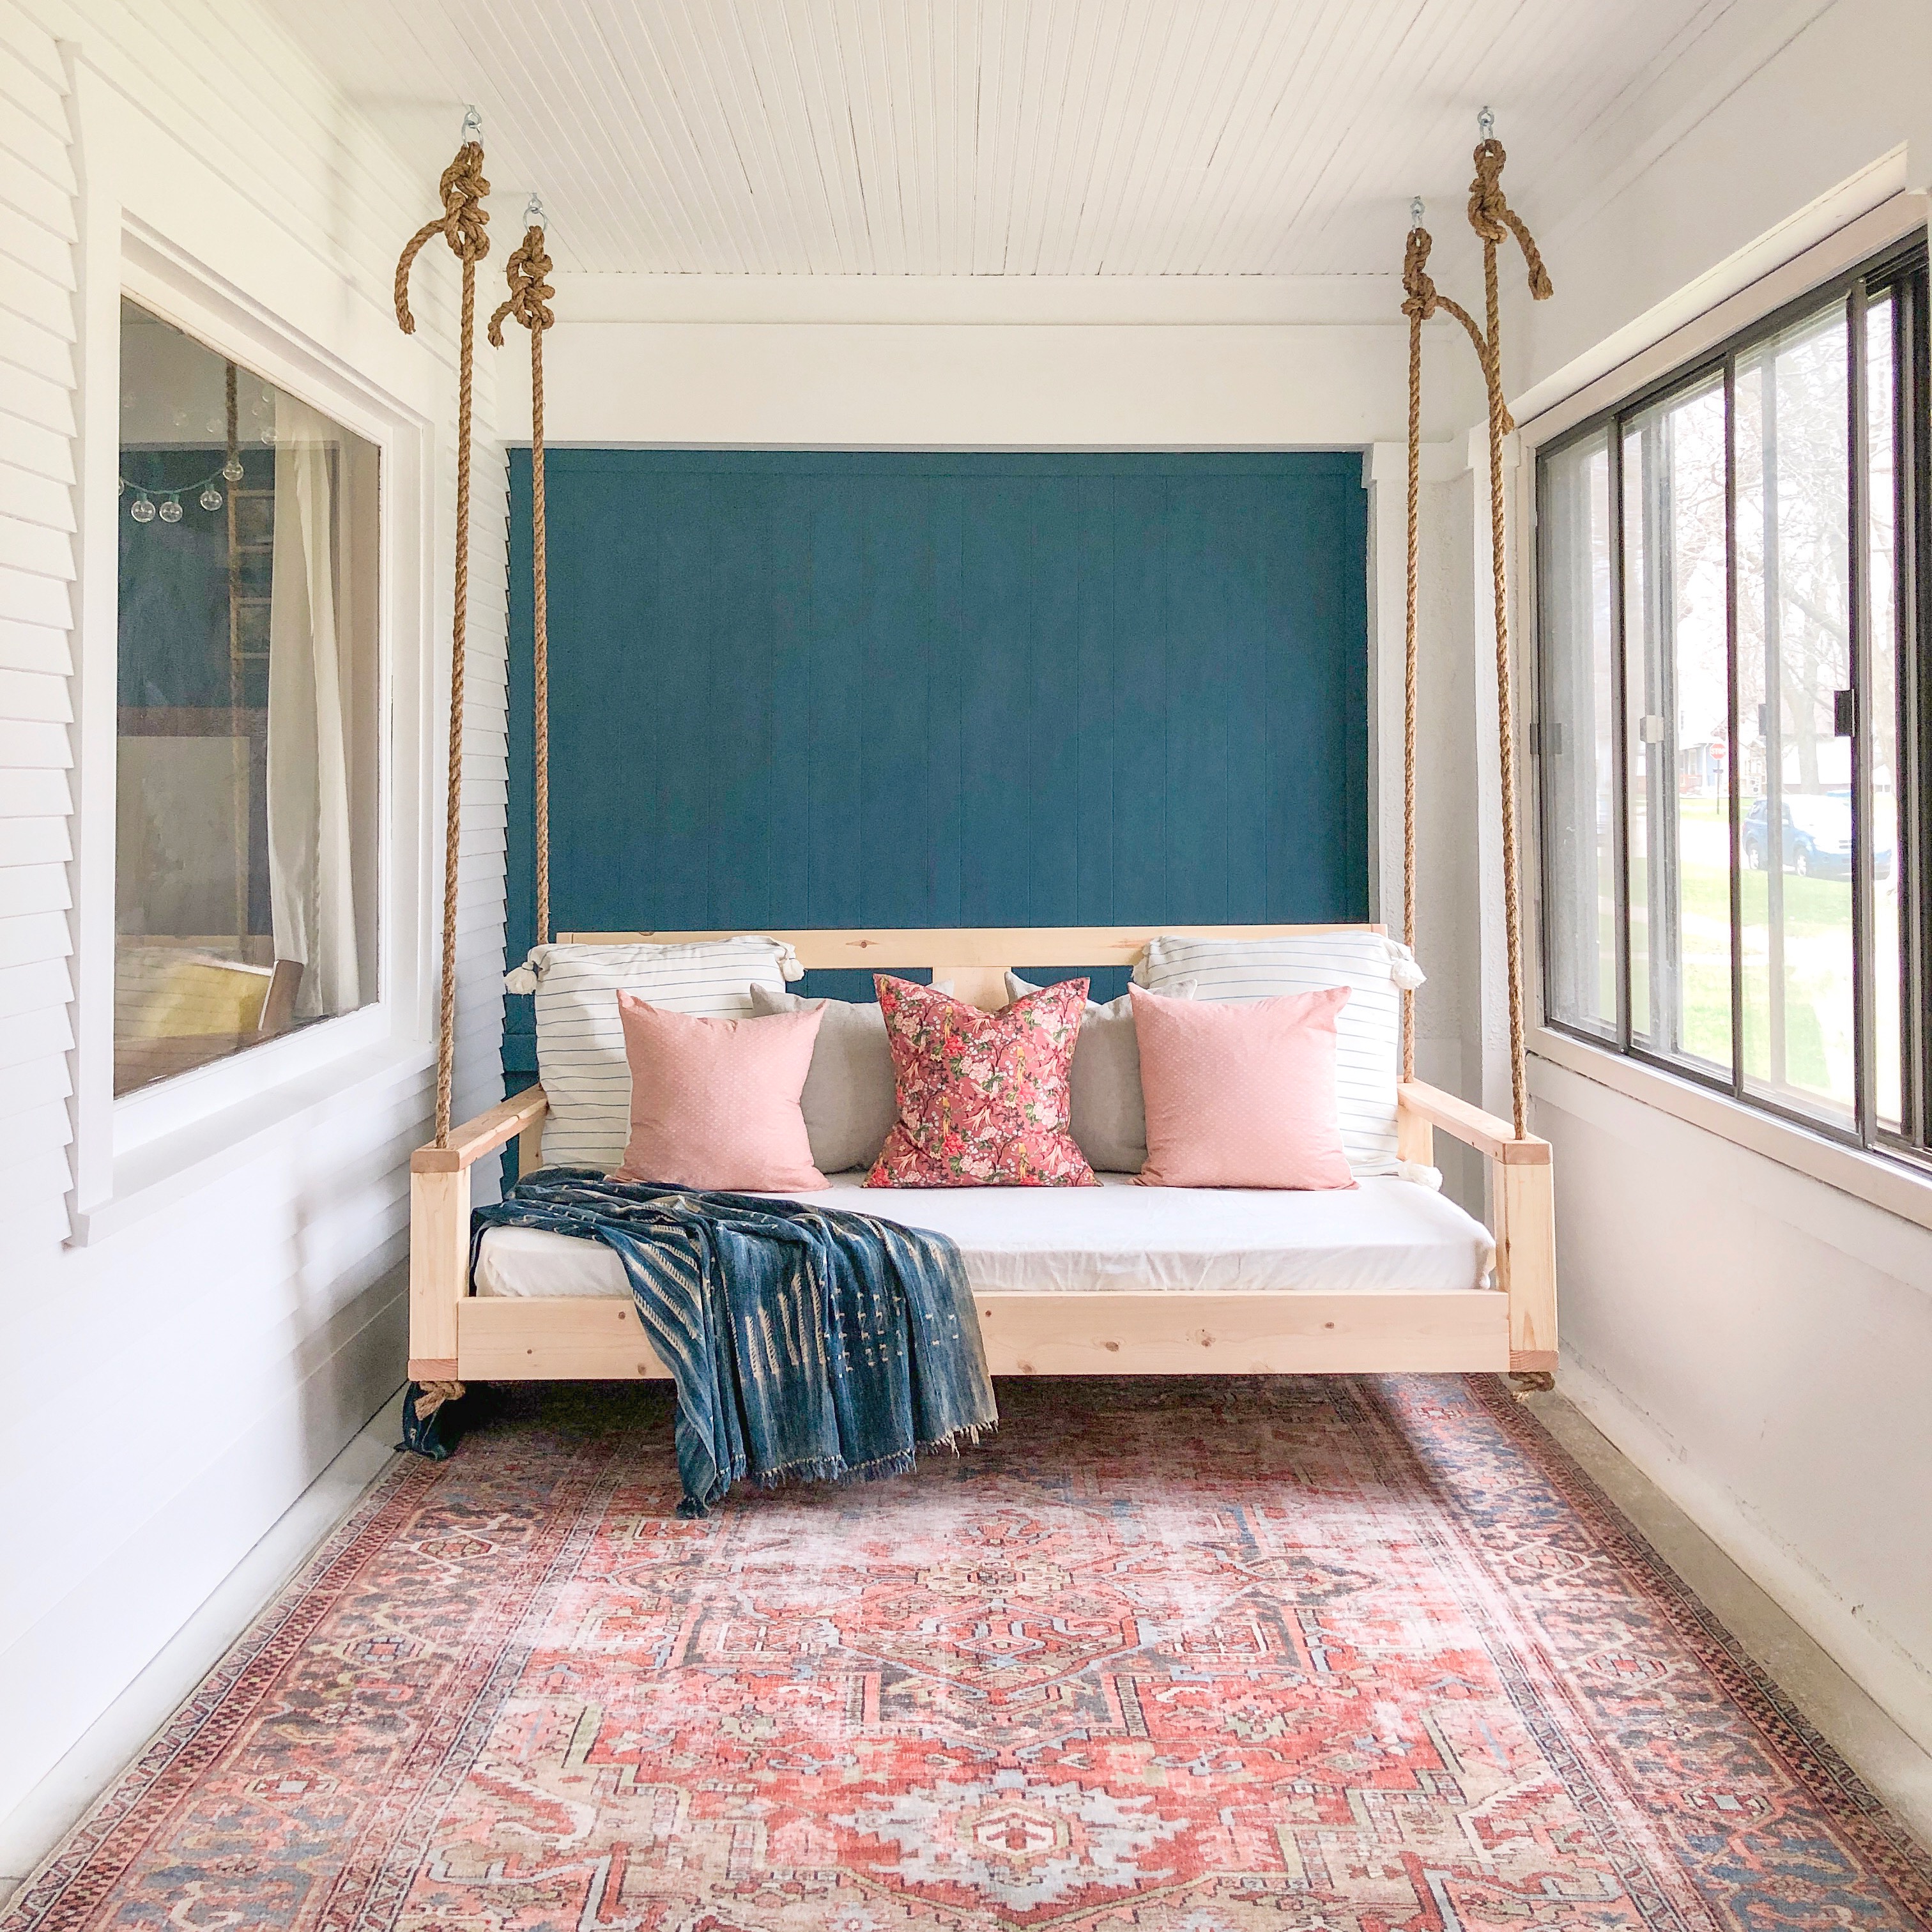
DIY $150 Bed Swing and Painted Concrete Floors: One Room Challenge Week 4
This week, I’ll be sharing about my two biggest projects- the DIY bed swing and the…
-

DIY Tree Stump Coffee Tables: One Room Challenge Week 2
I’m showing you my step-by-step process to make a high-end, low-budget DIY tree stump coffee table.
-

Minimal and Whimsical Christmas Decor DIY: Family Photo Santa Hats
A few days ago, I was thinking about how I could incorporate Christmas decor into our…