
Uncategorized
-

Surprise! Holland Avenue Home is…
Sharing a personal life update and what’s next for Holland Avenue Home! (Or more specifically… WHERE’s…
-
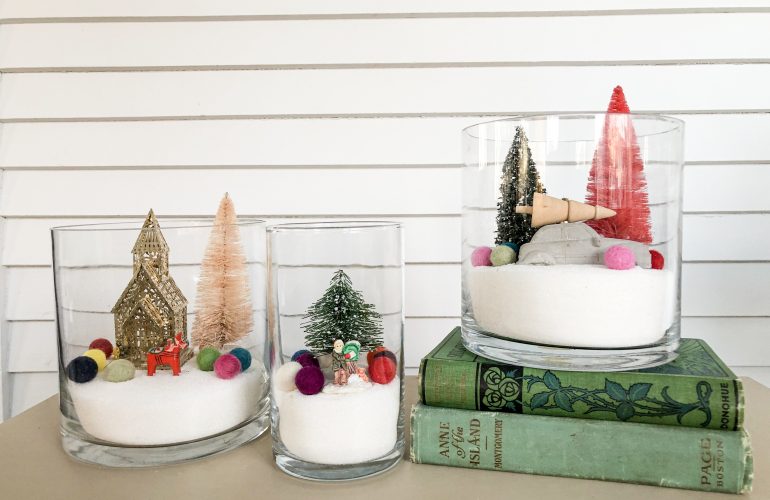
DIY Christmas Terrariums
Christmas decorating is in full swing over at our house, and a trip to the thrift…
-

A Closer Look at our Home Reserve Sectional
When we decided to finish our basement to create an open concept family game room, I…
-

Flooring, Trim, and Furniture: One Room Challenge Week Five
We are almost finished. I can’t believe I’m able to say that, but in just one…
-
Catch-up and Ketchup: One Room Challenge Week Three
If you’re finding me through the One Room Challenge, welcome to my home on the internet!…
-

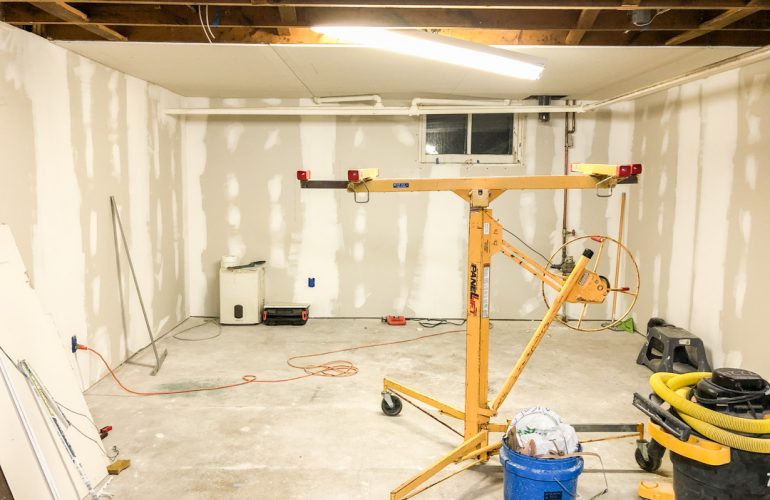
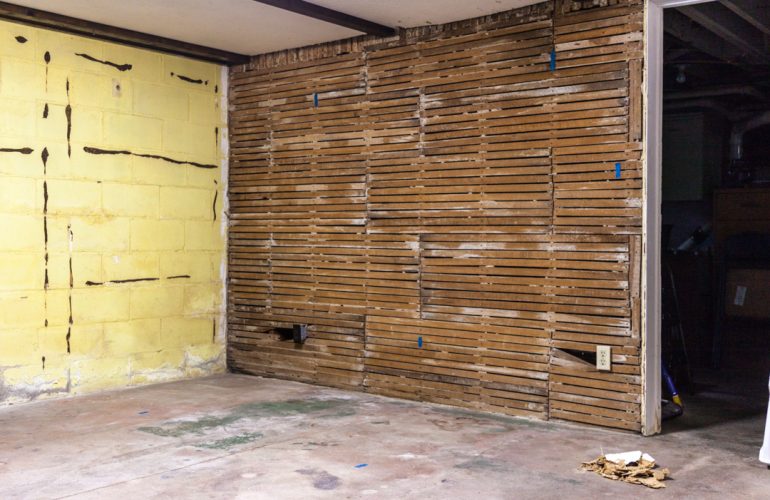
Basement Demo and Waterproofing with Drylok: One Room Challenge Week 2
If you’re finding me through the One Room Challenge, welcome to my home on the internet!…
-
Basement on a Budget: One Room Challenge Week One
For this round of the One Room Challenge, I will be finishing our unfinished basement to…
-

Ikea Dresser Makeover: One Room Challenge Week 5
This week, I’m adding character and vintage charm to the classic Ikea Tarva dresser.
-

Diy Painted Gingham Pumpkins
Is there any thing cuter than a gingham painted pumpkin? I’ll show you how to paint…
-

Want to see how my Bright, Affordable DIY Kitchen Update with chalk paint is holding up two years…