
*This post contains affiliate links*
A few weeks ago, I posted the full reveal of our DIY kitchen update. (If you missed it, check it out here!) With $200 and about a week of hard work, our kitchen was transformed from this…
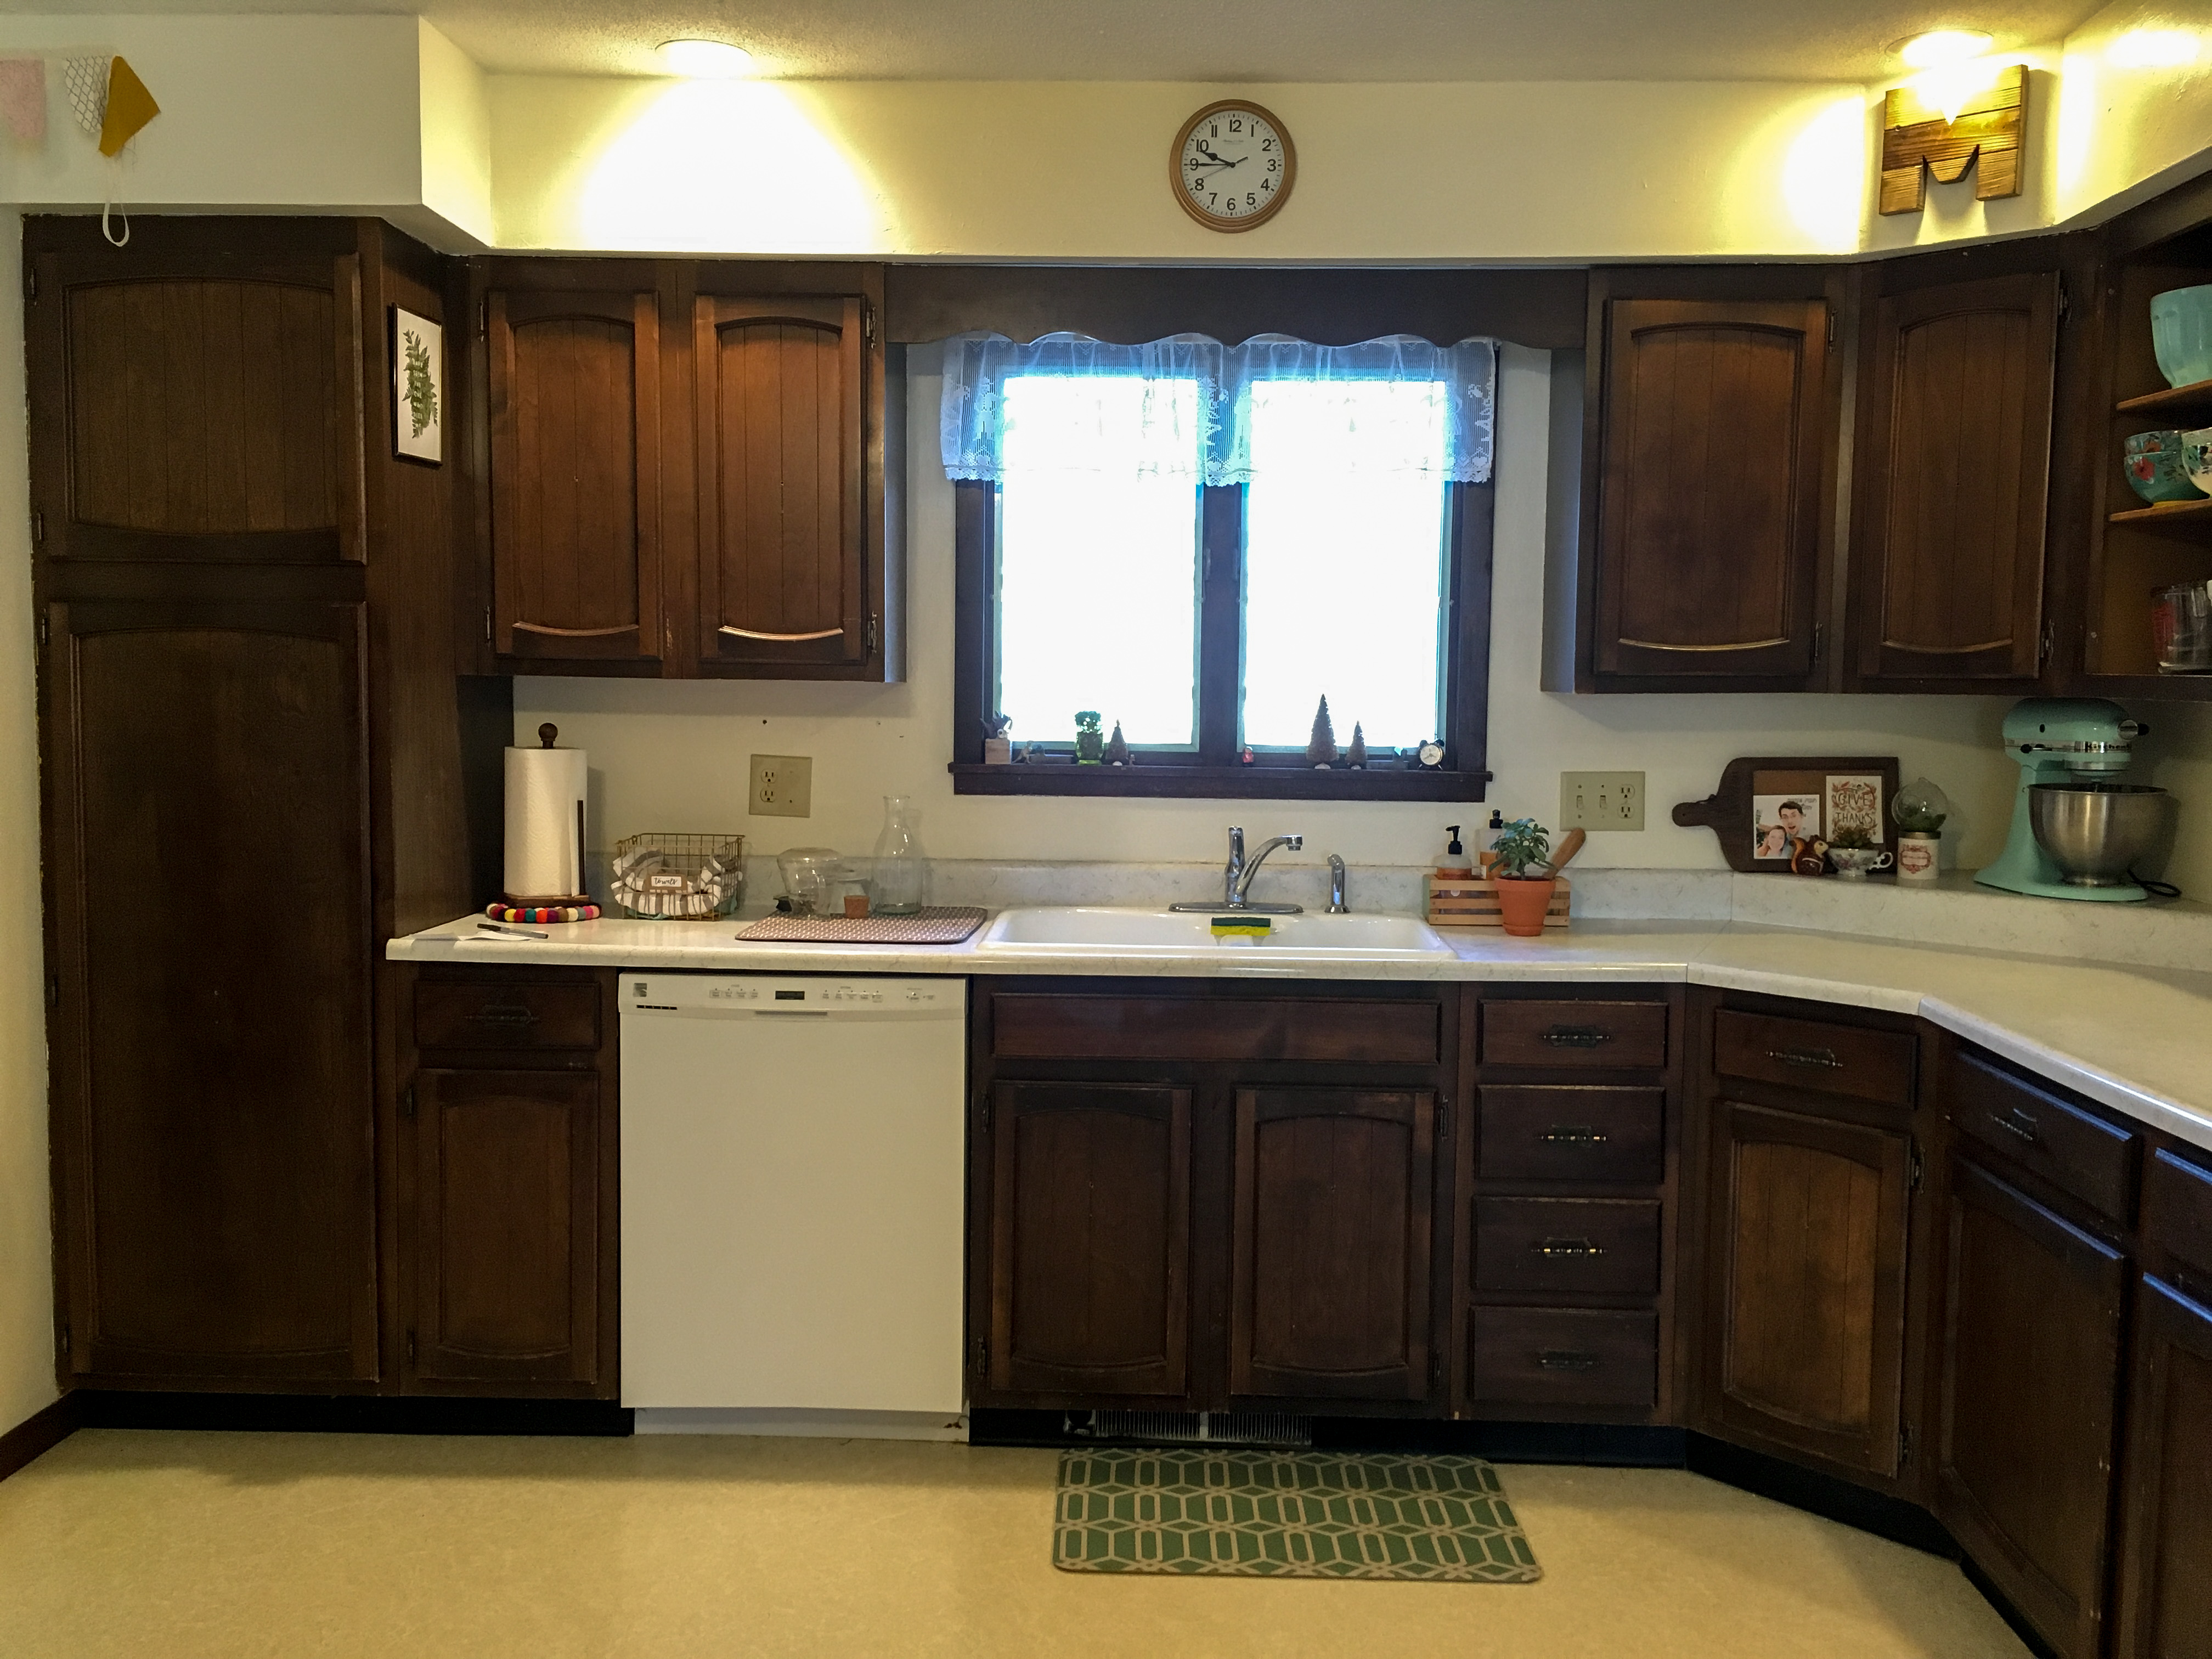

into this!
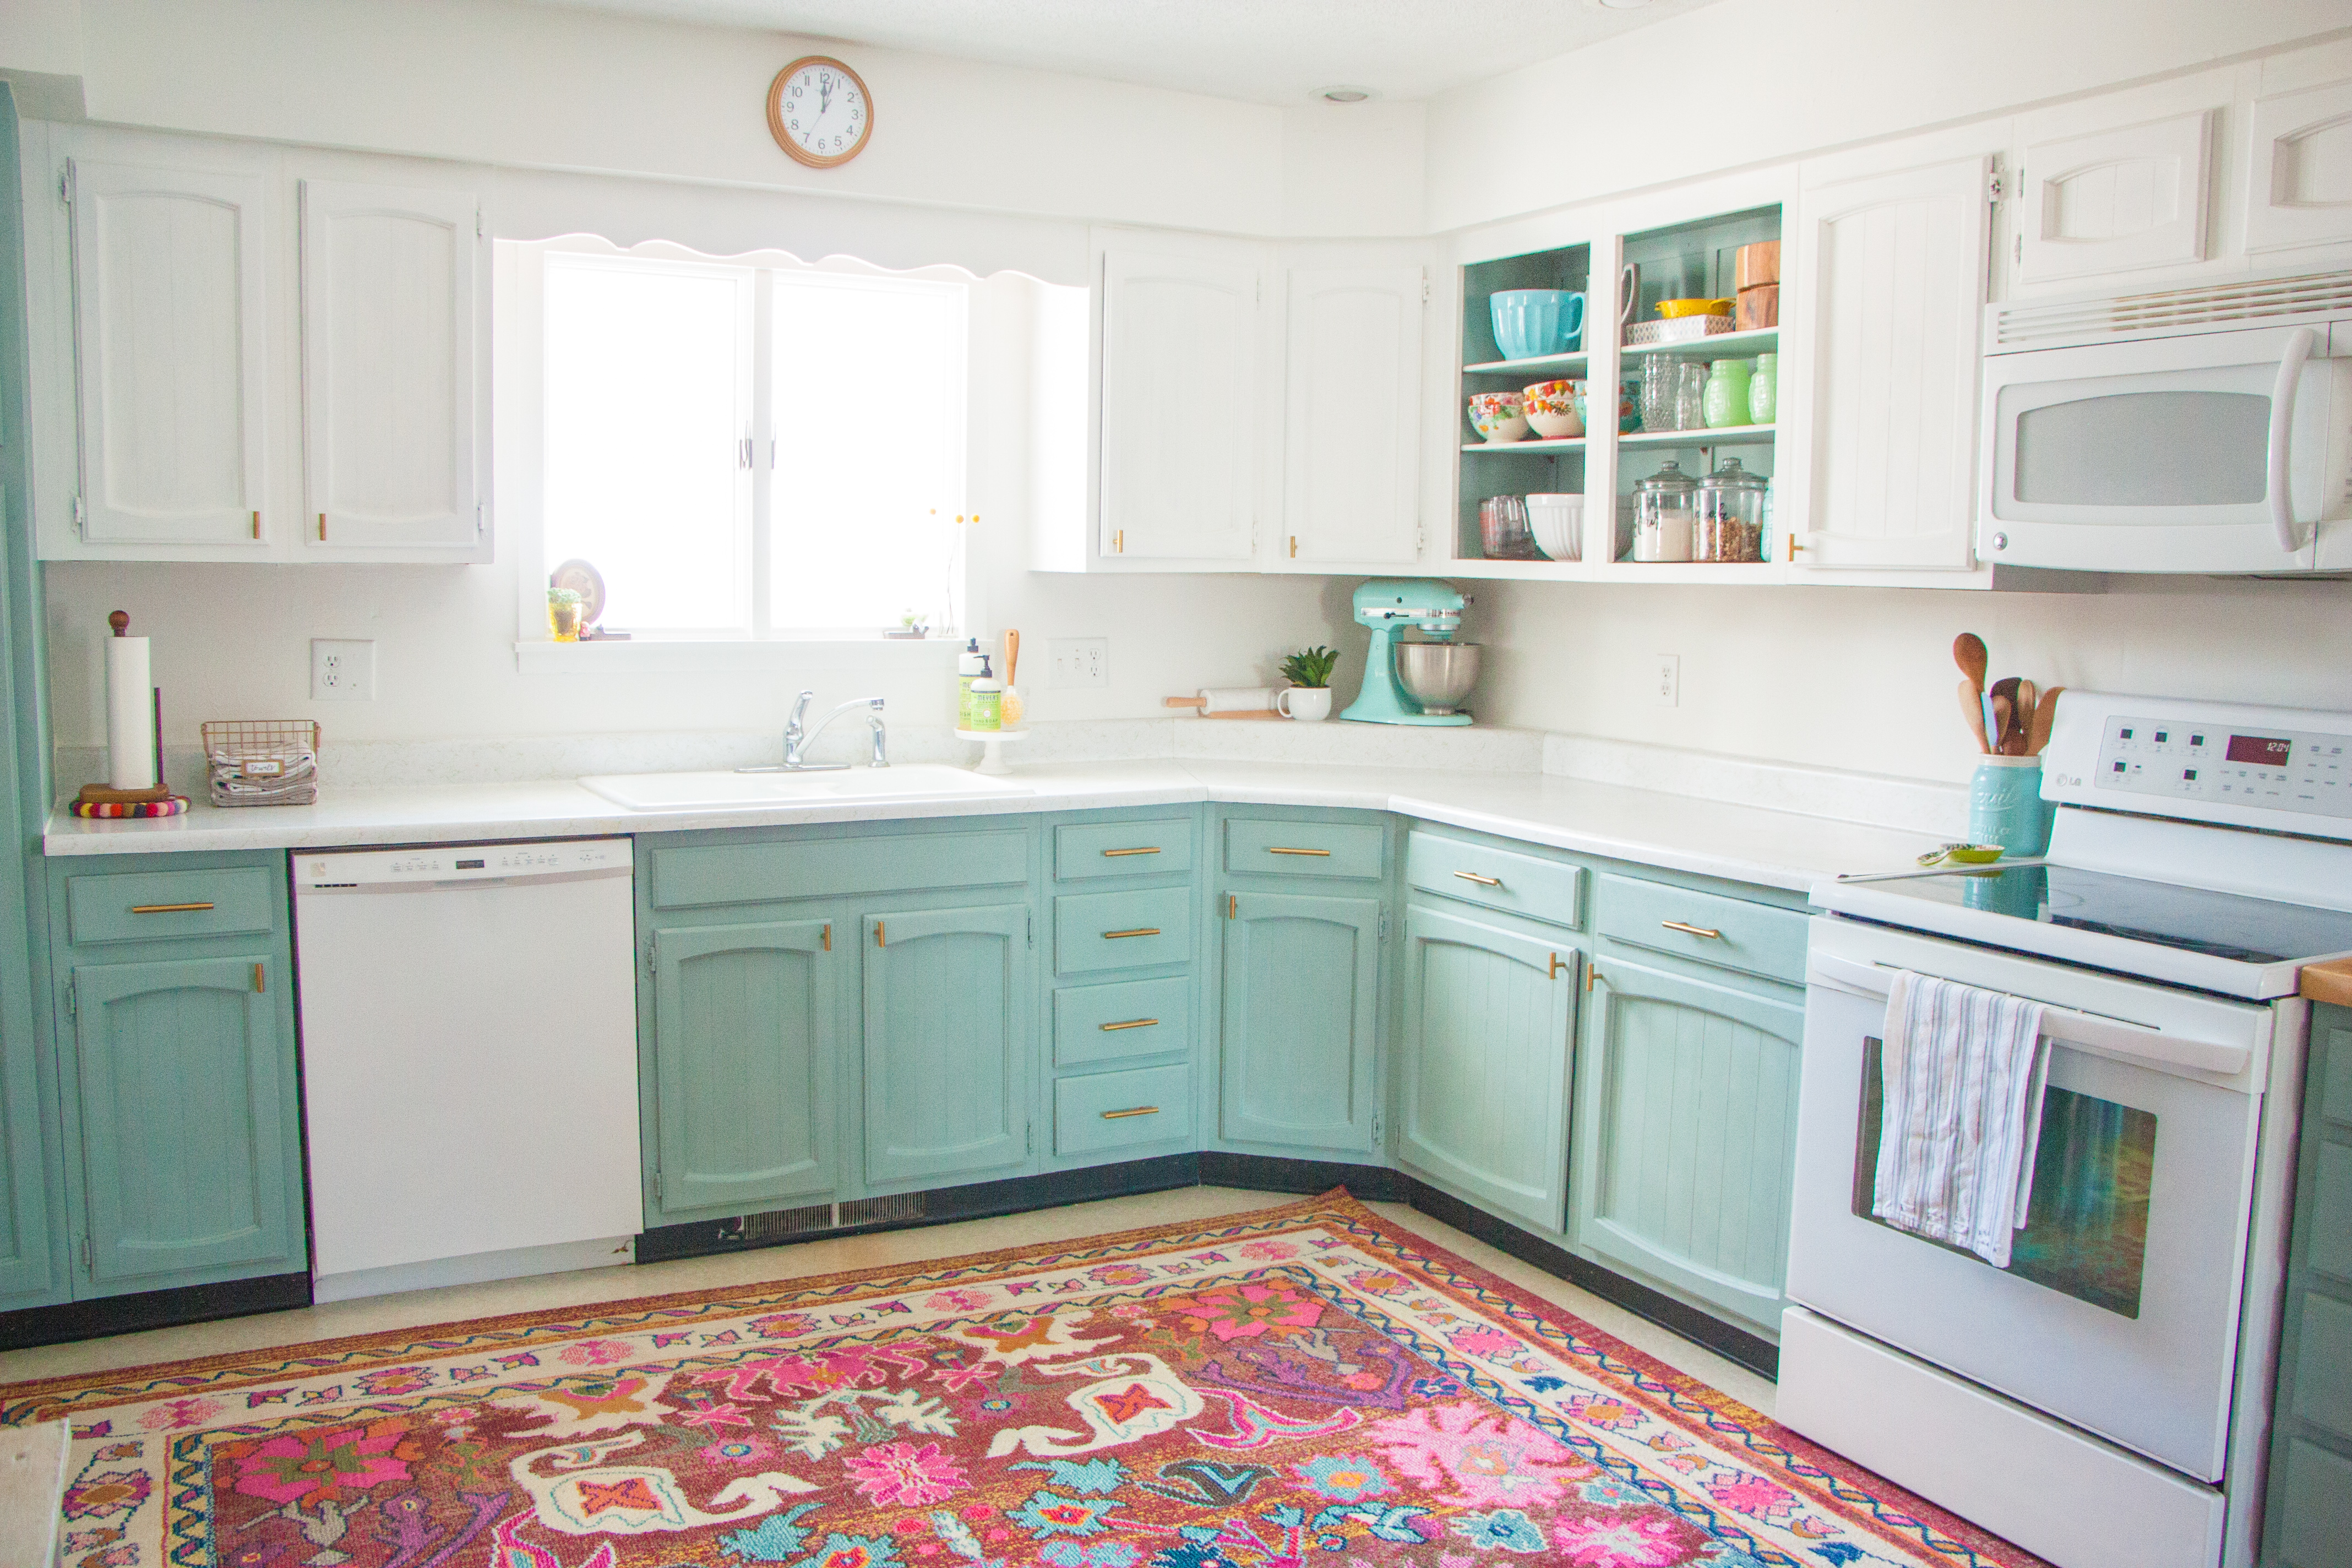

There were three major changes made in the kitchen, but everything else came from small (and free!) adjustments.
First, paint. I painted all of our cupboards with Annie Sloan Chalk Paint from The Purple Painted Lady. I also painted the backsplash, soffit, window frame, wall trim, and all of the walls with bright white paint that we already had. The second major change was the colorful 9×12 area rug from Wayfair. (We bought it when it was on a really big sale. I check pretty regularly because people keep asking me about it, but the rug has been a lot more expensive recently.) The third change was the new gold hardware from Amazon. I searched for this specific style of hardware for months until finding a solution that was in my price range. (More on that later)
A few people have asked me, “Why chalk paint?”. I had an answer before I actually did the painting, but now that I have seen the results, I have an excited “way more information that you could ever want to know” response! I knew that I wanted to update our kitchen, but a full remodel was never an option (and I didn’t want it to be!). I started looking for creative, affordable solutions to DIY my way to the kitchen in my dreams. I think that painting the cupboards is the cheapest and most dramatic way to completely change the look and feel of your kitchen. The best part is, with a little time and a lot of hard work, you can do it all yourself!
I decided to use Annie Sloan Chalk Paint after my mom used it to paint a giant china cabinet. I thought this would be a similar process to painting my cupboards. The traditional method of painting kitchen cabinets requires taking off all of the doors and hardware, sanding the wood, priming, and painting before replacing the doors and hardware. When you use chalk paint, the doors can stay on the hinges, you don’t have to sand or prime, and the process goes much faster! Chalk Paint also requires a sealer wax to protect the paint. I used clear wax for a modern look, but you can use black or white wax for a rustic or distressed vibe. You apply the wax in 2-3 thin coats with a wax brush, and it dries clear and hard. This entire process took about a week of working every day. My husband helped me whenever he could, and we had a few late nights painting just for fun!
I picked out Annie Sloan Pure White for the uppers and Annie Sloan Duck Egg Blue for the lowers. The Purple Painted Lady is an excellent online stockist if you don’t live near someone that sells Annie Sloan. They delivered my paint and brushes quickly and safely, and included a ton of informational resources about using the paint.
The chalk paint is more expensive per ounce, but it is more economical because of the coverage it offers. I bought one quart of AS Duck Egg Blue for the lowers ($34.95), and one quart of AS Pure White for the uppers ($34.95). It may seem expensive to pay $35 for a tiny can of paint, but one quart of blue was enough to do two coats of paint on all of my lower cabinets and my hoosier cabinet, with a good amount of paint left over for another project! The quart of white paint was enough for three coats on the uppers (with not much left to spare). I couldn’t believe how far this paint went, and loved how smooth it was to apply. My mom recommended using Purdy brushes to apply the Chalk Paint. I found a pack of three brushes at Lowes for $20. I used the 1 inch and 1.5 inch brushes the most.
I used AS Clear Wax and a Wax Brush from The Purple Painted Lady. The “Ultimate Waxing Brush” is definitely an investment at $25, but it made a huge difference in the waxing process. The wax has an interesting texture that reminded me of Crisco. The large, round wax brush with thick bristles made the application easier. I won’t go into great detail about the waxing process, but you can find great tutorials from The Purple Painted Lady! I keep linking to her site because the information I found there made this project painless and stress-free!
Here is my cost breakdown for the paint and painting supplies:
|
|||||||
|
|||||||
|
|||||||
|
|||||||
|
|
|||||||
|
Subtotal: $119.85
Discount: $0.00 Shipping: $15.00 Sales Tax: $0.00 Total: $134.85 |
|||||||
My total from The Purple Painted Lady was $134.85, and the Purdy brushes were $20.
Grand Total for Paint and Painting Supplies: $154.85!
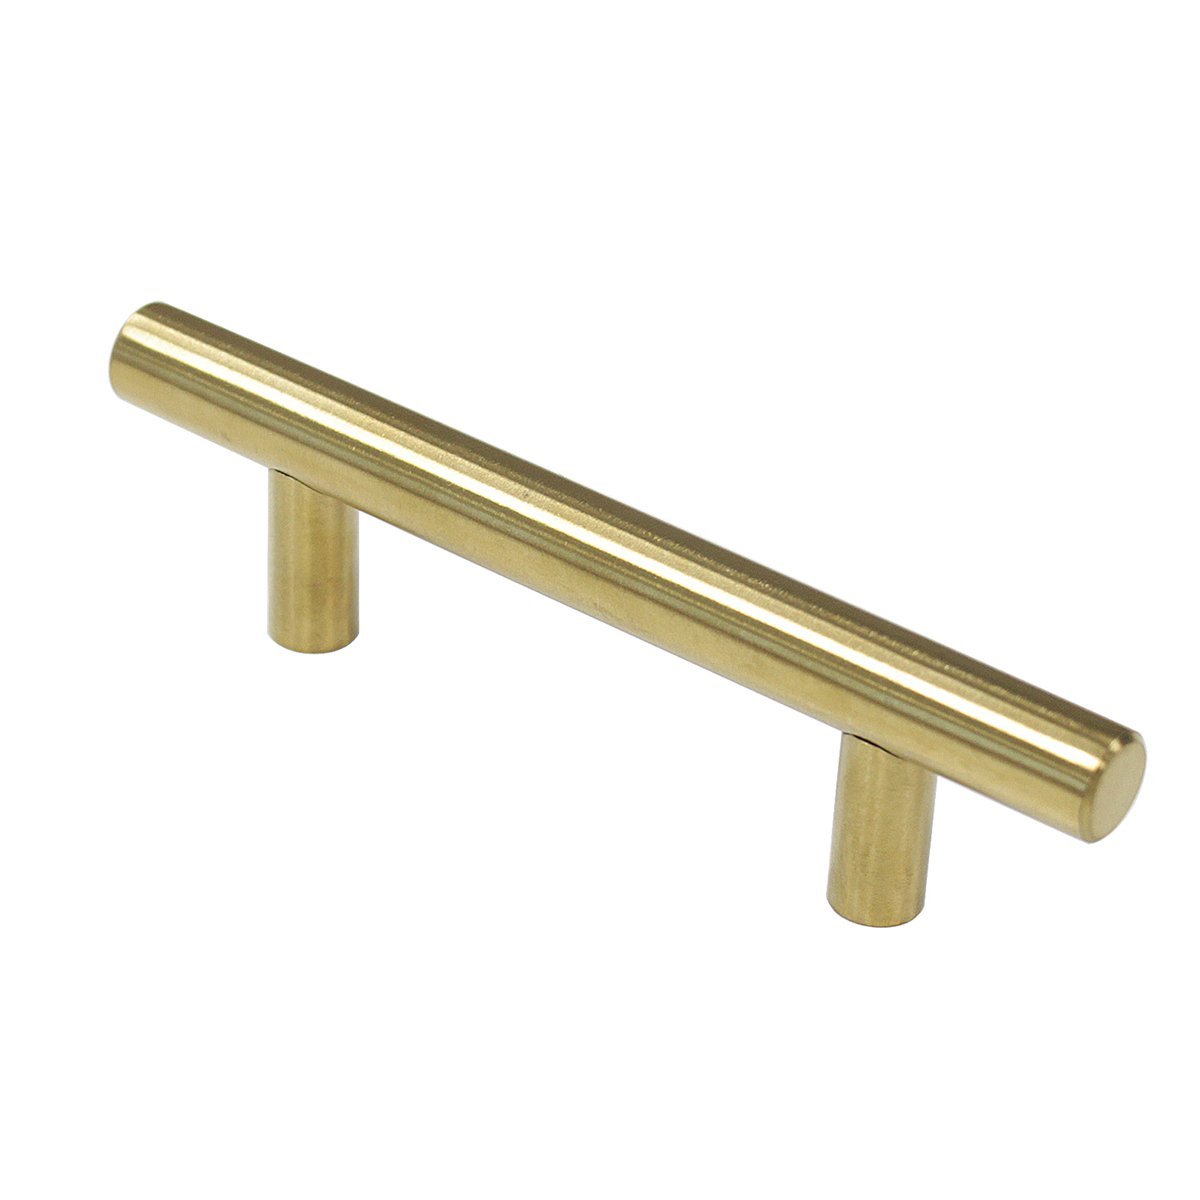
The second big update was the hardware. I fell in love with the Kohler Purist 3″ handles, but could NOT believe their price! These handles were $25 a PIECE.
https://secure.img2-fg.wfcdn.com/lf/49/hash/819/11864253/1/Kohler-Purist-3-Center-Bar-Pull.jpg
I needed 17 handles for my cupboards and hoosier cabinet. That would have been $175 for these handles, not including buying knobs! That’s more than I spent on the entire project! I searched for months for a similar hardware style, and couldn’t find something similar enough and cheap enough. I found these handles that were a similar style, but still too expensive at $4.20 a piece, and were not available in gold!
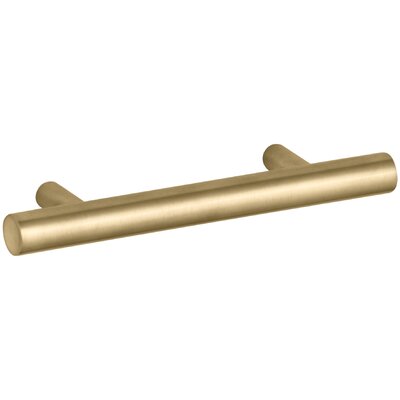
I finally found these (that honestly look EXACTLY the same as the Kohler handles) for $1.50 a piece on Amazon! My matching knobs were $1.15 a piece.


I ordered the pack of 20 knobs, and the pack of 20 handles for a total of $53. I had an Amazon gift card from our wedding for $50, so I only paid $3 for all of the hardware!
The handles I had before were 3 inch handles, so the new 3 inch handles didn’t require any drilling! (Measure the distance between the handle holes on your cabinets if you want to replace your handles! The distance might not be 3 inches. These handles come in a few different lengths.)
The cabinets used to have knobs in the middle of the doors. I filled these holes with wood filler BEFORE painting my cabinets. I applied the wood filler, waited for it to dry completely, and then sanded the area smooth. I gave the rest of the doors a good sanding by hand to remove some of the varnish on the wood. Have your vacuum handy for this step! After the painting and waxing were complete, my husband Ben drilled new holes in the corner of each door for the knobs. We needed to buy new screws from the hardware store because the screws that came with the handles were not deep enough for our thick cabinets.
$154 for paint and painting supplies, plus $53 for hardware puts this project at $207.
(Though it was only $157 for us because of the Amazon gift card!) I used half a gallon of white paint that we already had in the house for the window frame, the backsplash, soffit, trim, and walls. The church gave us a $1,000 budget, but I wanted to keep the cost as low as possible. We considered replacing the linoleum floors, but that would have been about $350. The floors are in fine condition, so replacing them would have just been a cosmetic update. I was so grateful for the church’s support of this project, and wanted to be as frugal as possible! We decided to spend our own money on the giant rug. This acts as a temporary flooring solution in our kitchen, and is something we can take with us wherever we live in the future. Instead of sinking $350 of the church’s money into floors that didn’t need to be replaced, we spent about $250 of our own money on a rug that we will have forever! I was reluctant to spend that much money, but Ben made the valid point that this rug is acting as a flooring solution AND a decorative element. It was cheaper than replacing the flooring, and is ours to take with us wherever we live in the future.
Now that all of the sources are covered, I will make a list of the exact process we used for anyone that is interested.
- Bought paint and wax from The Purple Painted Lady
- Filled knob holes with wood filler. Wait to let dry. Sand well. Give the cabinets a good sanding if they have a shiny varnish. This will help the paint adhere to the surface better.
- Degreased cabinets with Dawn degreasing soap. This step is very important. If there are any grease spots on your cabinets, they will show through the paint- no matter how many coats you apply! I used a new sponge to apply the soap and scrub the cabinets. We also had to use a razor to scrape black gunk out of some crevices in the cabinets next to the stove. This was grease buildup from years and years of stovetop cooking. I cannot emphasize enough how important the cabinet cleaning is! Chalk paint does not require much surface prep, so make sure to do this one step very, very thoroughly! We scrubbed, rinsed, sanded, and vacuumed our cabinets three times. This took quite a while, but was worth the time and effort! If you do not properly prepare the surface, the quality of your painting won’t matter and they will turn out poorly. Some people recommend using a mineral spirit solution to prepare the cabinets, but the Dawn soap worked well for us.
- Applied first thin coat of paint. It does not take a lot of paint to cover the surface, and I was amazed at how little paint was necessary to get a good first coat. Apply in thin coats and allow to dry thoroughly between coats. The Purple Painted Lady has great resources for these steps. I should probably note that I only painted the outsides of our cabinets, except for the cabinets with the exposed shelving. I took the doors off of those two cabinets a few months ago because I love the look of exposed shelving.
- Applied second (and, where necessary, third) coats of paint. I applied two coats of blue, but the white paint needed three coats for good coverage.
- Applied wax in two to three thin coats. I only did two coats on the frames of the cabinets, but did three coats on the doors and drawer faces because they will receive the most use.
- Drilled new holes for cabinet handles in the corner of each door.
- Painted backsplash, soffit, window frame, trim, and walls with bright white paint.
- We also removed the window screens, which brightened the kitchen quite a bit. We will put them back in the spring when the windows can be opened! The screens popped right out, and will easily pop back in when we need them.
Sources:


That was a lot of information, but I found a few longer posts really helpful throughout the process! If you are about to embark on a DIY adventure of your own, just go for it! It will be a lot of hard work, but painting provides immediate results in the most affordable way! I would be happy to answer any questions you still have about the process.
Thanks for reading!


