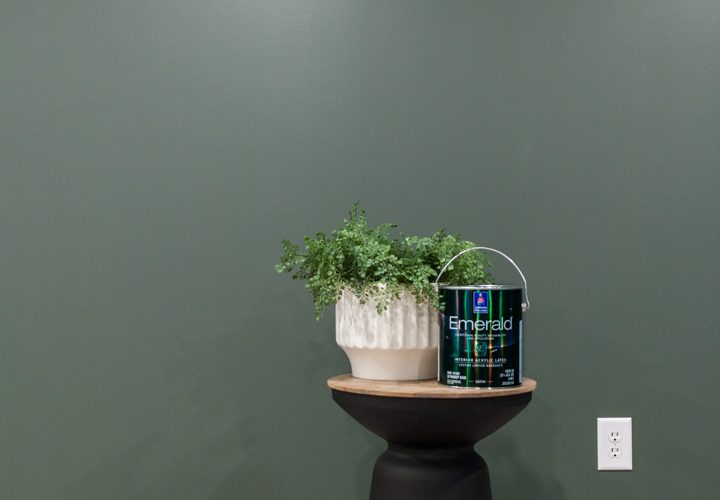
The Power of Paint: One Room Challenge Week Four

If you’re finding me through the One Room Challenge, welcome to my home on the internet! I’m Avery and I live in a charming 1910 Craftsman style parsonage in rural Iowa with my husband, Ben. You can learn more about me here, and see some of my previous design work in my kitchen, my High Style, Low Budget Sunroom from the Spring 2019 One Room Challenge, and my Cozy Eclectic Master Bedroom from the Fall 2018 One Room Challenge. My design style is warm, whimsical, and collected. I love sharing real-life home inspiration for people like me who want big style with a tiny budget. You can follow along with my homemaking adventures and thrifting trips & tips on the Holland Avenue Home Instagram.

IMG_4171

For this round of the One Room Challenge, I will be finishing our unfinished basement to create a cozy family game room. You can catch up on my design plan through the link below!

Basement on a Budget: One Room Challenge Week One

Basement Demo and Waterproofing with Drylok: One Room Challenge Week 2

Catch-up and Ketchup: One Room Challenge Week Three

ORC-Guest-200x110.png

Week four is finished and we almost have a finished basement as well! Since last week’s post, we’ve been working hard to finish the drywall and get everything painted.

I chose our main paint color, Sherwin Williams Pewter Green, after seeing and loving it in Emily Henderson’s Portland House Kitchen. This kitchen is full of natural light (unlike my basement), but even after sampling the color in our low-light space, I knew it was the one.

Emily-Henderson-Portland-Traditional-Kitchen-Second-Round1

(image credit: Emily Henderson)

After choosing Pewter Green as our main color, I decided to pull other colors from the Sherwin Williams Colorsnap Color ID Naturalist palette.

Colorsnap Color ID consists of eight exclusive palettes that have been thoughtfully curated to reflect your personality. The colors are perfectly coordinated, allowing you to mix and match with confidence. Simply choose the colors that move you and watch any room come together effortlessly.Screen Shot 2019-10-23 at 8.32.20 PMScreen Shot 2019-10-23 at 8.32.30 PMIf you’re not sure which palette fits your personality, you can take the Colorsnap Color ID quiz to find your perfect match.

For our basement, I’ll be using three colors from The Naturalist palette.

SW PAINT COLORS

We primed everything yesterday, and today we accomplished the step I’ve been looking forward to the most… PAINTING!

I was originally planning to have a dark accent wall (SW Pewter Green) and three lighter greige walls (SW Gossamer Veil) to keep things feeling bright. But when I thought about why I wanted “light and bright”, it was because I didn’t want it to feel like a cave, and I wanted the space to photograph well. Newsflash- those aren’t good enough reasons to choose a paint color. When I filtered the greige paint color through the “Do I Love It?” experiment, the decision became obvious. I did not, in fact, love the greige paint. (Sorry, greige. It’s not you, it’s me. You’re beautiful in other spaces, but you weren’t The One for my basement.)

I thought about how I wanted the space to feel instead of just focusing on how I wanted it to look.

It is a basement that we will use for watching movies and hosting friends and family. I wanted it to feel warm and cozy, like a hug. We live in Northwest Iowa where winter lasts for basically half the year. I know we will be spending a lot of time down here, so I wanted it to feel warm and inviting.

Those factors led to the decision to paint all four walls the same dreamy, dark, moody green. I don’t know what I was thinking before, messing around with the idea of greige. I would’ve had to rename my blog “Greige Avenue Home” and turn in my “Color Lover” card to whoever is in charge of auditing people who claim to love color. Don’t worry, though. I’m still a card carrying Color Lover and I have four green basement walls to prove it. I broke up with greige before placing the paint order, and brought home multiple gallons of Sherwin Williams Pewter Green.

Before I show you the dreamiest of all dreamy paint colors you’ve ever seen, allow me to remind you where we started four weeks ago.

IMG_9507Are you ready to see it? Behold, the Magical Enchanting Wonderland that is covered in Pewter Green (also known as my almost-finished basement).IMG_9604Want to see another before and after? Ok, I’ll show you another because I CANNOT BELIEVE THAT THIS IS THE SAME ROOM. Except I can, because I’ve seen it transform over the last four weeks through one drywall nail, brushstroke, and ice-pack-on-my-neck at a time. IMG_9512

IMG_9598The other side is just as green, and just as good. It is just slightly more “entirely full of tools and stuff”, and other things. 92CE1E61-0931-4FED-A00B-DCAE8B09230FIMG_9603IMG_9551We used an extra door that was being stored in the basement to block off the storage room. I will sand it and paint it with Sherwin Williams Alabaster (the color of the stairway walls, stairway risers, and eventually trim). I have one coat of Alabaster on the risers, but I’m waiting until construction is finished to finish painting the stairs. IMG_9601Alabaster is also the color we used for the ceiling, and it is perfect. It is a warm white that is excellent for low-light spaces. IMG_9611

We’re using Sherwin Williams Emerald Interior Acrylic Latex Paint and it has changed my painting life forever. It goes on like butter, and dries so smooth. I used two coats because the green is so dark, and the coverage is incredible.

Ben is currently painting the exposed pipes to match the Alabaster ceiling. They are the pipes for our radiators. We possibly could’ve framed them in and covered with drywall, but it was less work to leave them exposed, and would make for easier repair if they ever needed to be accessed. I went back and forth on whether to paint them the ceiling or the wall color, but we decided the ceiling color would be best.

We have two weeks left to finish the rest of this space, and we are on schedule to meet that deadline! We decided to Drylok the floors since we have so much of it left over from the walls. It is an extra step, but it will seal the concrete floors to prevent any moisture or concrete dust from coming through onto the new flooring.

Here’s our schedule for Week Five:

  • Day One (Thursday): Drylok concrete floors and begin installing flooring
  • Day Two (Friday): Finish installing flooring and paint trim
  • Day Three (Saturday): Install trim and paneling/shelves for minibar with Kirk (my brother-in-law)
  • Day Four (Sunday): Rest
  • Day Five (Monday): Paint minibar cabinet and mini fridge. Begin building furniture
  • Day Six (Tuesday): Build furniture
  • Day Seven (Wednesday): Build more furniture

Next week, I will probably be sneaky and only share a few close-up shots as I prepare for the final reveal. We have a lot of furniture building ahead of us, and I am counting down the days until I can lay down on our new sofa and take it all in. Until then, you can find me lovingly admiring our green basement and considering which room I want to makeover with our leftover paint. No room is safe from Pewter Green.


Thank you to my partner, Sherwin Williams, for sponsoring this project!

You can follow Holland Avenue Home on Instagram for plenty of behind-the-scenes progress before it comes to the blog next Wednesday.

Head to the One Room Challenge blog to check out the other Guest Participants’ and Featured Designers’ posts for Week Four!

ORC-Guest-200x110.png

Thanks for reading!

avery- signature


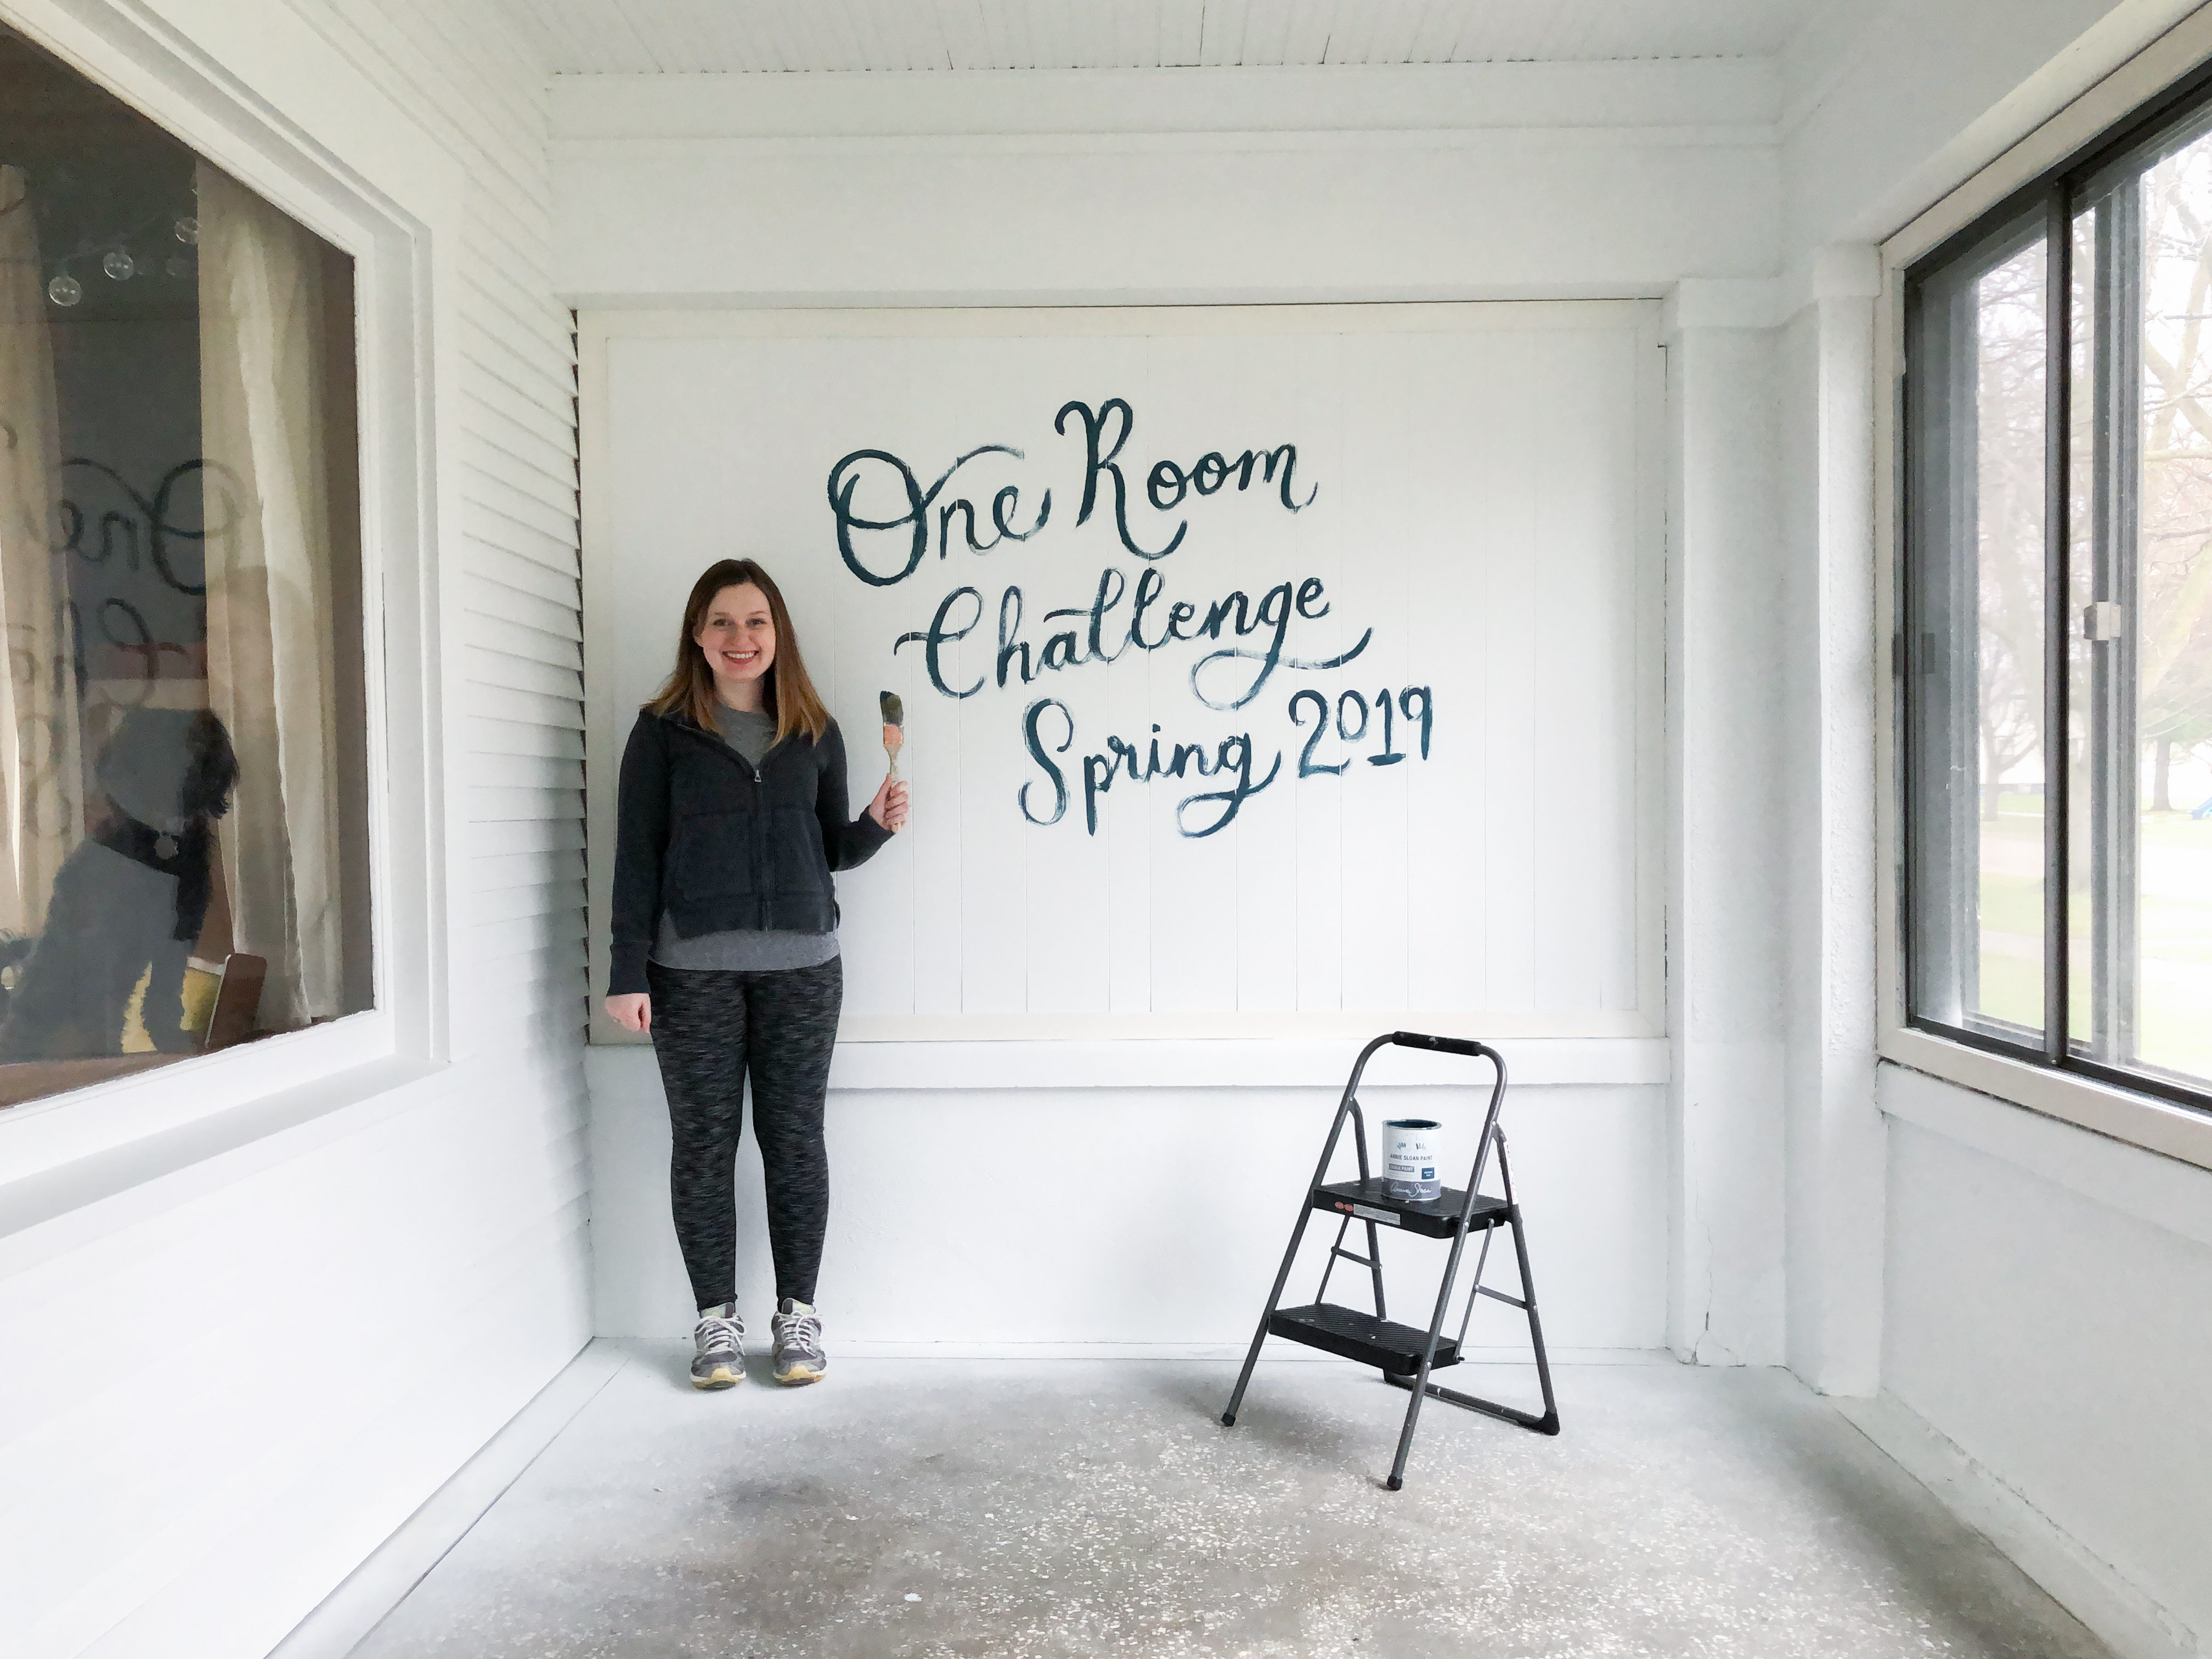
The Power of Paint: One Room Challenge Week 3

If you’re finding me through the One Room Challenge, welcome to my home on the internet! I’m Avery and I live in a charming 1910 Craftsman style home in rural Iowa with my husband. You can learn more about me here, and see some of my previous design work in my kitchen, and my Fall 2018 One Room Challenge: Cozy Eclectic Master Bedroom Reveal. My design style is cozy, whimsical, and collected. You can follow along with my homemaking adventures on the Holland Avenue Home Instagram.

Welcome to week three of my One Room Challenge! We are officially halfway!

Catch up on all of my progress for the Spring 2019 One Room Challenge:

Week 1: High Style, Low Budget Sunroom Transformation

Week 2: DIY Tree Stump Coffee Tables

One Room Challenge Final Design Plan

This week, I saw monumental progress in my space through the power of paint.

I’ve said it before, and I’ll say it again: Paint is the easiest and cheapest way to completely transform a space. If you make smart and bold paint choices, you can achieve a significant transformation without breaking the bank.

This porch was previously pale yellow with wood trim around the windows. I started painting it white in 2017, and it took me hours because I was doing it all with a brush. One half of the walls are house siding, and the other half are either bumpy concrete, paneling, or window trim. A roller just didn’t work. So I spent hoooours on the porch during the warmer months, and only completed about 60%.

Enter, the paint sprayer.

Why, oh why, didn’t I just pursue this in the first place? Probably because I didn’t have any experience with a paint sprayer, and moving all of the furniture out seemed like a pain. (Spoiler: it was. But it wasn’t as painful as spending more hours of my life out here with a paintbrush.) My friend, JJ, is a painter, and said he could have the entire porch (including the ceiling) sprayed in under an hour if I already had everything prepped. SIGN ME UP.

The thought of me (a 5’2″ woman) painting a 300 square foot ceiling with a ladder and a roller just didn’t sound like my idea of a good time. (Shocking, I know.)

On Tuesday, Ben and I moved all of the porch furniture out. I filled the MANY nail holes, and cleaned the cobwebs and dust bunnies. My friend, Tessa, came over to show me how to use a masker. It is a neat tool that lets you load a roll of tape and a roll of paper, and puts them together for you as you roll the paper out and tape it to the windows. It is easiest to do with two people. We had the whole porch masked off in about an hour. When you are spraying, be sure to mask off EVERY SINGLE THING you do not want painted. We needed to cover the oak front door, which was difficult to do with the masker, so we left it cracked just a tiny bit, covered it with a tarp, and taped the tarp to the door frame so that overspray wouldn’t get into our house. That left about a three inch opening towards the bottom of the door where the tape wouldn’t hold it together, and our entire main floor was covered in a thin layer of white dust.

JJ was right- the painting took less than an hour. He showed up, set up his sprayer, showed me how it worked, and had the entire room finished in 45 minutes total. He let me do one wall, and I enjoyed using the sprayer!

Enough talk. Here are some incredible before & after photos of the white paint. I used three gallons of Sherwin Williams Extra White in a satin finish.

58375533_394853021102472_6109931547991736320_n.jpg

This one is Ben taking a picture… of me… taking a picture.

IMG_8827

Screen Shot 2019-04-17 at 9.09.08 PM.png

Louie, my furry photo assistant.

57321610_1316588201823524_9212160260951769088_n

IMG_8824.jpg

The “before” just felt kind of dirty. (Partially because it was… don’t @ me)

57227788_2140153096069258_8453363380835581952_n.jpg

This was the chaos of our living room after moving in the porch furniture and masking off the windows and doors. We’re going for a “maximalist meets flea market meets condemned house” aesthetic in here now.

Now for the big reveal…


57226314_424278258133508_3519793550965342208_n.jpg

IT FEELS SO CLEAN! We didn’t worry about masking off the floors, because they will be painted next week when the weather permits open windows. I can’t believe what a difference the white makes in this space. Before now, I could only dream of what awaited me on the other side of a long-term, on-again-off-again relationship with a paintbrush.

IMG_8833

Please excuse my paint buckets and mountain of paper and tape. Maybe this could be a new decorating style. I would call it “Reno-Chic”. It’s where you leave out all of your renovating supplies, but in an artistic and revolutionary way. So edgy.IMG_8834

I also started painting the navy accent wall, but not without a little lettering fun!

IMG_8626 3.jpg

The paint is still drying in this photo, so it looks streaky. I’m going to take the navy all the way up to the ceiling- I just ran out of time to finish it today! I also have to figure out whether or not to paint the half of that concrete column. It is incredibly bumpy, and I’m a bit worried I won’t be able to get a clean line. It will be covered by curtains, but I don’t want to leave a mess for future occupants of this house!

IMG_8832

57434219_2286432394939005_496216525397557248_n.jpg

Continuing the navy all the way to the ceiling will draw the eye upward, and ultimately make the space feel taller. I still need to paint the window trim on the outside walls (the ones on the right), and paint the inside of the door on the right. I would love to paint the actual front door because the stain is uneven and looks very worn, but I don’t paint original woodwork in this house since we don’t own it. (Except for the upstairs porch, where the window trim was damaged beyond repair and needed a coat of paint for protection.)

I used three gallons of white paint, and one quart of Annie Sloan Aubusson Blue for this space! I’ll be using a light grey epoxy paint for the floors next week, and black paint for the window trim. This was not a complicated or expensive update, but it made a very significant impact! I’m very excited to see how it all looks once the floors have a solid, fresh coat of paint as well.

That’s all I have for this week! The other major progress will be happening this weekend. My brother-in-law, Kirk, will be showing me the ropes (literally) of building a bed swing. I showed him my vision, and he created a custom plan for beginner builders that utilizes a twin sized mattress and dimensional lumber. You will be able to buy the plans if you want to tackle the project yourself! I’ll also be working on dyeing the curtains and painting the floors next week. Things are coming together quickly now, and I’m still enjoying the process and trying to have fun at every stage!


You can follow along on the Holland Avenue Home Instagram and Instagram Stories for behind-the-scenes progress before it comes to the blog. I’ll be sharing weekly updates here on my blog, and you can get reminders every time a post goes live through entering your email into the “brighten my inbox” tab to the right of this post.

Don’t forget to check out the design plans of the Featured Designers and other Guest Designers on the One Room Challenge Blog. 

Thanks for following along, and stay tuned for next week’s project- the bed swing!

Catch up on all six weeks of my Spring 2019 One Room Challenge:

Week 1: High Style, Low Budget Sunroom Transformation

Week 2: DIY Tree Stump Coffee Tables

Week 3: The Power of Paint

Week 4: DIY $150 Bed Swing and Painted Concrete Floors

Week 5: Finishing Touches

Week 6: Before & After High Style, Low Budget Sunroom

ORC logo

avery- signature