
master bedroom
-
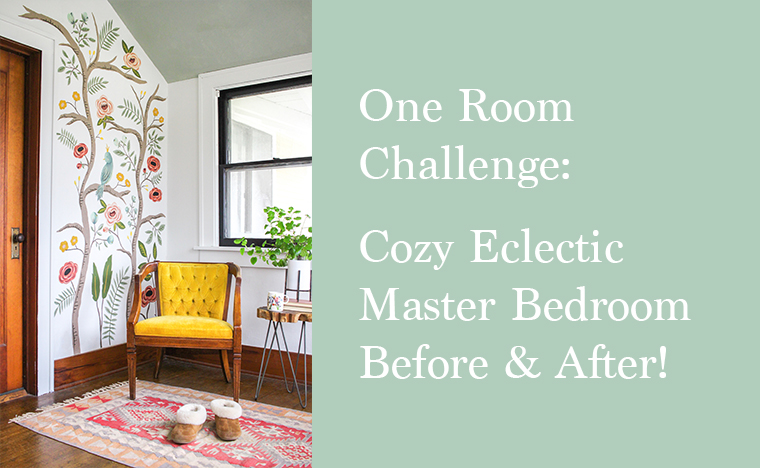
Cozy Eclectic Master Bedroom Before & After: One Room Challenge Week 6
Week Six is here and I am equal parts giddy, proud, and exhausted. This was my…
-

Ikea Dresser Makeover: One Room Challenge Week 5
This week, I’m adding character and vintage charm to the classic Ikea Tarva dresser.
-

Hand-Painted Modern Chinoiserie Mural: One Room Challenge Week 4
Have you ever heard the term, “chinoiserie”? I hadn’t until this week. If you asked me…
-

DIY Throw Pillows and Vintage Artwork: One Room Challenge Week 3
I said last week that the accent wall made such a difference that I would be…