Skip to content
About
Contact
Press
At Home
Thrifting
DIY
Room Makeovers
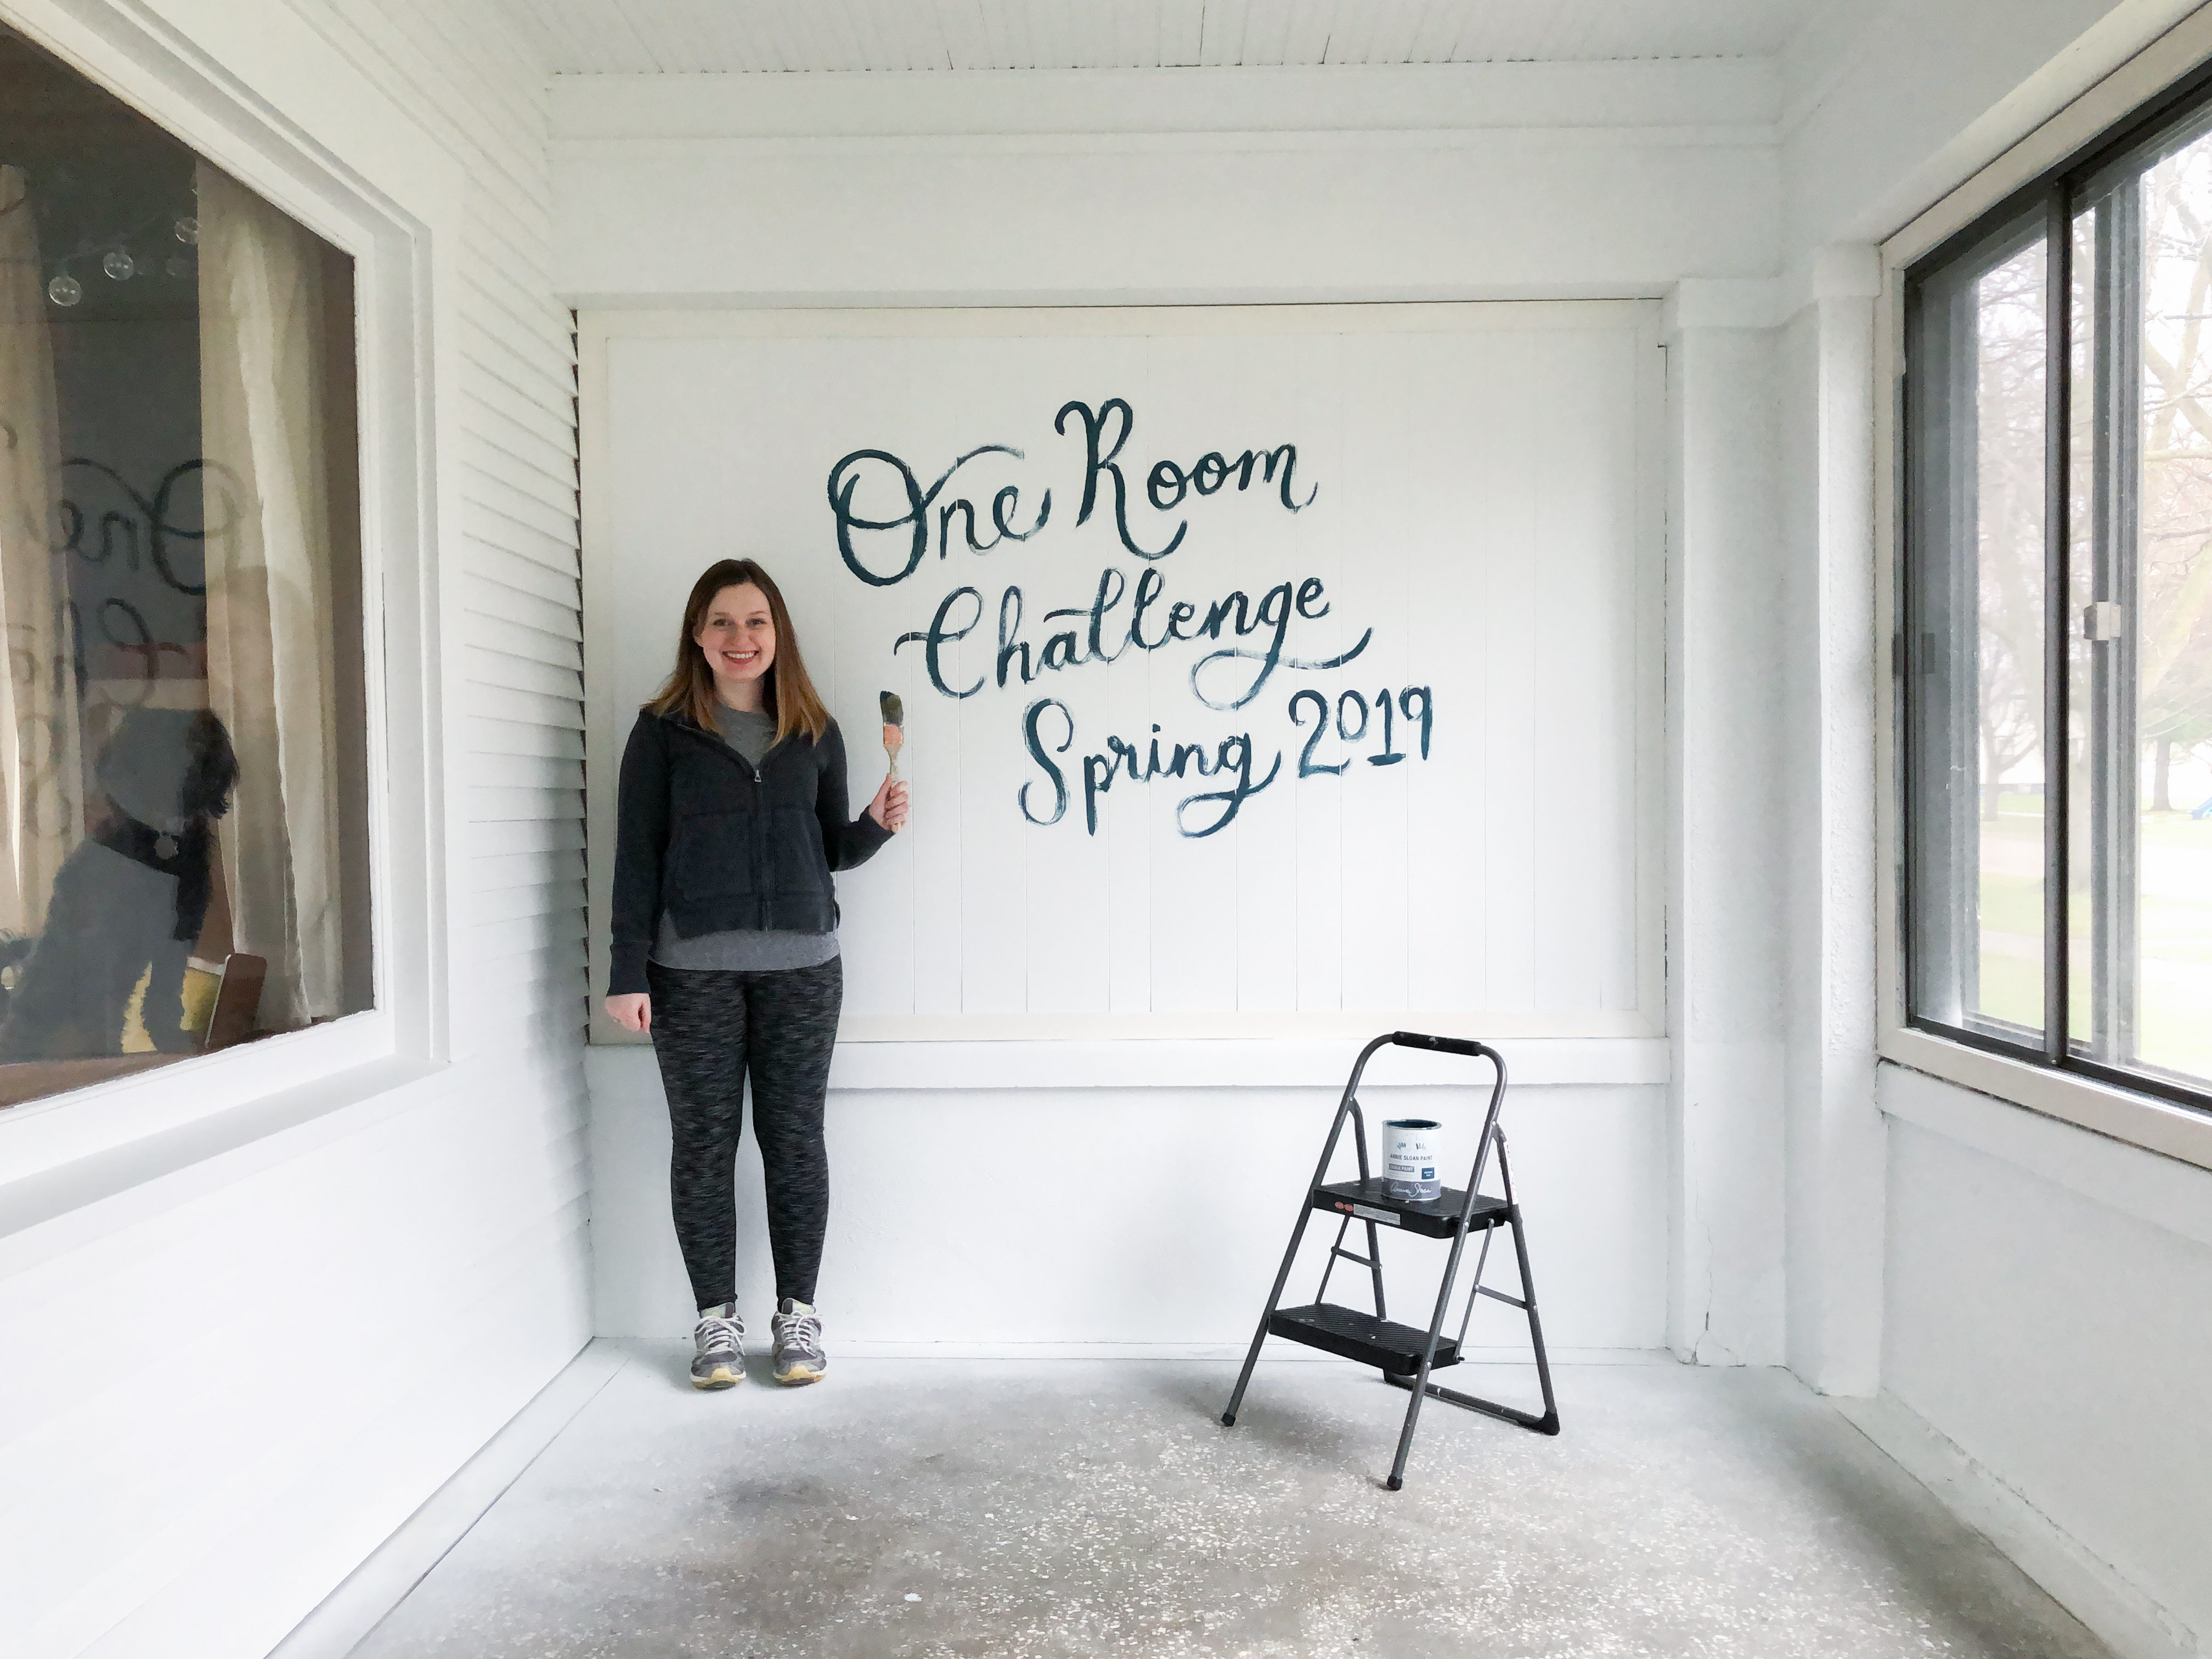
front porch
The Power of Paint: One Room Challenge Week 3
This week, I saw monumental progress in my space through the power of paint. I’ve said…
Loading Comments...
Write a Comment...
Email (Required)
Name (Required)
Website