
If you’re finding me through the One Room Challenge, welcome to my home on the internet! I’m Avery and I live in a charming 1910 Craftsman style parsonage in rural Iowa with my husband, Ben. You can learn more about me here, and see some of my previous design work in my kitchen, my High Style, Low Budget Sunroom from the Spring 2019 One Room Challenge, and my Cozy Eclectic Master Bedroom from the Fall 2018 One Room Challenge. My design style is warm, whimsical, and collected. I love sharing real-life home inspiration for people like me who want big style with a tiny budget. You can follow along with my homemaking adventures and thrifting trips & tips on the Holland Avenue Home Instagram.

For this round of the One Room Challenge, I will be finishing our unfinished basement to create a cozy family game room. You can catch up on my design plan through the link below!
Basement on a Budget: One Room Challenge Week One
Basement Demo and Waterproofing with Drylok: One Room Challenge Week 2

Week Three is finished and we are still making great progress! This week involved a whole lot of catch-up and a little bit of ketchup (keep reading to see both). My progress photos from this week may not look like much happened, but we are light years ahead of where we were at the end of week two. I’ll give you an update on what we did this week, and then a share a bunch of photos I took throughout the week.
Here’s a list of all of the things that happened (with the help of Denny and Don, two members of our church who each worked multiple afternoons or all day):
- Finished hanging drywall on all four walls
- Finished mudding on all four walls
- Don finished wiring the sconces, all of the outlets, and even installed outlets in our sunroom living room (which previously only had one). This had to be done before we drywall the ceiling, because he had to wire through the basement ceiling up to the living room on the main floor. Having a second outlet in the living room is a game changer! #oldhouse
- I scraped all of the old carpet gunk off of the stairs, removed all carpet nails, filled nail holes with wood filler, sanded stairs, and got the first coat of paint on the risers. This took an entire day’s worth of work!
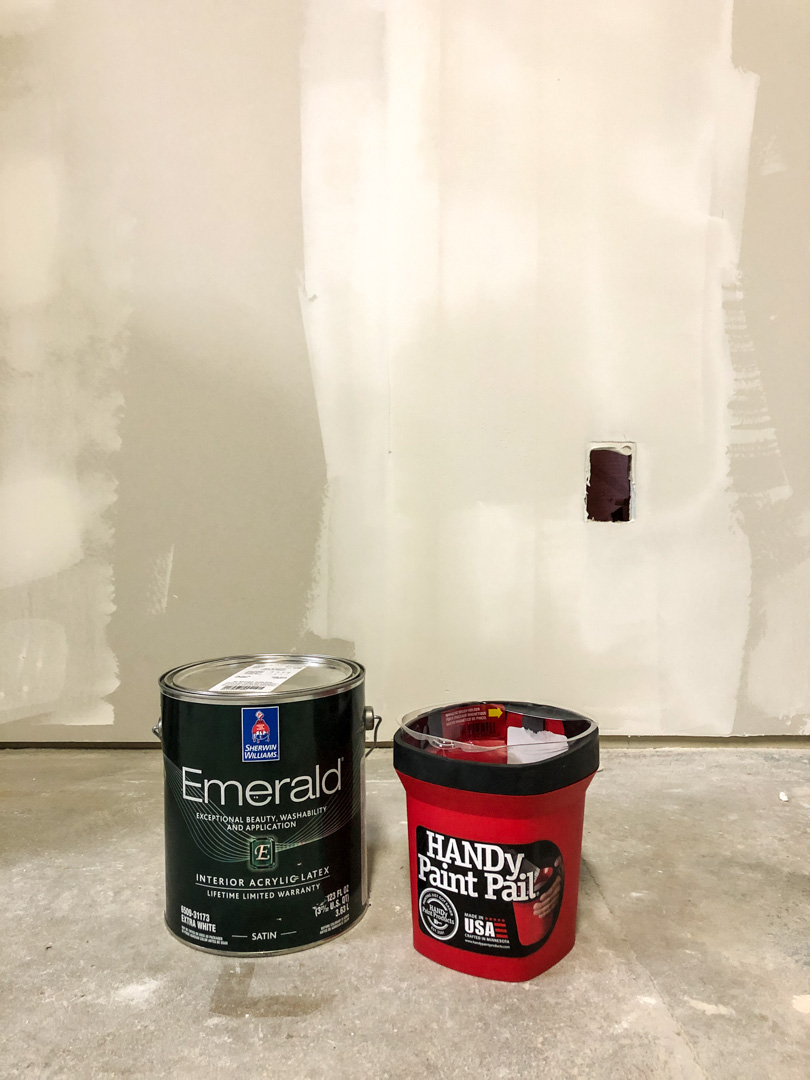
- I painted the stairway walls and trim with two coats of Sherwin Williams Alabaster
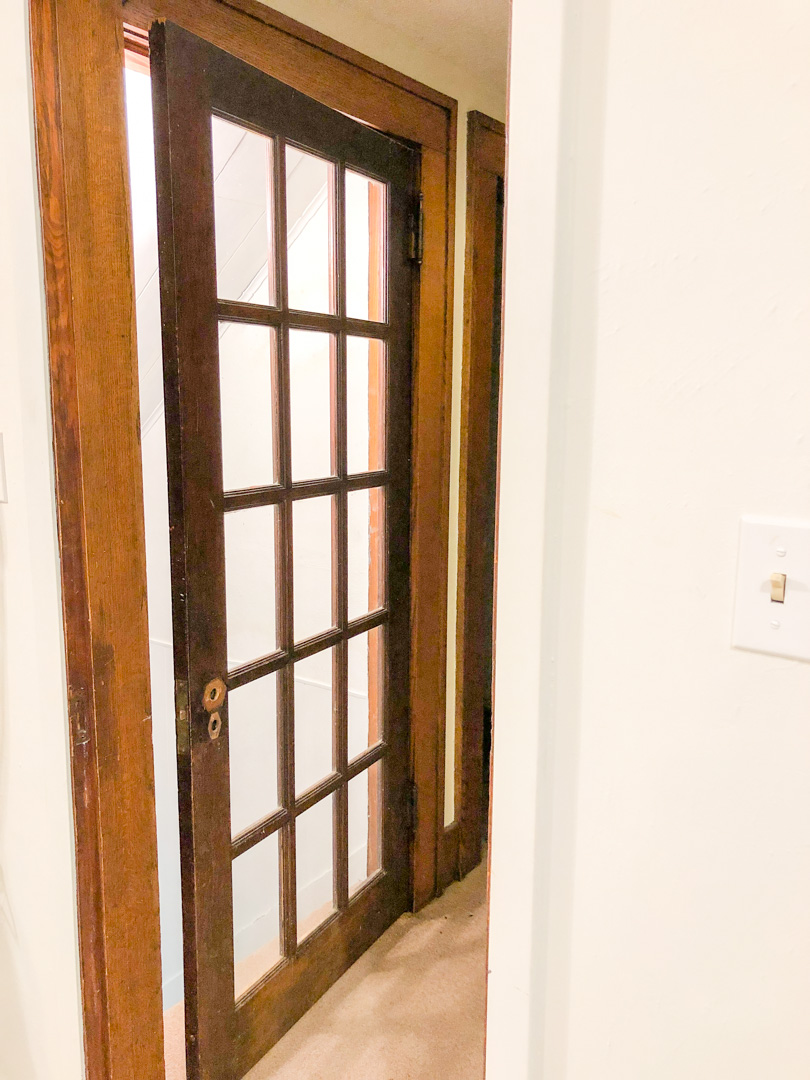
- Denny and I hung the new glass paneled door at the top of the stairs. It needed to be trimmed, chiseled, and have the hinges moved in order to fit in the door opening
- I polished antique brass hardware by using ketchup and a brush. It worked great!
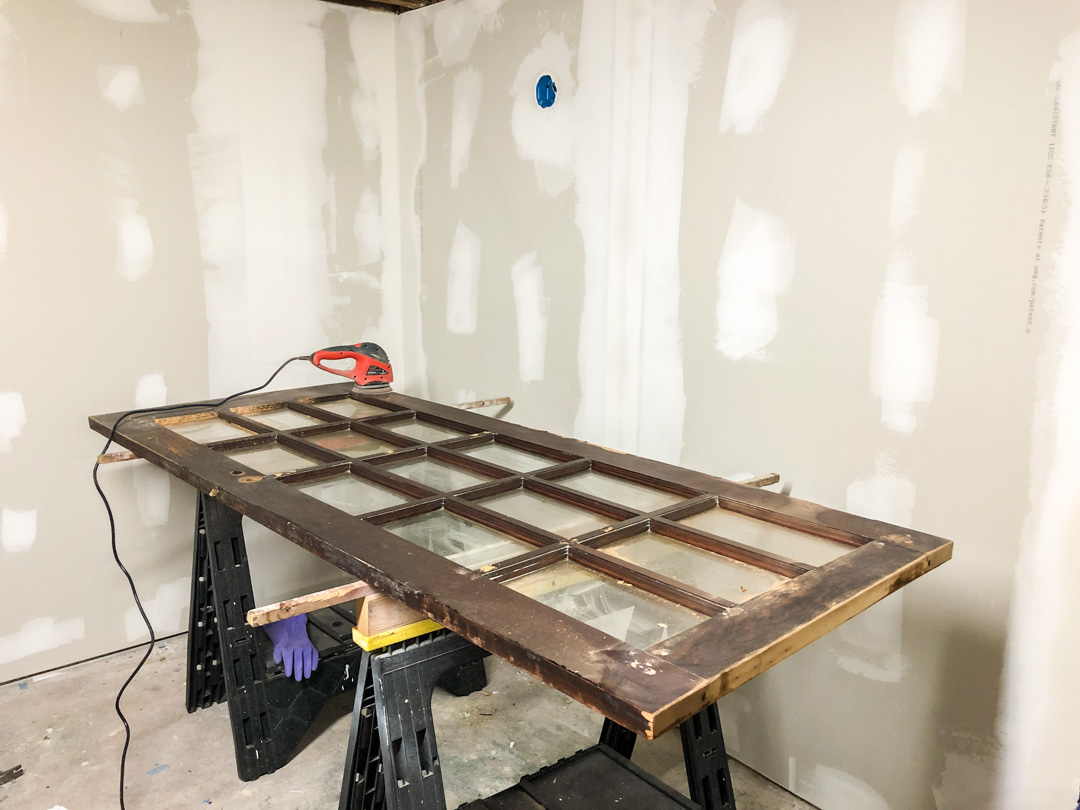
- Denny and I stripped the glass paneled door of its old stain and varnish (this took hours of gross, goopy work to scrape multiple coats of paint stripper to remove every last bit of finish on the door)
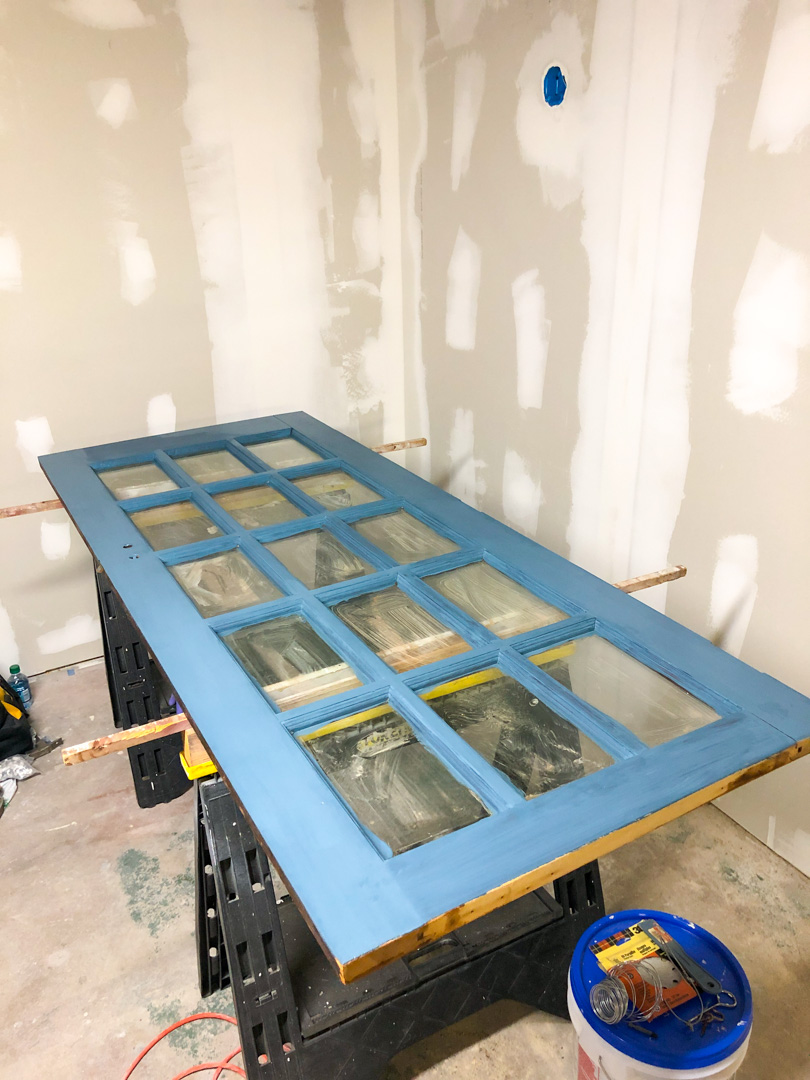
- I sanded the glass paneled door, and got the first coat of paint (Sherwin Williams Waterloo) on the side that will face the basement. I will stain the side that is in the mudroom to match the other oak doors and trim
- Don finished wiring and installing all of the recessed lighting boxes
- Denny, Dan (another church member who is also our neighbor), and Ben hung three sheets of drywall on the ceiling!
- I swept the floors like ten times and you wouldn’t even know but I KNOW
We are so much closer to being finished with the drywall even though we still only have three sheets on the ceiling. We’ve been waiting on the wiring to be finished on the ceiling, which we have not wanted to rush. Don, the church member who is doing all of the wiring, is a retired electrician. He has had TWO knee replacement surgeries this year, and the most recent one was only about two months ago! He is a machine! He’s had physical therapy most mornings and comes to work on the wiring after therapy. We are so grateful for him and his expertise. Wiring is no joke, and it takes specialized knowledge to do it right. He has gotten so much accomplished in such a short amount of time! Now that he’s only one step away from being totally finished, we can fly with the ceiling drywall! After the ceiling is installed and mudded, we will sand all of the drywall. After that, we just need to prime, paint, and install flooring and trim. I say “just” as if those are small and easy tasks, but they will take a few days minimum to complete. Next week, I hope to be able to show you painted drywall (if not the start of flooring!)
Here’s a “before” of the stairs to refresh your memory.
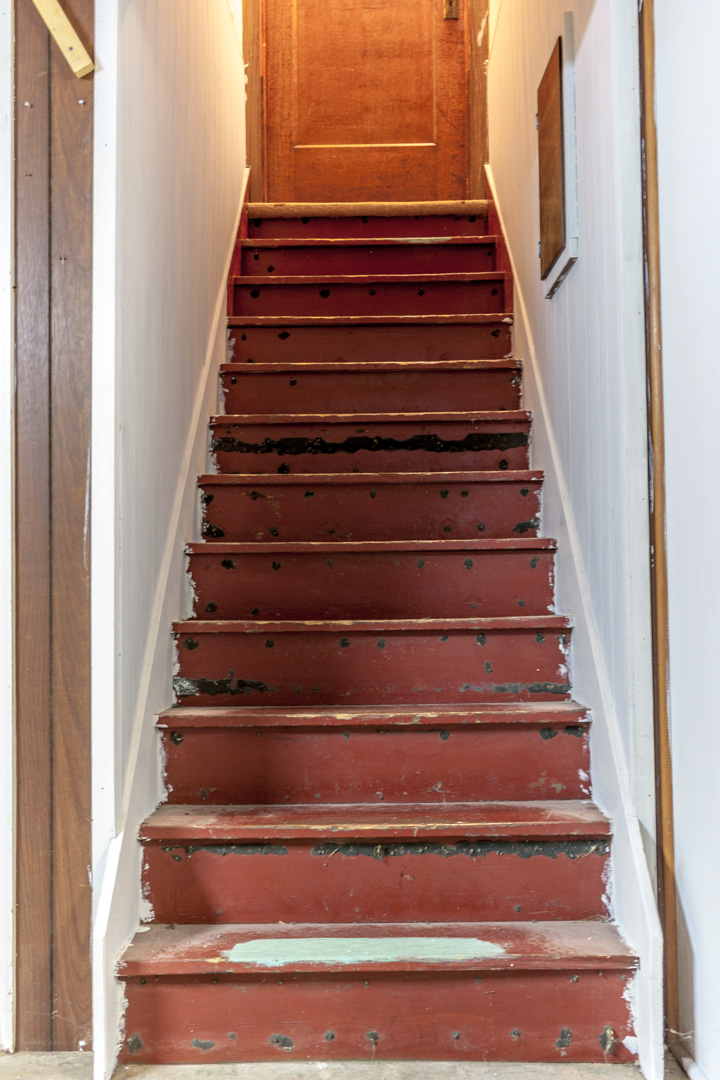
And here they are today, with a fresh coat of Sherwin Williams Alabaster on the walls. I scraped off all of that gunk and removed one million carpet nails. That meant there were one million holes to fill and sand. Then the risers got one coat of Alabaster. I’ll wait to do the second coat until we’re closer to being finished with construction. The treads will be painted with Sherwin Williams Porch and Floor Enamel in Rock Bottom.


This $30 Facebook Marketplace door needed to be trimmed a few inches and chiseled in a few spots in order to fit perfectly. The door frame isn’t perfectly square, and the floors aren’t perfectly level. Denny was able to make the door fit perfectly in the frame by trimming the top and bottom on a slight angle.
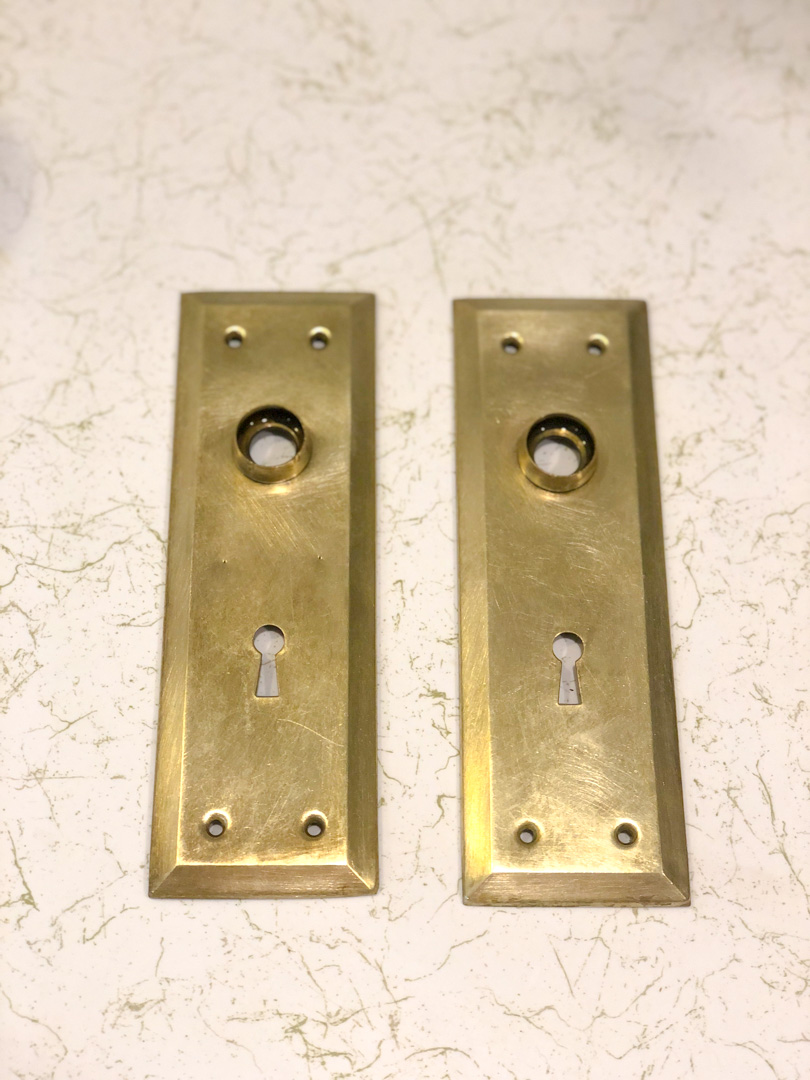
We took this brass hardware off of an extra door in the basement. It had seen better days.

You can obviously use brass polish, but I didn’t have any on hand so I used ketchup instead! The vinegar and acidity of ketchup are effective brass polishers. I covered the plates in a coat of ketchup and let them sit for about 15 minutes.

This is the result after rinsing off the ketchup and scrubbing the grime off with a bristle brush.

Ta-dah! In the words of an Instagram follower, “I am shooketh”. This is the beauty of antique materials like brass and real wood. They can be restored!
I didn’t take any photos of the door stripping process because it was very messy. We used Citrustrip to strip all of the previous varnish and stain off of one side of the door so that I can restain it to match the other doors in the mudroom. The other side, which I’m painting, just needed to be sanded in order to get rid of the “shine” of the varnish.
After one coat of Sherwin Williams Waterloo.
At the very end of the day (Day 7 of Week two), these guys were able to put up three sheets of drywall on the ceiling! They were the most difficult ceiling sheets to install because they had to cut around the radiator pipes, which go up in the ceiling to the dining room radiator. The rest of the ceiling should go much more quickly this week once Don finishes the wiring tomorrow morning.

I’ve never been so excited about a piece of drywall!!! It’s happening!!!


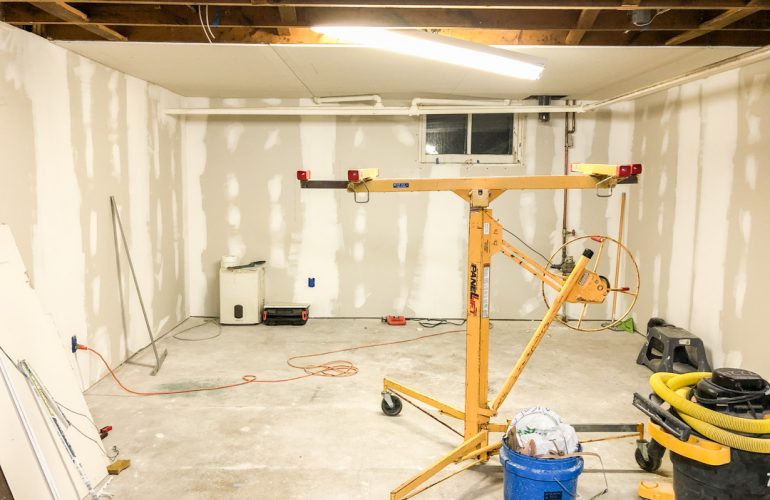
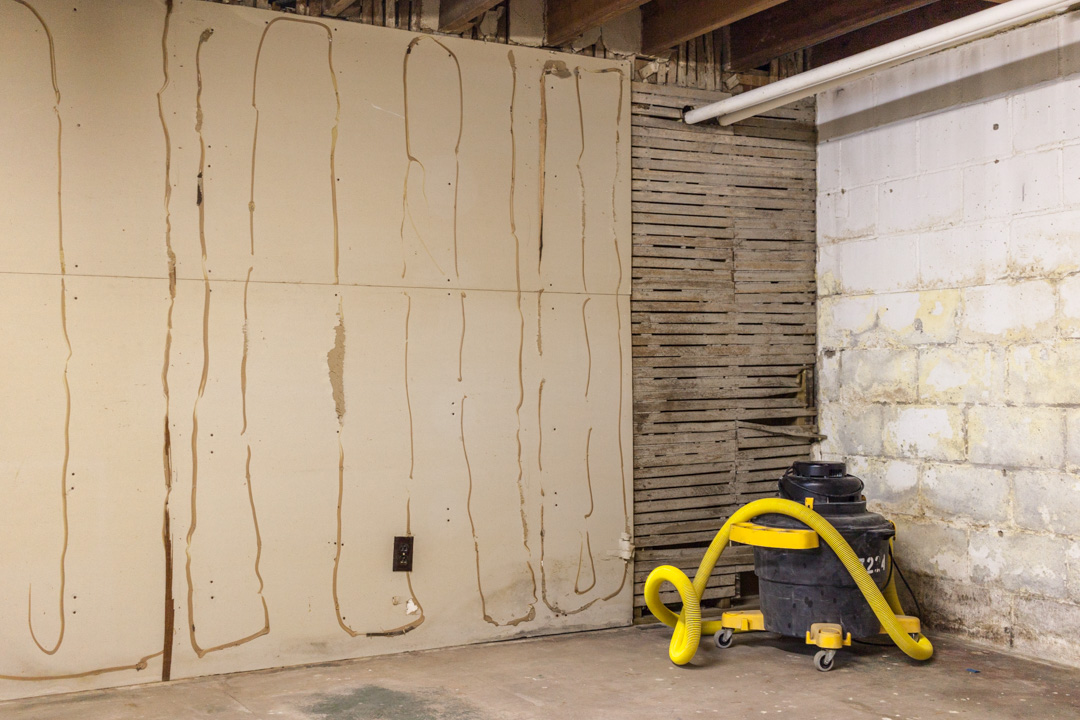
I’ll leave you with this incredibly hopeful photo of a drywalled corner and ceiling. Hopefully next week, this same view will have beautiful green paint and maybe even the start of flooring!
While it may not look like a ton of progress, it’s important for me to remember where we started only three weeks ago. This is that same corner pictured above. We now have one less wall than when we started, clean and mold free cinderblock that has been waterproofed with Drylok, drywall on the walls, new wired outlets, almost wired ceiling lighting, a painted stairway, a mostly refinished glass paneled door, and a good start to drywall on the ceiling. We are flying! It feels crazy to think that we only have three weeks left, but when I think about the progress we’ve made in the last three weeks I am confident that we are close to a beautiful finished basement!
Thank you so much for your excitement and support of this project. I am very thankful for all of the encouragement and cheerleading you have offered to me during this project that has the potential to be stressful and overwhelming! We are having fun and learning a ton of new things every day, and I’m happy that I get to share the process with you.
You can follow Holland Avenue Home on Instagram for plenty of behind-the-scenes progress before it comes to the blog each Wednesday.
You can head to the One Room Challenge blog to check out the other Guest Participants’ and Featured Designers’ posts for Week Three!
Thanks for reading!
-Avery

Leave a Reply to Kate PearceCancel reply