

If you’re finding me through the One Room Challenge, welcome to my home on the internet! I’m Avery and I live in a charming 1910 Craftsman style parsonage in rural Iowa with my husband, Ben. You can learn more about me here, and see some of my previous design work in my kitchen, my High Style, Low Budget Sunroom from the Spring 2019 One Room Challenge, and my Cozy Eclectic Master Bedroom from the Fall 2018 One Room Challenge. My design style is warm, whimsical, and collected. I love sharing real-life home inspiration for people like me who want big style with a tiny budget. You can follow along with my homemaking adventures and thrifting trips & tips on the Holland Avenue Home Instagram.

For this round of the One Room Challenge, I will be finishing our unfinished basement to create a cozy family game room. You can catch up on my design plan through the link below!
Basement on a Budget: One Room Challenge Week One
Week two is finished and I am so proud of the progress we have made so far. It never felt like we were making much progress this week because we didn’t start drywall until today. But when I look at the progress photos and think about how much we’ve already done, it makes sense that I am so, so tired. Finishing a basement is no joke, and it takes an incredible amount of preparation to ensure that your work will stand the test of time.
Before I walk you through the progress we made this week, here is a reminder of where we started.

And here is that same view today!

Here is the “before” of the other direction.

And a view of that same corner from today!

The pictures tell the truth: we accomplished a lot this week. We started by tearing down the wall that separated the two rooms, and removed the drop ceiling that was in half of the space. All of my HGTV-Chip-Gaines-Demo-Day dreams came true.

Here is a time lapse for part of the wall removal! Hauling the debris to the dump trailer took longer than actually ripping it all out. We started by whacking it with a sledgehammer, then ripped out all of the drywall and insulation. The insulation is itchy, so make sure to wear long sleeves. To remove the framing, we used a Sawsall to cut the lumber in half. After it was cut down the middle, we had leverage to pull out the frame.
Because I know you’ll probably ask, this was not a load bearing wall. Our church bought this house in 1990, and the wall was installed sometime since then. I don’t know how to find out if a wall in your home is load bearing, but do some investigating before destroying it with a sledgehammer!
Knocking out the wall was way more fun, way more messy, and way more impactful than I expected.


After we cleaned up the mess from demo, we were ready to make a different mess. (I’m convinced that renovating is just cleaning up one mess so that you can make a different one.)
The next step was to prepare our cinderblock walls for drywall by waterproofing with Drylok Extreme Latex Masonry Waterproofer. This product is created by United Gilsonite Laboratories, and is GUARANTEED to stop water. According to the product description, “Unlike ordinary paint that simply adheres to a surface and can be forced off by incoming water pressure, DRYLOK Extreme Masonry Waterproofer actually penetrates the pores in that surface, bonding to the masonry and creating an impenetrable barrier.”
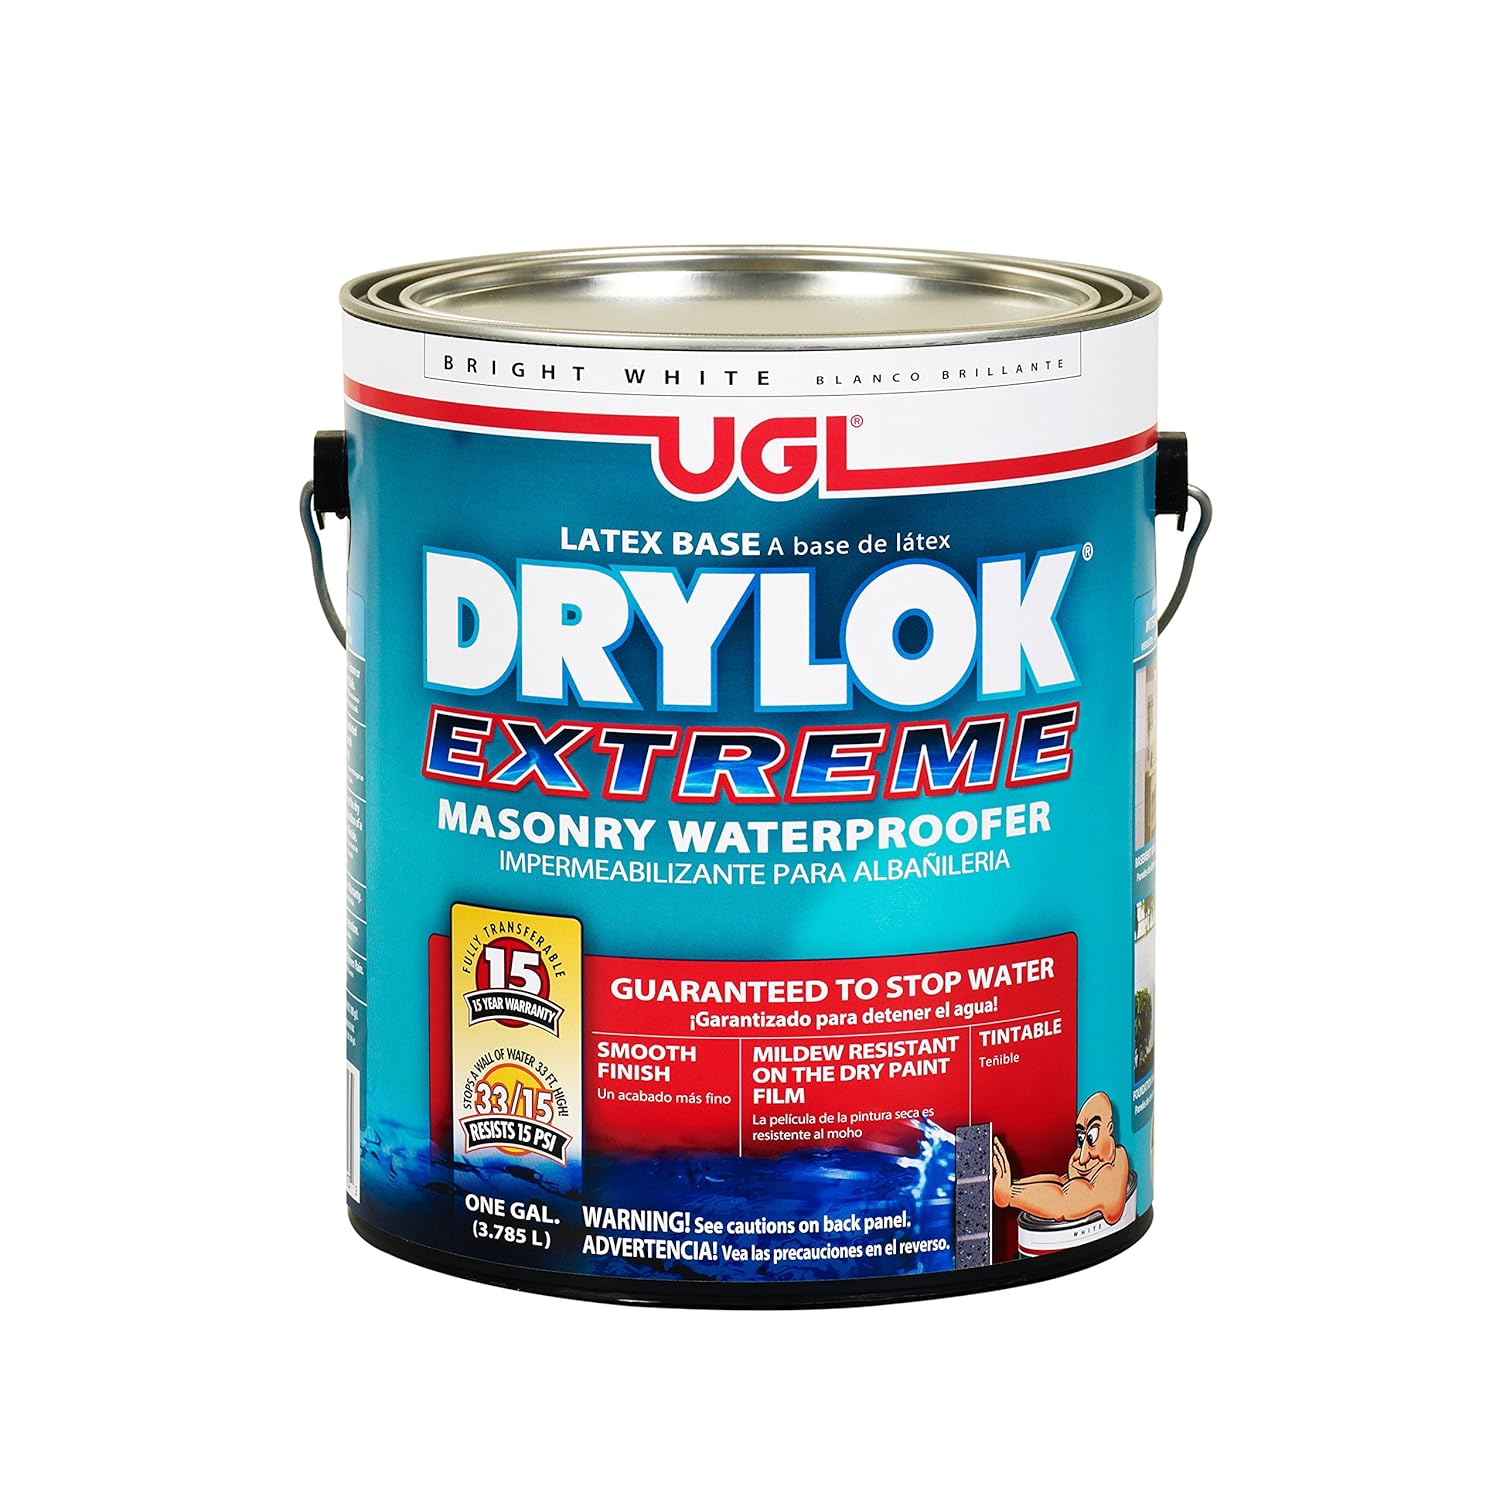
In all of the research I did before starting this project, this is the product that people recommend over and over to waterproof cinderblock walls. While we’ve never had standing water in the basement, there was clearly a moisture problem due to the condition of the cinderblock.
Before using Drylok, it is vitally important that you prep your walls by removing any failing paint. If you have unpainted cinderblock, you should be good to go. Our walls were covered in multiple layers of old paint, which was chipping and peeling off in most places. We tediously scraped off all of the peeling paint, which took a long time but was absolutely necessary to ensure the quality of the application.
Before scraping, Ben cleaned off all of the spots that appeared to be covered in mold and mildew. If you need to clean mold off of your basement walls, be sure to have the proper safety equipment consisting of a respirator mask, eye glasses, and rubber gloves. People disagree on whether or not to use bleach to kill mold. After doing our own research, we used both diluted bleach in a spray bottle and a special mold cleaner that I found at Ace Hardware. Do your own research and choose the products that you feel the most comfortable using.
After cleaning the mold, we scrubbed all of the walls with a rigid bristle brush and a spray bottle of water to remove the chalky layer of dust. Then we were ready to scrape the failing paint.
Here is where we started before prepping the cinderblock. See the multiple layers of paint and grime?
It looks worse in a way, but this is what our walls looked like after we thoroughly prepped them. After scrubbing the walls with water and scraping the paint, we allowed them to dry overnight.

It is recommended that you apply Drylok with a 3/4″ nap roller. I found that this worked great on the flat parts of the cinderblock, but the cracks required application with a brush. Drylok makes their own brush that is available for $11 on Amazon, and it will make your application a lot more thorough than just using a roller. This is not a detailed job, so using their giant brush will make the process a lot faster.
For the first wall, I ended up using the brush by itself. This short time lapse video represents an hour and a half of work! This was not the best way to do this job.
After trying out a few techniques, I finally found one that allowed me to work quickly yet thoroughly. I found that it was easiest to brush all of the vertical seams, then all of the horizontal seams so that I worked in an even pattern. After that, I used the 3/4″ nap roller to cover the flat cinderblocks.
Drylok recommends applying two coats to cinderblock, and the time in between coats is three hours minimum. Here is what our space looked like after two coats!
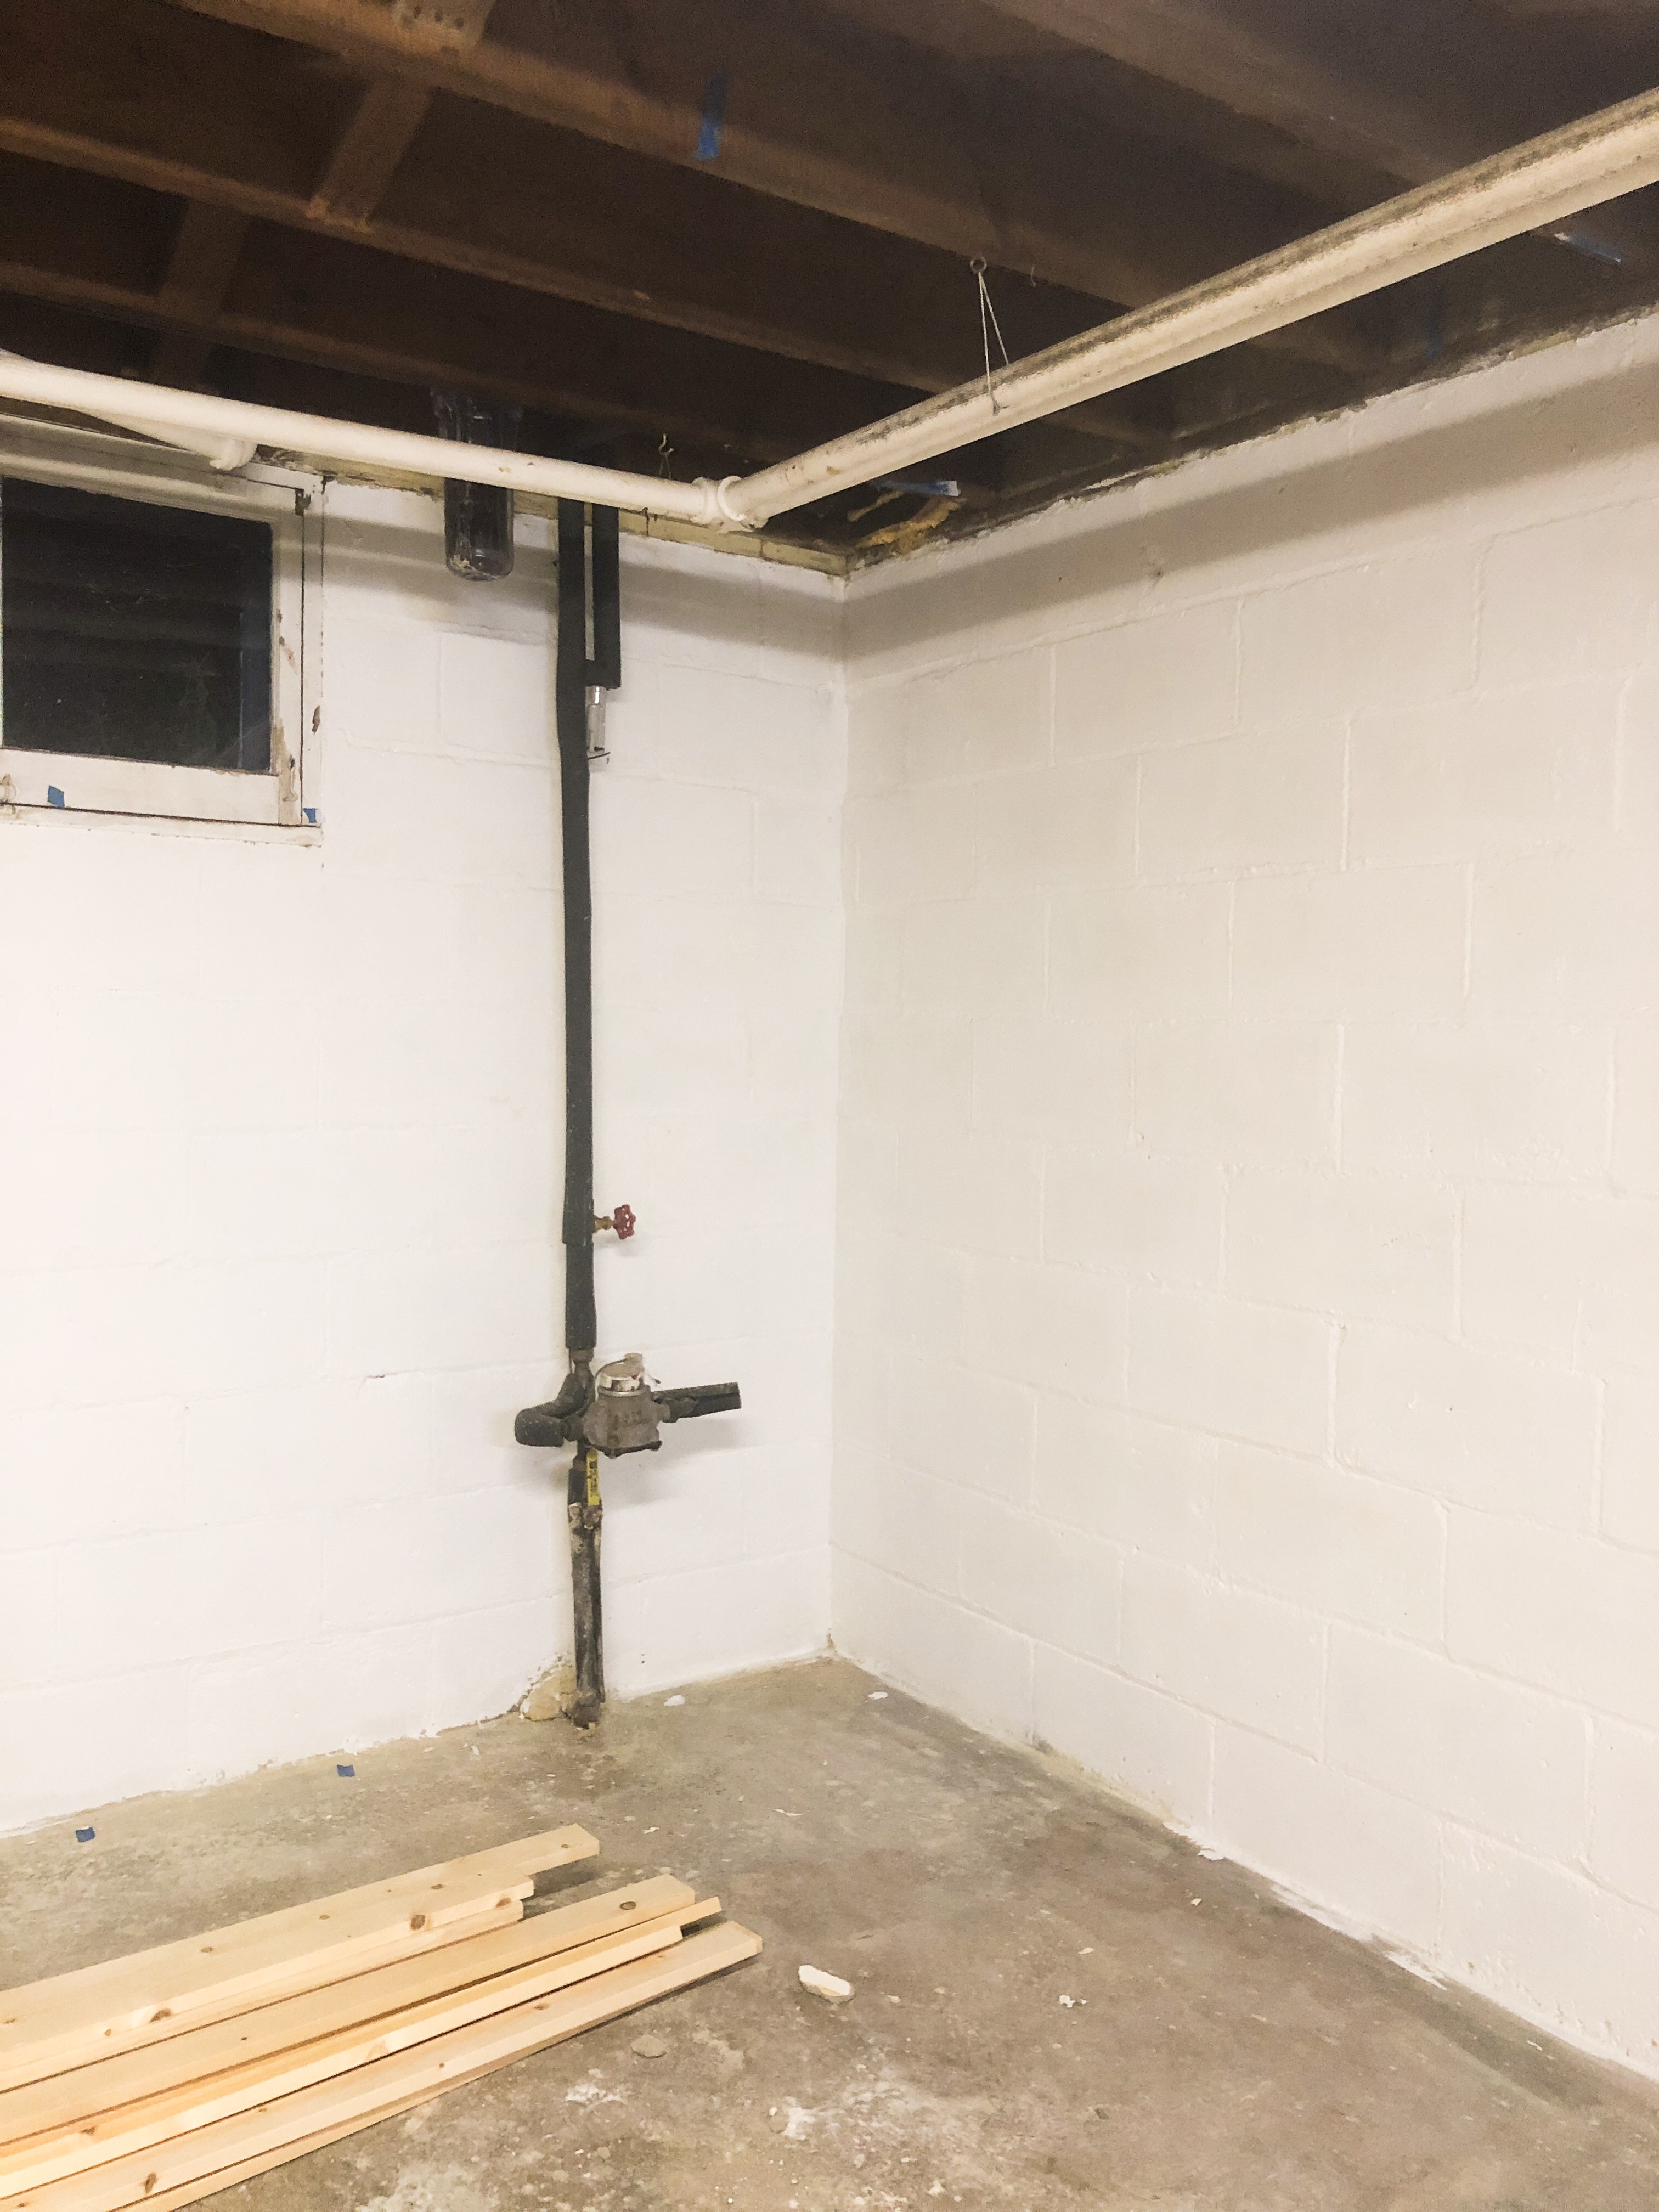
Can you believe that this is the same corner?!?! Drylok comes in bright white, but it is also tintable. If you don’t want to completely finish your basement, but want to protect it from moisture and make it look less like a crime scene and more like a clean part of your home, then Drylok-ing the walls is an easy way to do both!
Application is straightforward, but I wouldn’t call it easy. While it only requires the basic skills of brushing and rolling, it took a lot longer to apply than we expected. Overall, I spent almost two full days working on our three walls. Expect to get elbow cramps from pushing the brush and roller into the cinderblock for hours at a time! (And then apply ice and elevate your arm! #iwouldknow)
Overall, I am super happy with the Drylok and I trust that it will do the job of keeping our basement dry and protected.
After we finished the Drylok (around 11pm last night), we woke up today with a blank slate! We decided to install drywall over the walls and ceiling. I won’t go into a thorough explanation of how to install drywall, but I’ll share a brain dump of some basic tips from a beginner’s perspective.
Before I share everything I currently know about drywall, I have a disclaimer. To prepare for this project, I’ve had three different knowledgeable people that I’ve consulted. Sometimes, I’ve gotten three different answers to the same question. Home improvement and construction have some rules that are universal, but a lot of it is based on personal opinion and preference. Do your own research, consult multiple sources, and make the decisions that work for you. (Within reason, obviously.) Don’t ignore what someone says because it may be harder. Get opinions and advice from people you trust to do a good job, and then make the decisions that work for your space.
Drywall typically comes in 4×8 sheets. They are heavy. You typically use 1/2″ thick sheets for walls, and 5/8″ thick sheets for the ceiling. We decided to use 1/2″ sheets for both. In order to install the drywall to the cinderblock, we first had to install furring strips. We used 1×3 lumber for our strips. These strips must be 16″ apart (measuring from the center of the strips) so that four strips can be covered by one sheet of drywall. To attach the strips to the cinderblock, we used a hammer drill with 1 1/4″ Tapcon masonry screws. They are blue, and they are expensive. Each furring strip needs about four screws throughout the length of the strip. Drywall and framing should not sit directly on basement floors, so we used half inch wood spacers during installation to create a gap between the strips and the floor.
It takes two people to install the strips. One person holds the strip in place while the other person drills a hole. After you drill your hole with the hammer drill, you can insert your screw using a normal drill. Here is a time lapse video of Ben and our friend Jimmy installing some strips. (P.S. Thanks for your help, Jimmy! Jimmy is one of our college friends who grew up in this area. He just moved back with his wife, Sara, who is one of my best friends from college! He has construction experience, and taught us all of this stuff today about installing drywall.)
After your furring strips are installed, you can start to hang your sheets of drywall. For this part, you need drywall screws. If you’re using 1x3s and 1/2″ drywall, you’ll want 1 1/4″ drywall screws. Before you begin to hang the drywall, make marks on the floor with a sharpie to remind you where the strips are so that you don’t have to guess (incorrectly) with your drill (Ask me how I know that).
When you screw the drywall into the furring strips, go slowly. You want the screw to JUST BARELY indent into the paper of the drywall. Keyword here is JUST BARELY. I definitely sank more than one screw by going too quickly. “Code” is to attach the drywall in six places on each strip. After you’ve done that, pat yourself on the back because you just hung a sheet of drywall! Now you’ve got the “hang” of it! 😉
If you are installing outlets, you’ll need to attach your outlet boxes and wire to the furring strips before hanging the drywall.
I think that’s everything I know about drywall so far. We finished about half of the installation today, and will finish the rest tomorrow. After that, we will figure out how to put it on the ceiling. And after that, I have to learn all about this mud/tape/sand business. I am the definition of a beginner, and am learning all of these skills as I go.
Readers have asked how I’m learning to do all of these things, and the number one answer is, “Annoying my friends”. Seriously. The internet is great, but if you can get an experienced friend in your basement to show you how to do it, you’ll be in much better shape. No matter what home improvement skill you’re trying to learn, you probably have an acquaintance or friend who knows how to do it. Ask them one million questions, and reward their patience with treats and coffee. If they are willing to help you, feed them and give them coffee. When the job is finished, feed them and give them more coffee. (Are you sensing a pattern here?)
I currently have one day of drywalling experience, but that is 100% more than I had yesterday. If there is a project that you want to tackle in your home but you don’t know how, you can probably learn how to do it. But you won’t learn if you’re too scared to start. Ask around, recruit some help, and just try it.
I don’t know how to do all of the projects that will be necessary to finish our basement, but day by day I intend to learn and grow. Five weeks from now, I WILL know how to drywall and install new flooring and trim. When planning future projects, “I don’t know how” is not a limitation for me. If I don’t know how to do something, I have the internet, books, and talented friends who do. That excuse isn’t good enough anymore! I think it is totally okay to be afraid of learning and trying new things, but don’t allow your fear to keep you from growing.
That’s all of the progress we have for this week, and I feel like we’re in good shape to keep moving. After we finish hanging the drywall, we will be ready to mud, tape, and sand. I will feel really, really good when that is finished.
Here’s our list of things to accomplish this week:
- Finish hanging drywall on walls
- Have electrician install wiring for recessed lights
- Hang drywall on ceiling
- Mud, tape, sand x3
- Pick up paint from Sherwin Williams
- Prime fresh drywall
- Paint, paint, paint
I hope to share a freshly painted space with you next Wednesday, but that is dependent on how quickly we can finish up this drywall and lighting installation!
Thank you, United Gilsonite Laboratories, for sponsoring this post!
You can follow Holland Avenue Home on Instagram for plenty of behind-the-scenes progress before it comes to the blog each Wednesday.
Check out the other Guest Participants’ and Featured Designers’ posts for Week Two of the One Room Challenge!

Thanks for reading!
-Avery

Leave a Reply to Eloped LifeCancel reply