

If you’re finding me through the One Room Challenge, welcome to my home on the internet! I’m Avery and I live in a charming 1910 Craftsman style home in rural Iowa with my husband. You can learn more about me here, and see some of my previous design work in my kitchen, and my Fall 2018 One Room Challenge: Cozy Eclectic Master Bedroom Reveal. My design style is cozy, whimsical, and collected. You can follow along with my homemaking adventures on the Holland Avenue Home Instagram.
Welcome to week two of my One Room Challenge! Last week, I revealed my High Style, Low Budget Sunroom Design Plan. Here is a quick recap of my moodboard.

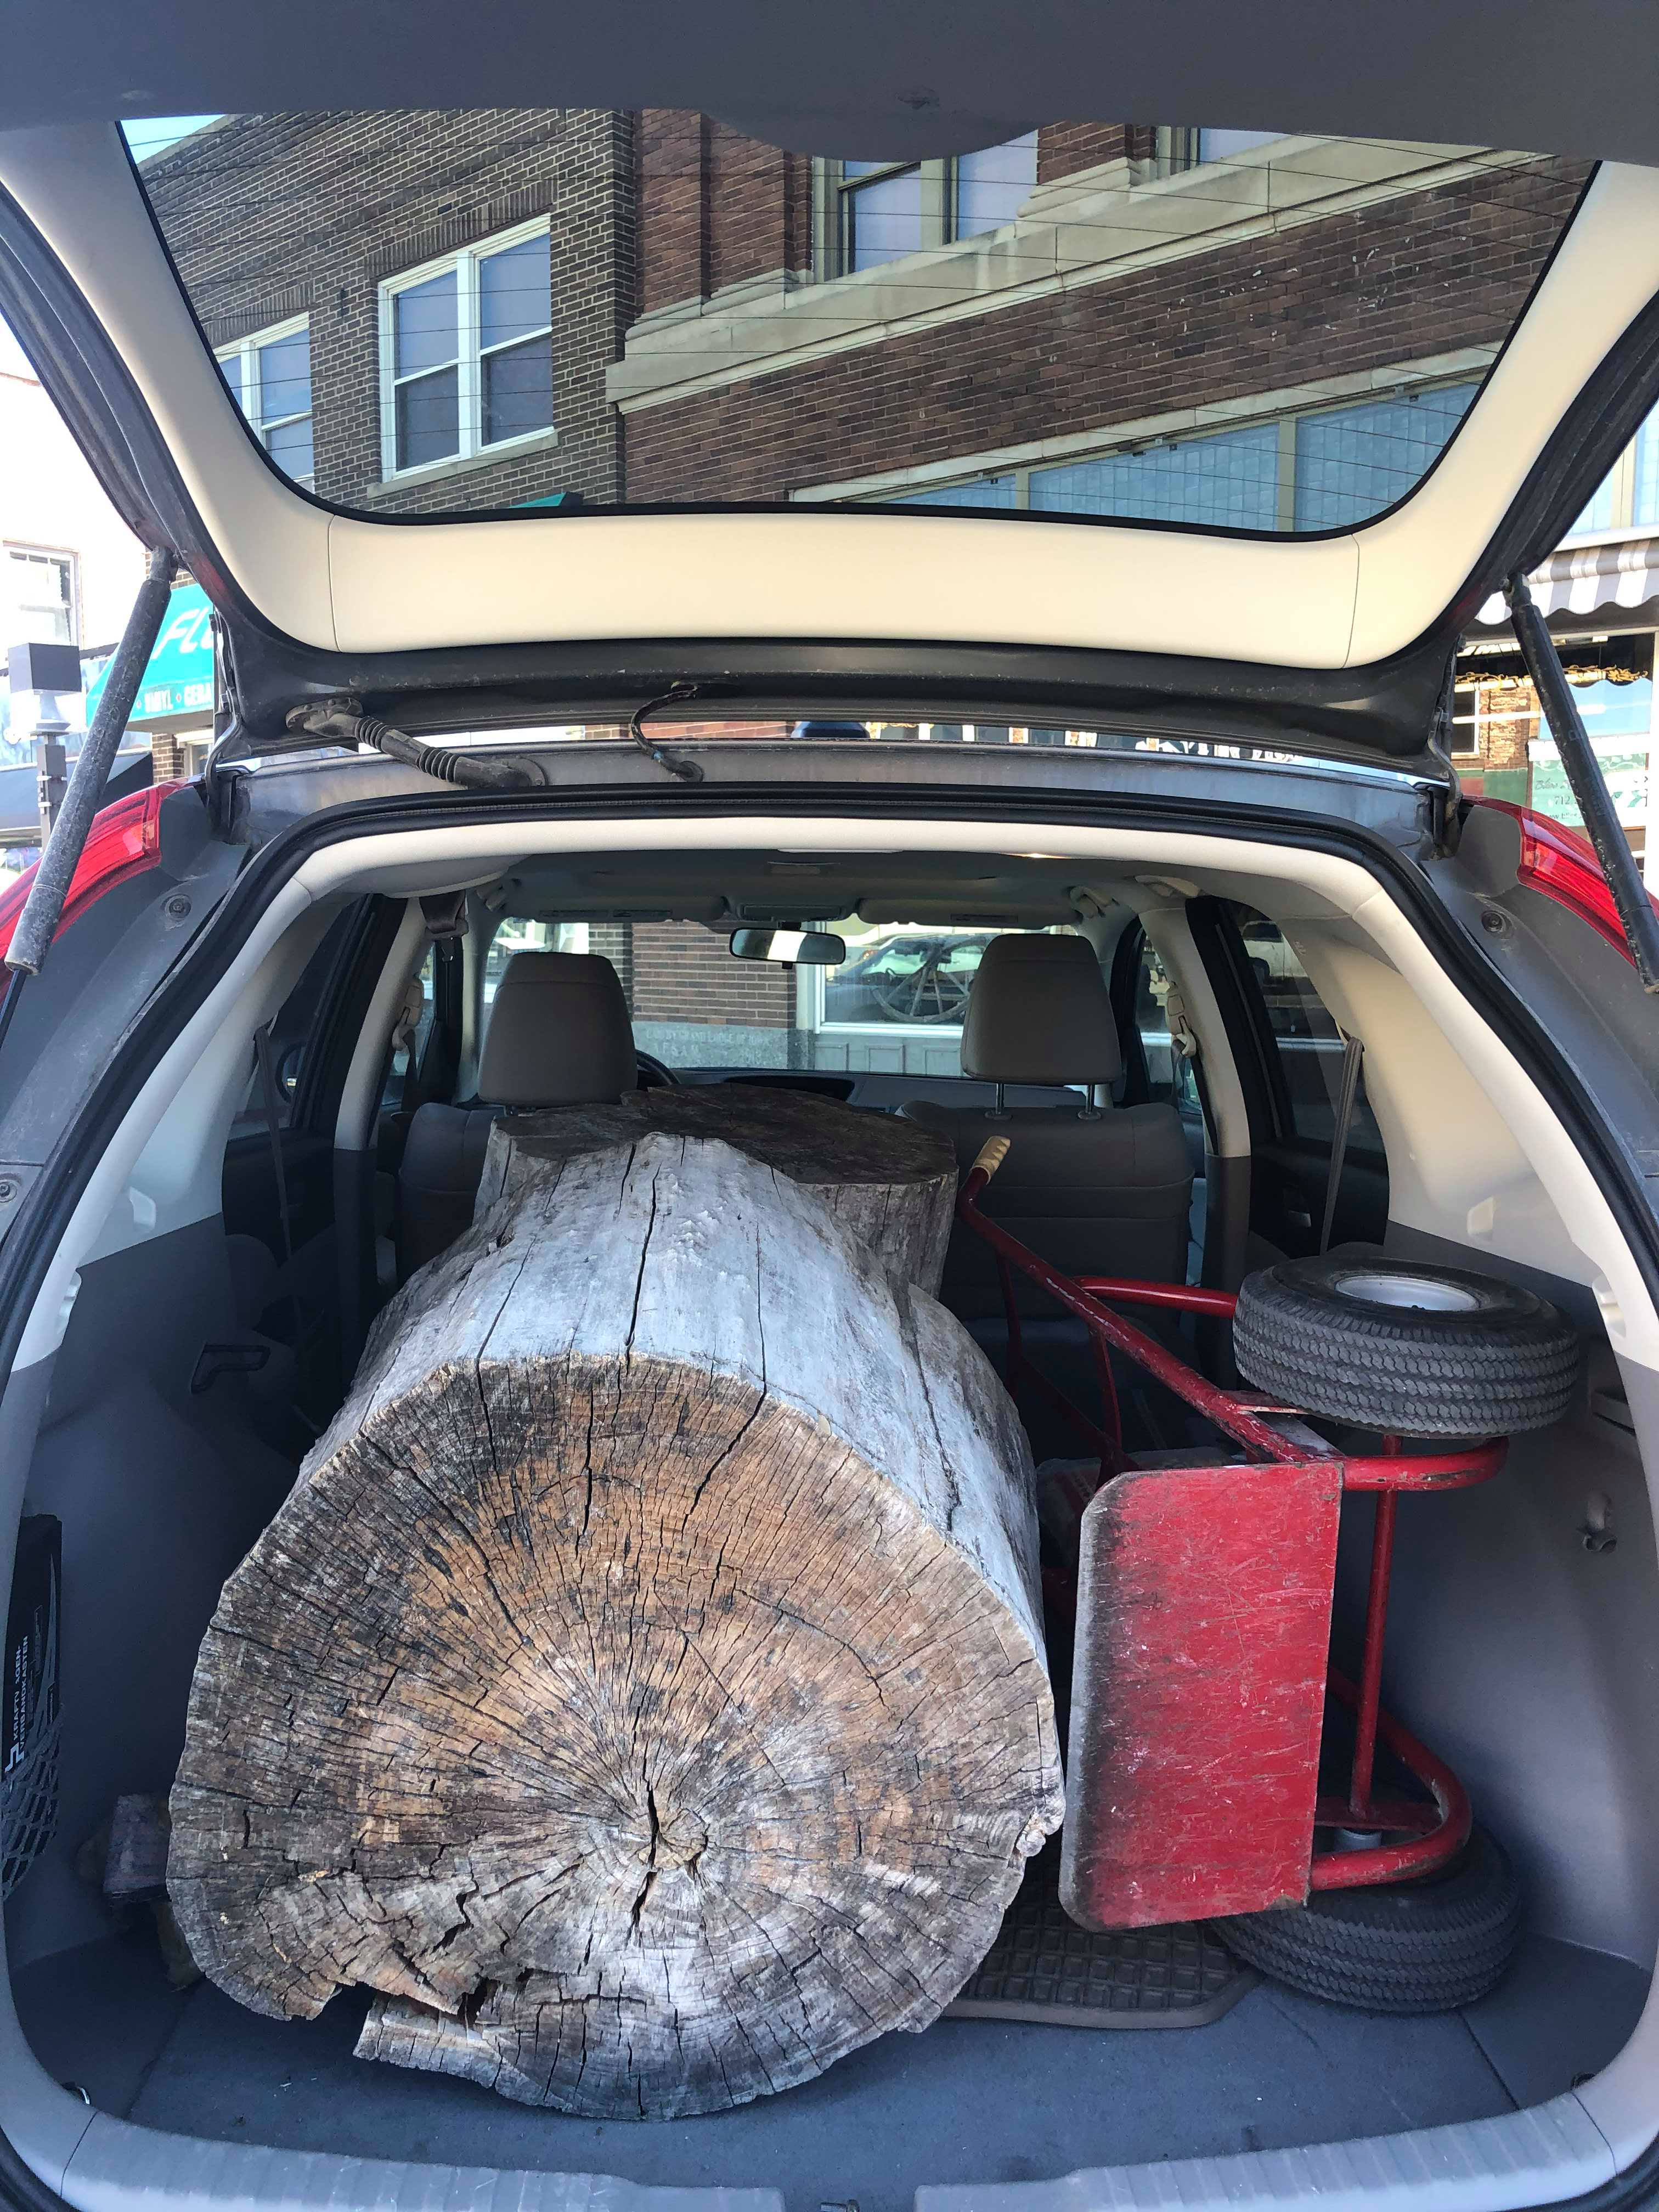
I’m planning to tackle quite a few DIY projects for this space, and I finished the first one yesterday! I originally planned to make a coffee table with wood and strips of leather, but that was before I saw these stumps in the lobby of an antique store.


I frequent Celia’s Antiques in Storm Lake, Iowa. The owner, Celia, is a cheerful and welcoming woman who is always sporting a pair of oversized overalls, and has a gift for styling her unique collection of antiques. These two stumps were in the lobby, and I “went out on a limb” to ask her how much she wanted for them. Her exact, surprised response was, “You want the stumps?!?!” I told her that, yes, I very much “wanted the stumps” and would like to buy them. She told me that if I wanted them, I could just take them! I couldn’t be-leaf it!
I came back later with my husband and our Honda CRV, ready to load them up and make some magic. Celia gave me a small cart to get them into the car, and sent me home with it so I could get them out, too!
On the way home, we stopped by Rent-All in Storm Lake so that I could rent a sander. (I actually don’t own any tools, but I am hoping to pick up a few now that I have discovered a love for projects galore!)
Rent-All is a magical place where you can rent anything from a hand sander to a bouncy house to a forklift! Our friend from church is the manager, and he always hooks us up with tools for projects and inflatables for church parties.

I asked him if he knew how I could level out the uneven stump, and he went out to the car to take a look. He said it would be easy enough with a chainsaw, and they had it leveled that afternoon!
I made a quick trip to Ace Hardware for my supplies before heading home.

If you want to do this project, you’ll only need a few supplies. (Some of these links are Amazon affiliate links, which means I will make a small percent commission at no extra cost to you if you decide to purchase anything from Amazon through my links.)
DIY Stump Coffee Table Supplies
- A dried-out stump of your choice (or two!)
- Dewalt Hand Sander
- Minwax Polycrylic- Semigloss (I bought a gallon, but only used about 1/4 of it for two coffee table sized stumps. I would recommend buying a quart for this size or smaller project.)
- 80 Grit Sandpaper
- 100 Grit Sandpaper
- 220 Grit Sanding Block
- 1 yard felt (My Walmart had precut yards of felt in the fabric section)
- Nail-on Furniture Glides (four per stump)
- Mask to cover nose and mouth
- Safety Glasses

Instructions
- Choose your stumps. If your stumps are freshly cut, they will need time to dry out completely. (These stumps were inside the store lobby for a few years, so this step was already finished!) Make sure that your stump is not rotten or infested with bugs. If you are choosing two stumps and you have options, try to pick two that aren’t exactly the same height. You can look around on Craigslist and Facebook Marketplace for people getting rid of stumps, or contact a local lumber yard or tree removal service. You might get lucky!
- Remove the bark. This step was also already finished when I got my stumps. If your stump has bark, you will need to remove all of it with a hammer and chisel or pry-bar.
- Sand top and sides with 80 grit sandpaper. I sanded the top very thoroughly, and sanded the sides where it was possible with the electric sander. I wanted the smooth parts of the stump to be a little smoother, but didn’t worry about smoothing out every nook and cranny. They are trees, after all, and I didn’t want them to look like a bowling alley.
- Sand top and sides with 100 grit sandpaper. The lower the “grit”, the more abrasive the sandpaper will be. Always start with the lower number, and move up to the higher grit.
- When you are content with the smoothness, sand lightly with 220 grit for a reeeally smooth finish before coating.
- Wipe away dust. You can use a wet rag- just allow to dry completely before moving on.
- If you want to stain the stumps, do that before the clear coat. I chose not to stain my stumps because I like the natural look of the unfinished wood. (And definitely not because it was just less work! 😉 )
- Apply first coat of poly. This step makes a huge difference. I used clear, semi-gloss polycrylic, which darkened the stumps just a bit. Watch for drips around the top and out of any cracks down the sides.
- After poly is dry, sand with 220 grit sanding block. Repeat this poly/sand process until you’ve done three or four coats of poly with a light sanding in between.
- Cut out felt for the bottom of the stump. I flipped my stump upside down after the poly was completely dry, and draped the bottom with my yard of felt. I roughly cut out a piece of felt that was about an inch smaller in circumference than the stump.
- Nail in the furniture glides. I tried to space them out evenly around the stump. (I’ll share a photo of this step later.)
- Secure the edges of the felt with tiny nails.
- Admire your new fancy coffee table and laugh at all of the places that sell them for $1,000+
- Take some ibuprofen because your back will probably KILL in the morning (especially if you had to move the stumps around by yourself!)
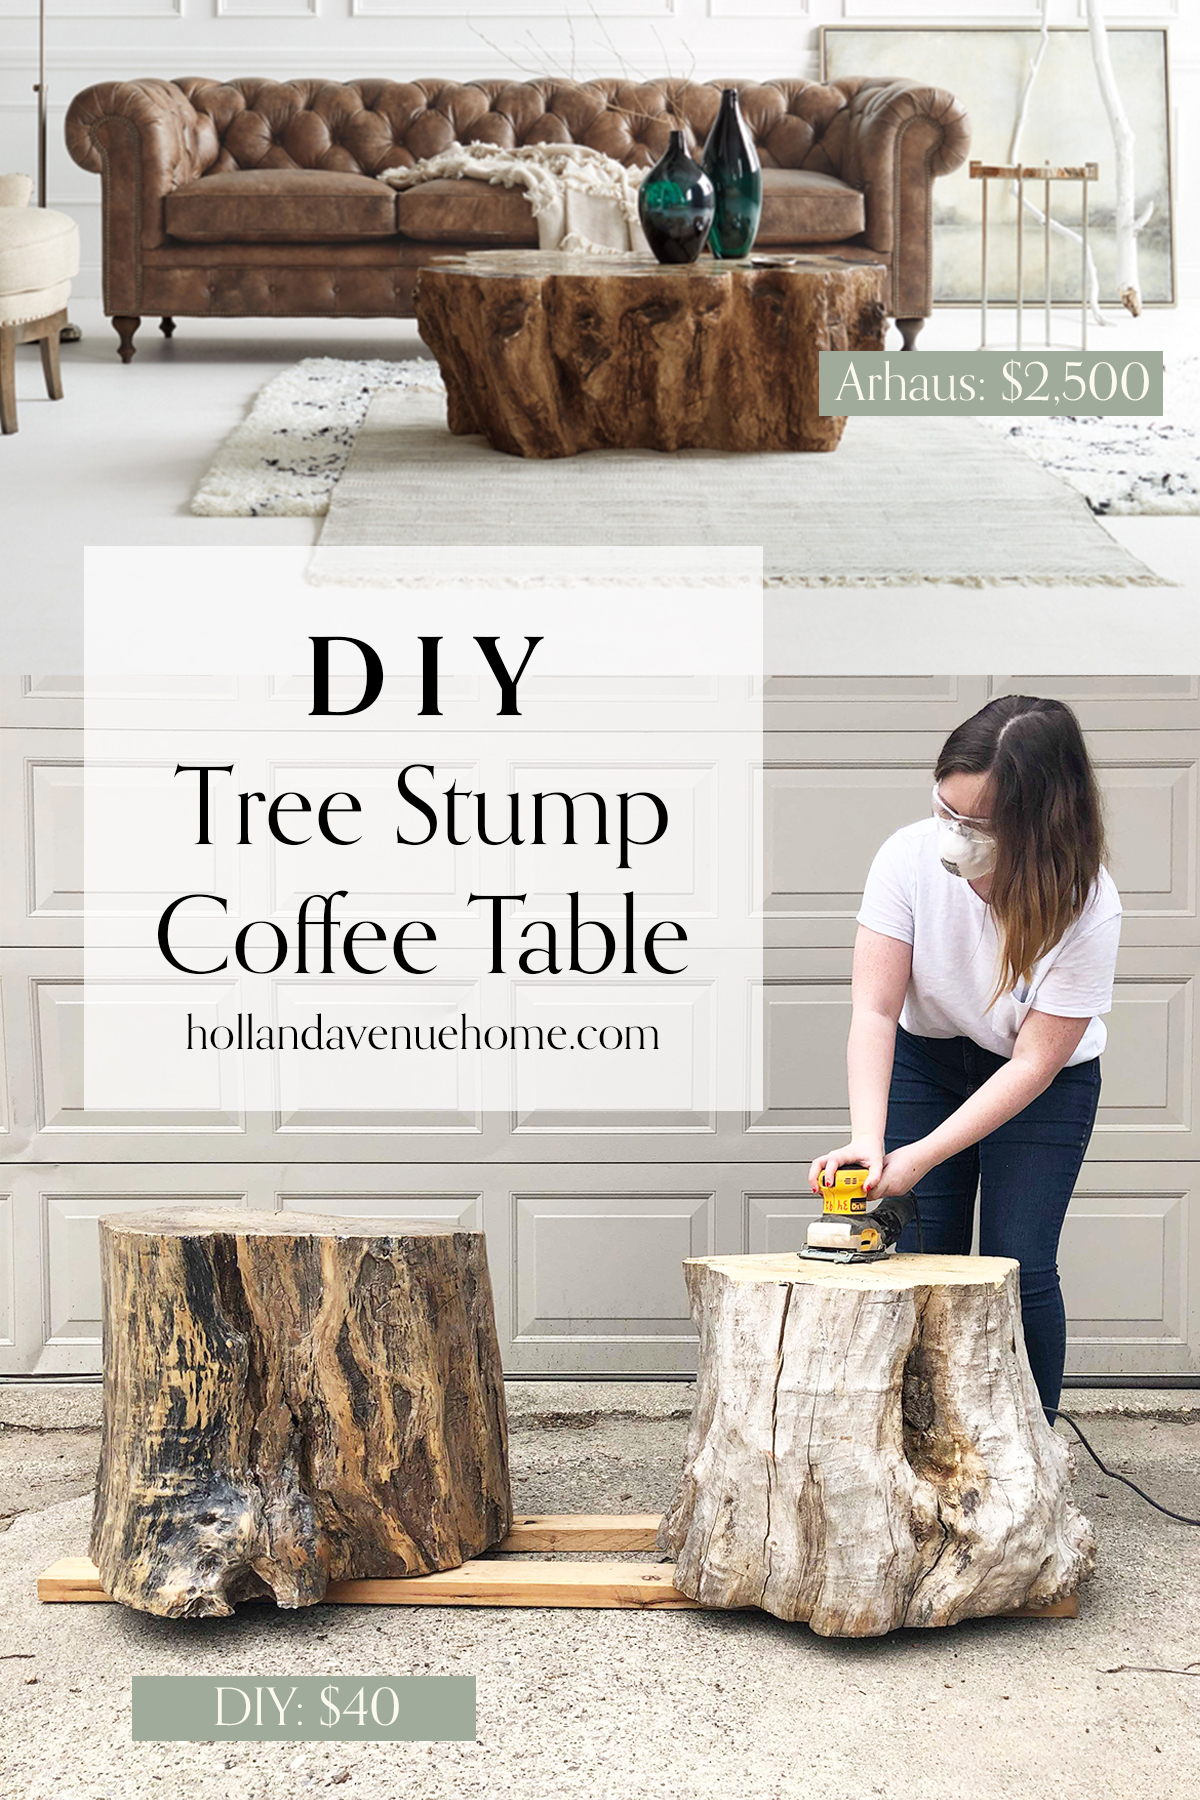
Here are some photos of my process. This is a beginner level project, and using this hand sander is actually the first time I’ve used a power tool by myself!

This photo was taken after completing the stump on the left, just before starting on the other stump. The poly gave it a really nice, high-end finish, while maintaining the organic stump-like features.

One finished stump, and one raw stump. Just a little bit of work made a tree-mendous difference!

This is the bottom of the first stump after the poly was dry.

To create the felt base, I draped my yard of felt over the stump and roughly cut a piece that was 1″ in diameter smaller than the edges of the stump.

I nailed in the furniture glides, and then secured the edges of the felt with tiny nails. (Sorry, I forgot to take a photo of this step!)

I don’t have a photo of both finished stumps because they are still in my garage, and we’ve had rain today! I can’t wait to see them em-bark on their new journey as coffee tables in my sunroom.
This project took me two afternoons (about 7-8 hours total), and about $35-$40 in supplies. (I bought a $50 gallon of poly, but only used 1/4 of it, averaging about $12)
Cost Breakdown
Stumps: free
Sandpaper: $15
Poly: $12 (would be $20 to buy a quart)
Felt: $2
Nail-in Furniture Glides: $8
Total: About $40
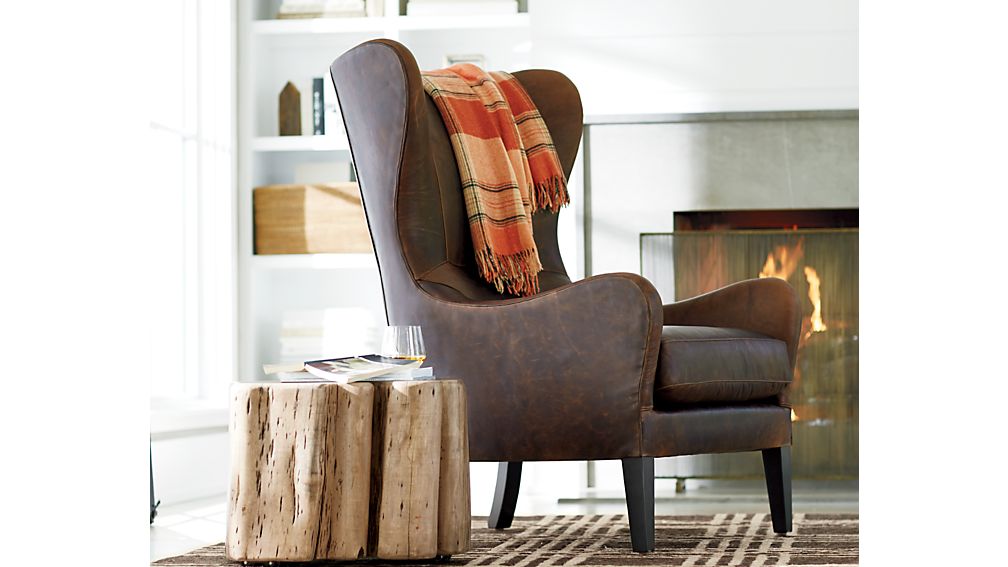
If you want to skip the DIY and just buy a stump coffee table, here are a few options. First, allow me to wish you luck in getting approved for a coffee table loan, and second, allow me to walk away so I don’t accidentally laugh to your face about how expensive these are.
- $2,500 Arhaus Clayhill Coffee Table (The top is composed of 1/4 inch slices of petrified wood. The table itself is made from resin. Oh, and shipping is $500.)

2. $1,499 Arhaus Root Outdoor Bleached Coffee Table (This is made from concrete)

3. $449 Crate & Barrel Teton Natural Solid Wood Table (Okay, at least this one is real wood!)
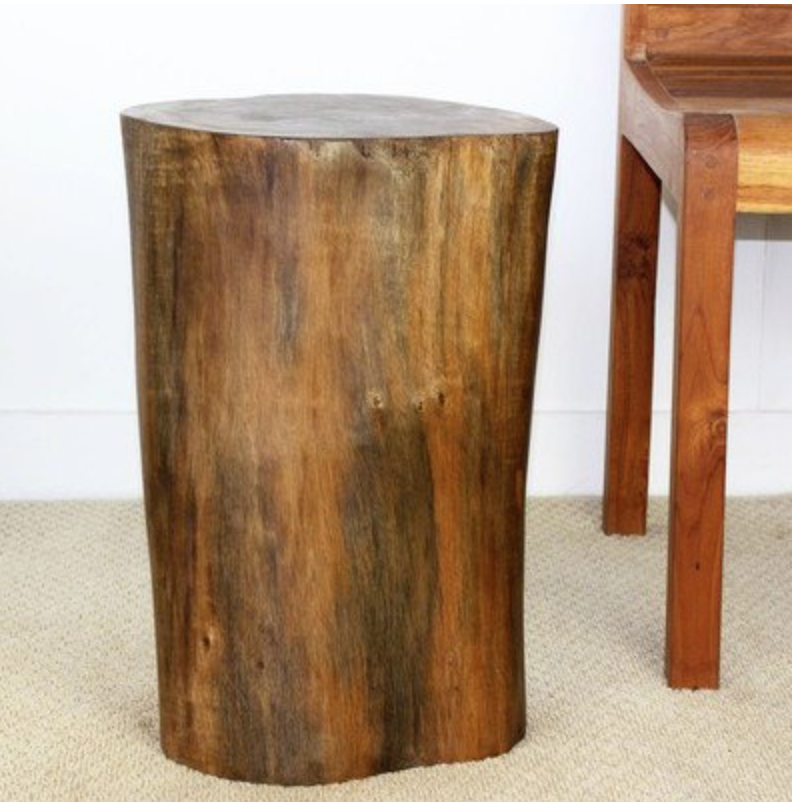
4. $287.25 Etsy seller Shefford Woodlands (this is a more affordable option if you really love the look, but don’t think you can find stumps. This listing is for one large stump.)

5. $120 Amazon Teak Reclaimed Stump or Stool (Here is the normal-person option if you really want the look, but take note that it is only 10 inches wide and about 16 inches tall!)
I documented the whole process of finishing these stumps on my Instagram stories! You can follow along there for behind-the-scenes progress before it comes to the blog. I’ll be sharing weekly updates here on my blog, and you can get reminders every time a post goes live through entering your email into the “brighten my inbox” tab to the right of this post.
Don’t forget to check out the design plans of the Featured Designers and other Guest Designers on the One Room Challenge Blog.
Thanks for following along, and stay tuned for next week’s project- PAINT!!!
Catch up on all six weeks of my Spring 2019 One Room Challenge:
Week 1: High Style, Low Budget Sunroom Transformation
Week 2: DIY Tree Stump Coffee Tables
Week 4: DIY $150 Bed Swing and Painted Concrete Floors
Week 6: Before & After High Style, Low Budget Sunroom
![]()

Don’t forget to save this post on Pinterest!

Leave a Reply