
(this post contains affiliate links)
*Update* I recently wrote a post about how this project looks two years later! You can read all about it and find answers to frequently asked questions in the post below. I’ve also installed subway tile since this original post.
Chalk Painted Kitchen Cabinets Two Years Later
If you’re finding me for the first time through this post, welcome to my home on the internet! I’m Avery and I live in a charming 1910 Craftsman style parsonage in rural Iowa with my husband, Ben. You can learn more about me here, and see some of my previous design work in my Basement Family Game Room, High Style, Low Budget Sunroom from the Spring 2019 One Room Challenge, and Creating a Cozy Home Library. My design style is warm, whimsical, and collected. I love sharing real-life home inspiration for people like me who want big style with a tiny budget. You can follow along with my homemaking adventures and thrifting trips & tips on the Holland Avenue Home Instagram.

I am thrilled to finally share about our DIY kitchen remodel! My husband and I live in a 1910 craftsman style parsonage in small town Iowa. Ben is the pastor at our church, and we have been incredibly blessed to live in this home! Our church owns and maintains the house, so we only make small changes and updates. We are fortunate that the church and previous ministers have maintained this house very well, so we have only made minor decor changes to suit our preferences. (painting the walls and updating a few light fixtures).
This house is full of beautiful, original wood trim, built-ins, and doors from 1910. But, the kitchen was expanded and remodeled sometime in the 1980’s. The dark wood cupboards had normal wear and tear, and the off-white linoleum floors had seen better days. The church gave us a small budget to “redo” the kitchen, and I wanted to keep the cost as low as possible. We don’t need new appliances or fixtures or flooring, so I found creative ways to brighten and update the room without spending much money. I read every article out there about painting kitchen cupboards, and decided to go for it!
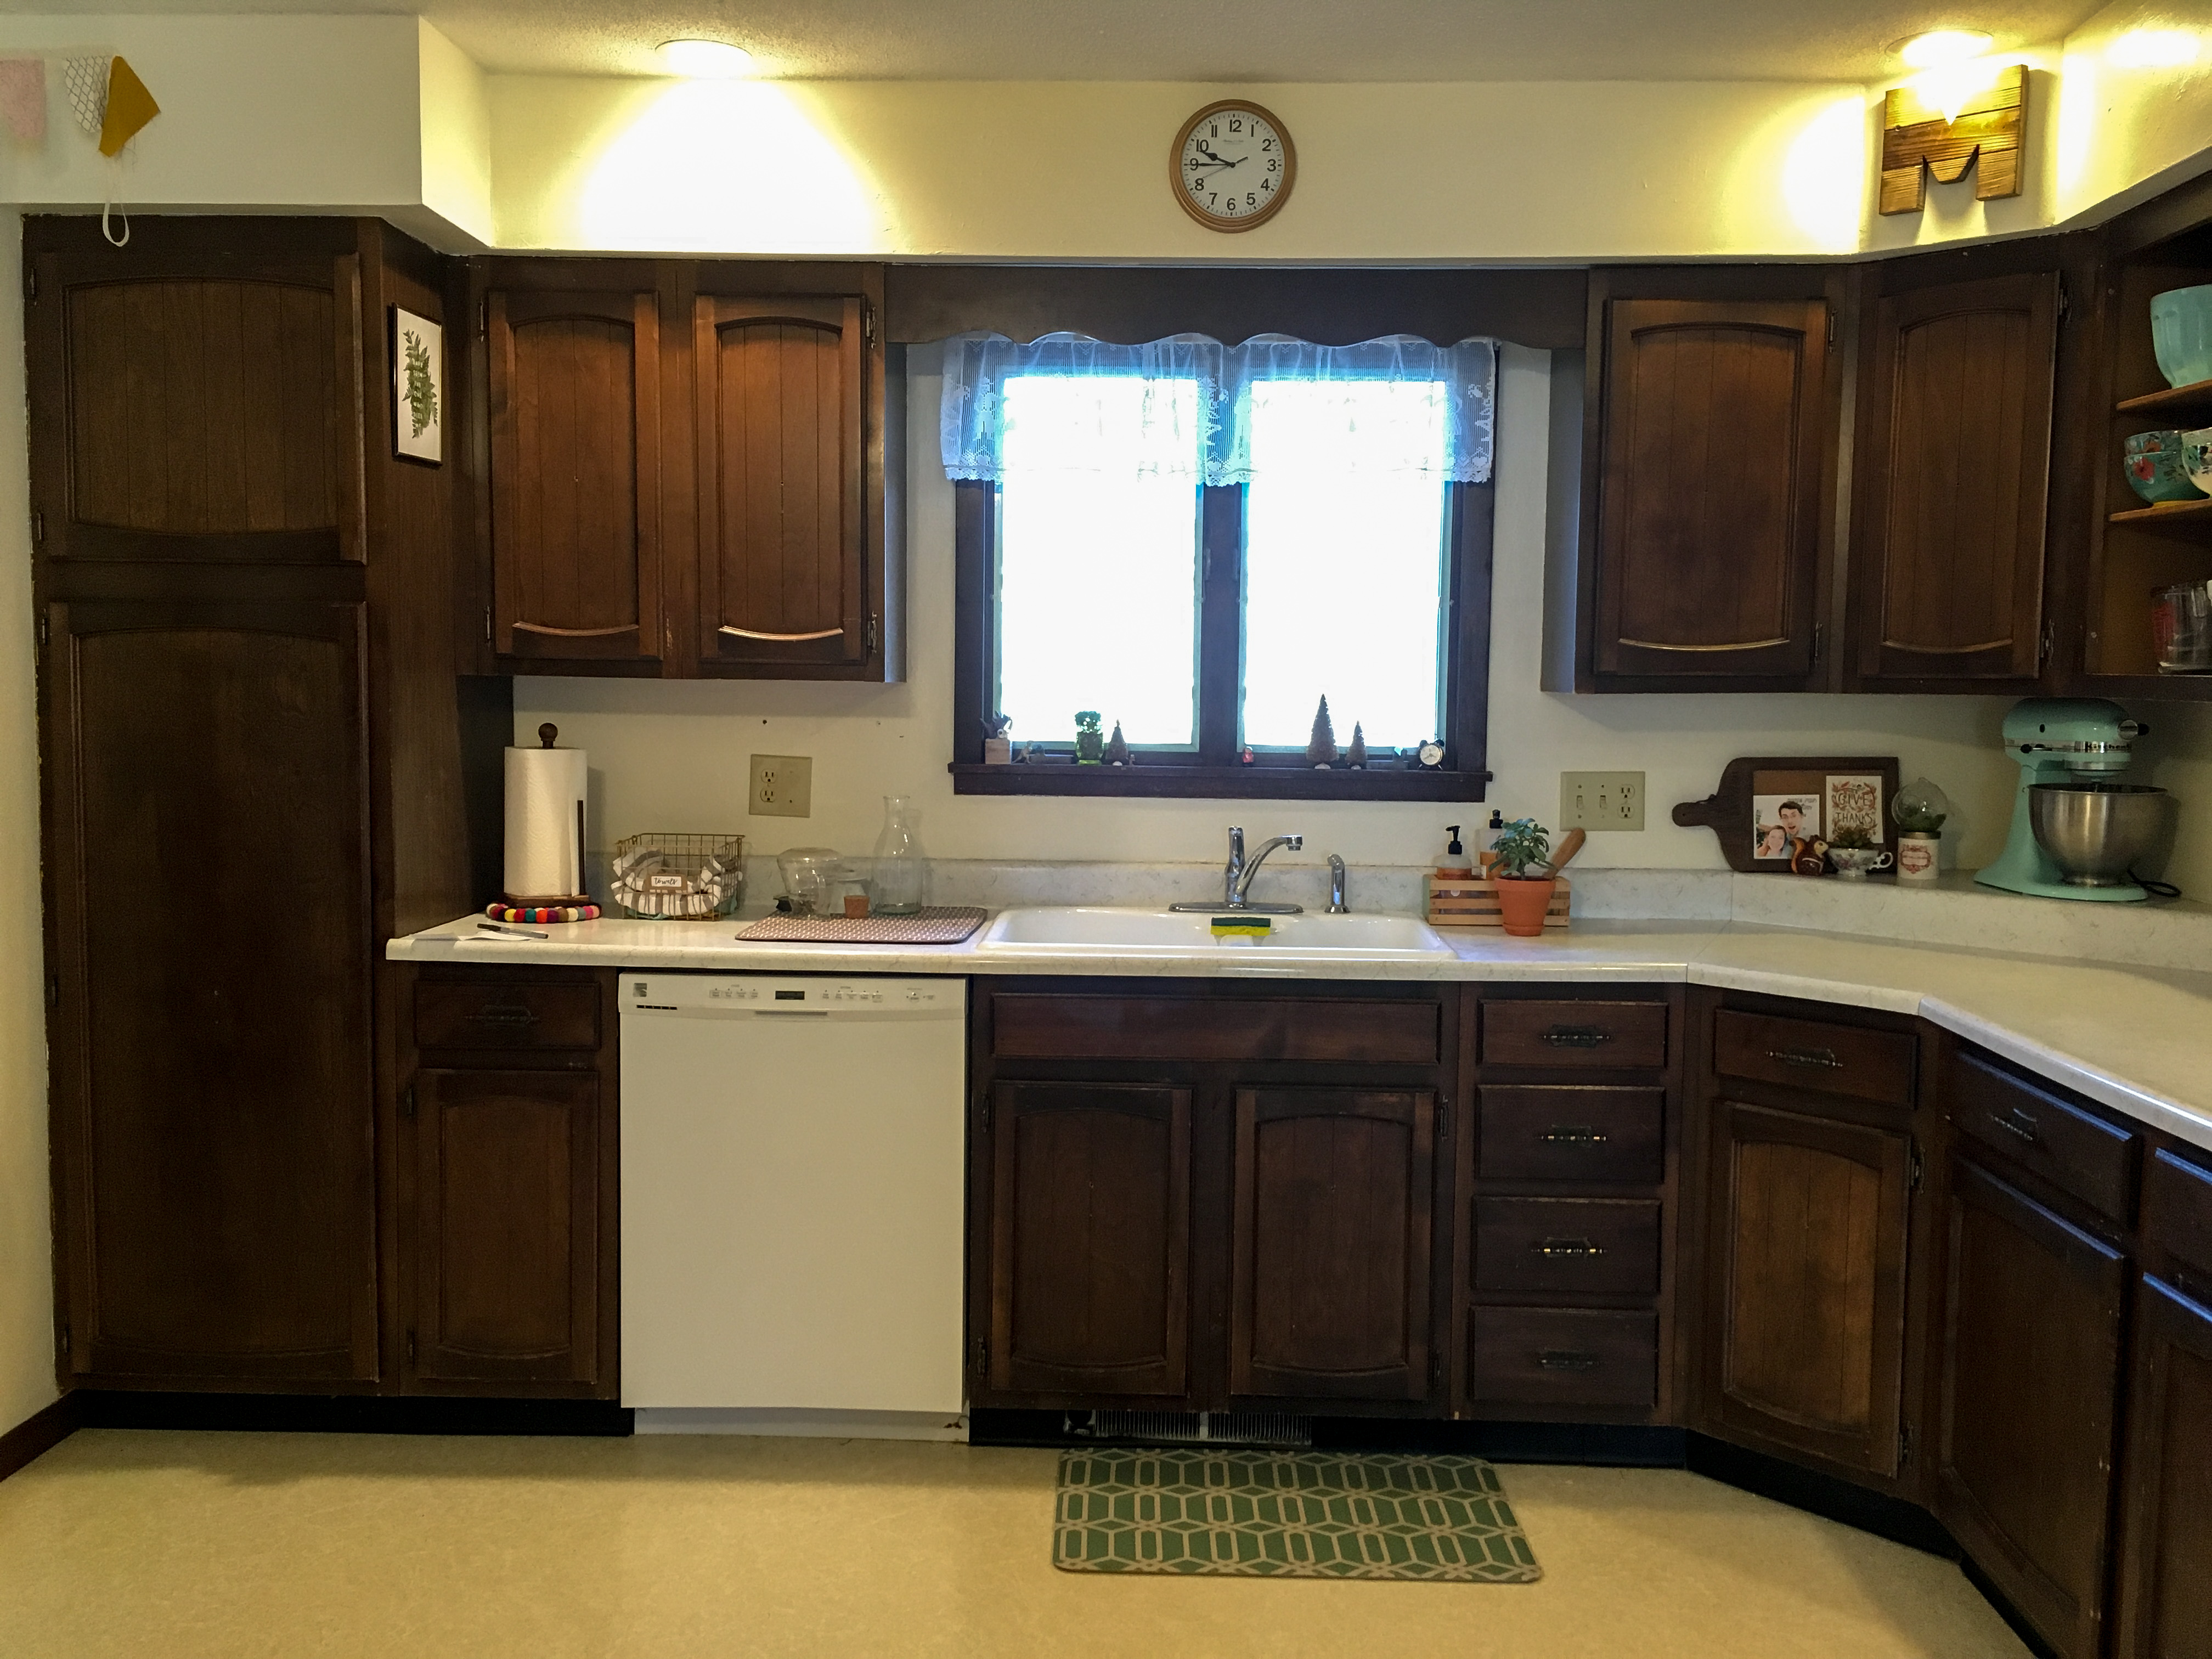
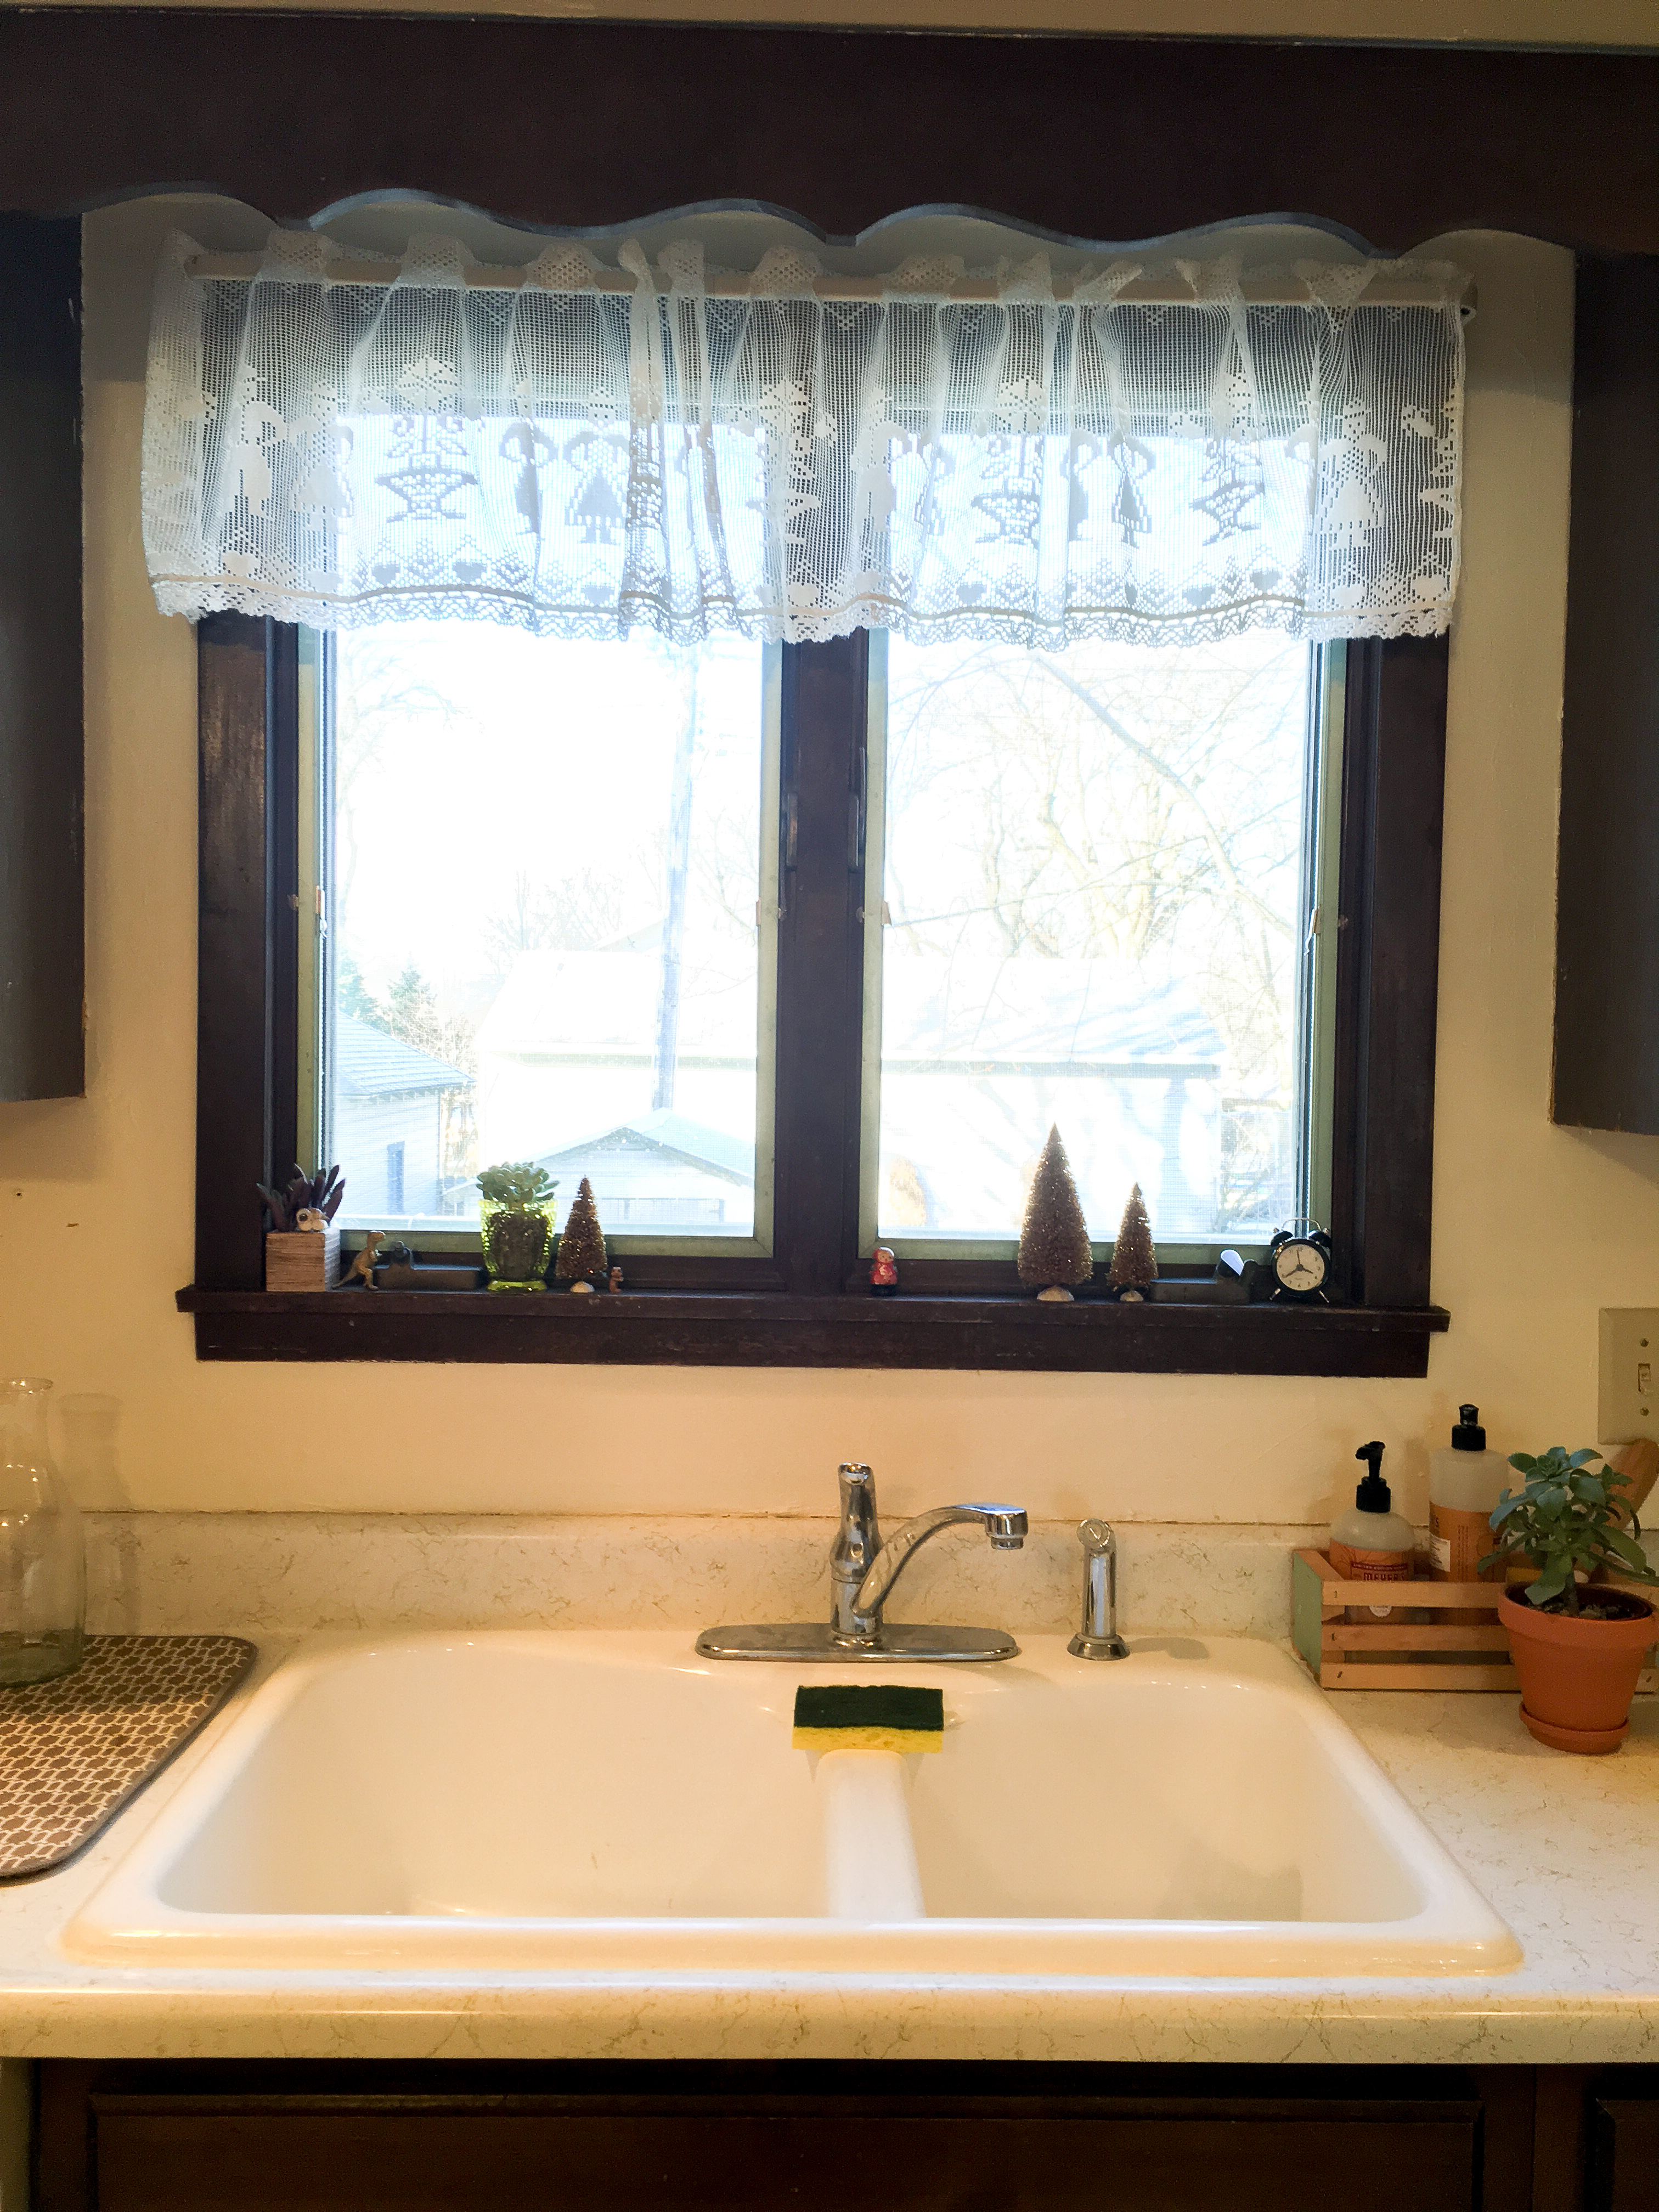
Here are some before photos of our kitchen. There is only one window above the sink, which didn’t provide much natural light. The dark cupboards sucked any brightness out of the room, and the white floors gave off a hospital vibe that I did not love. The walls used to be a warm terra cotta color, so the newer white paint still had some orange undertones.


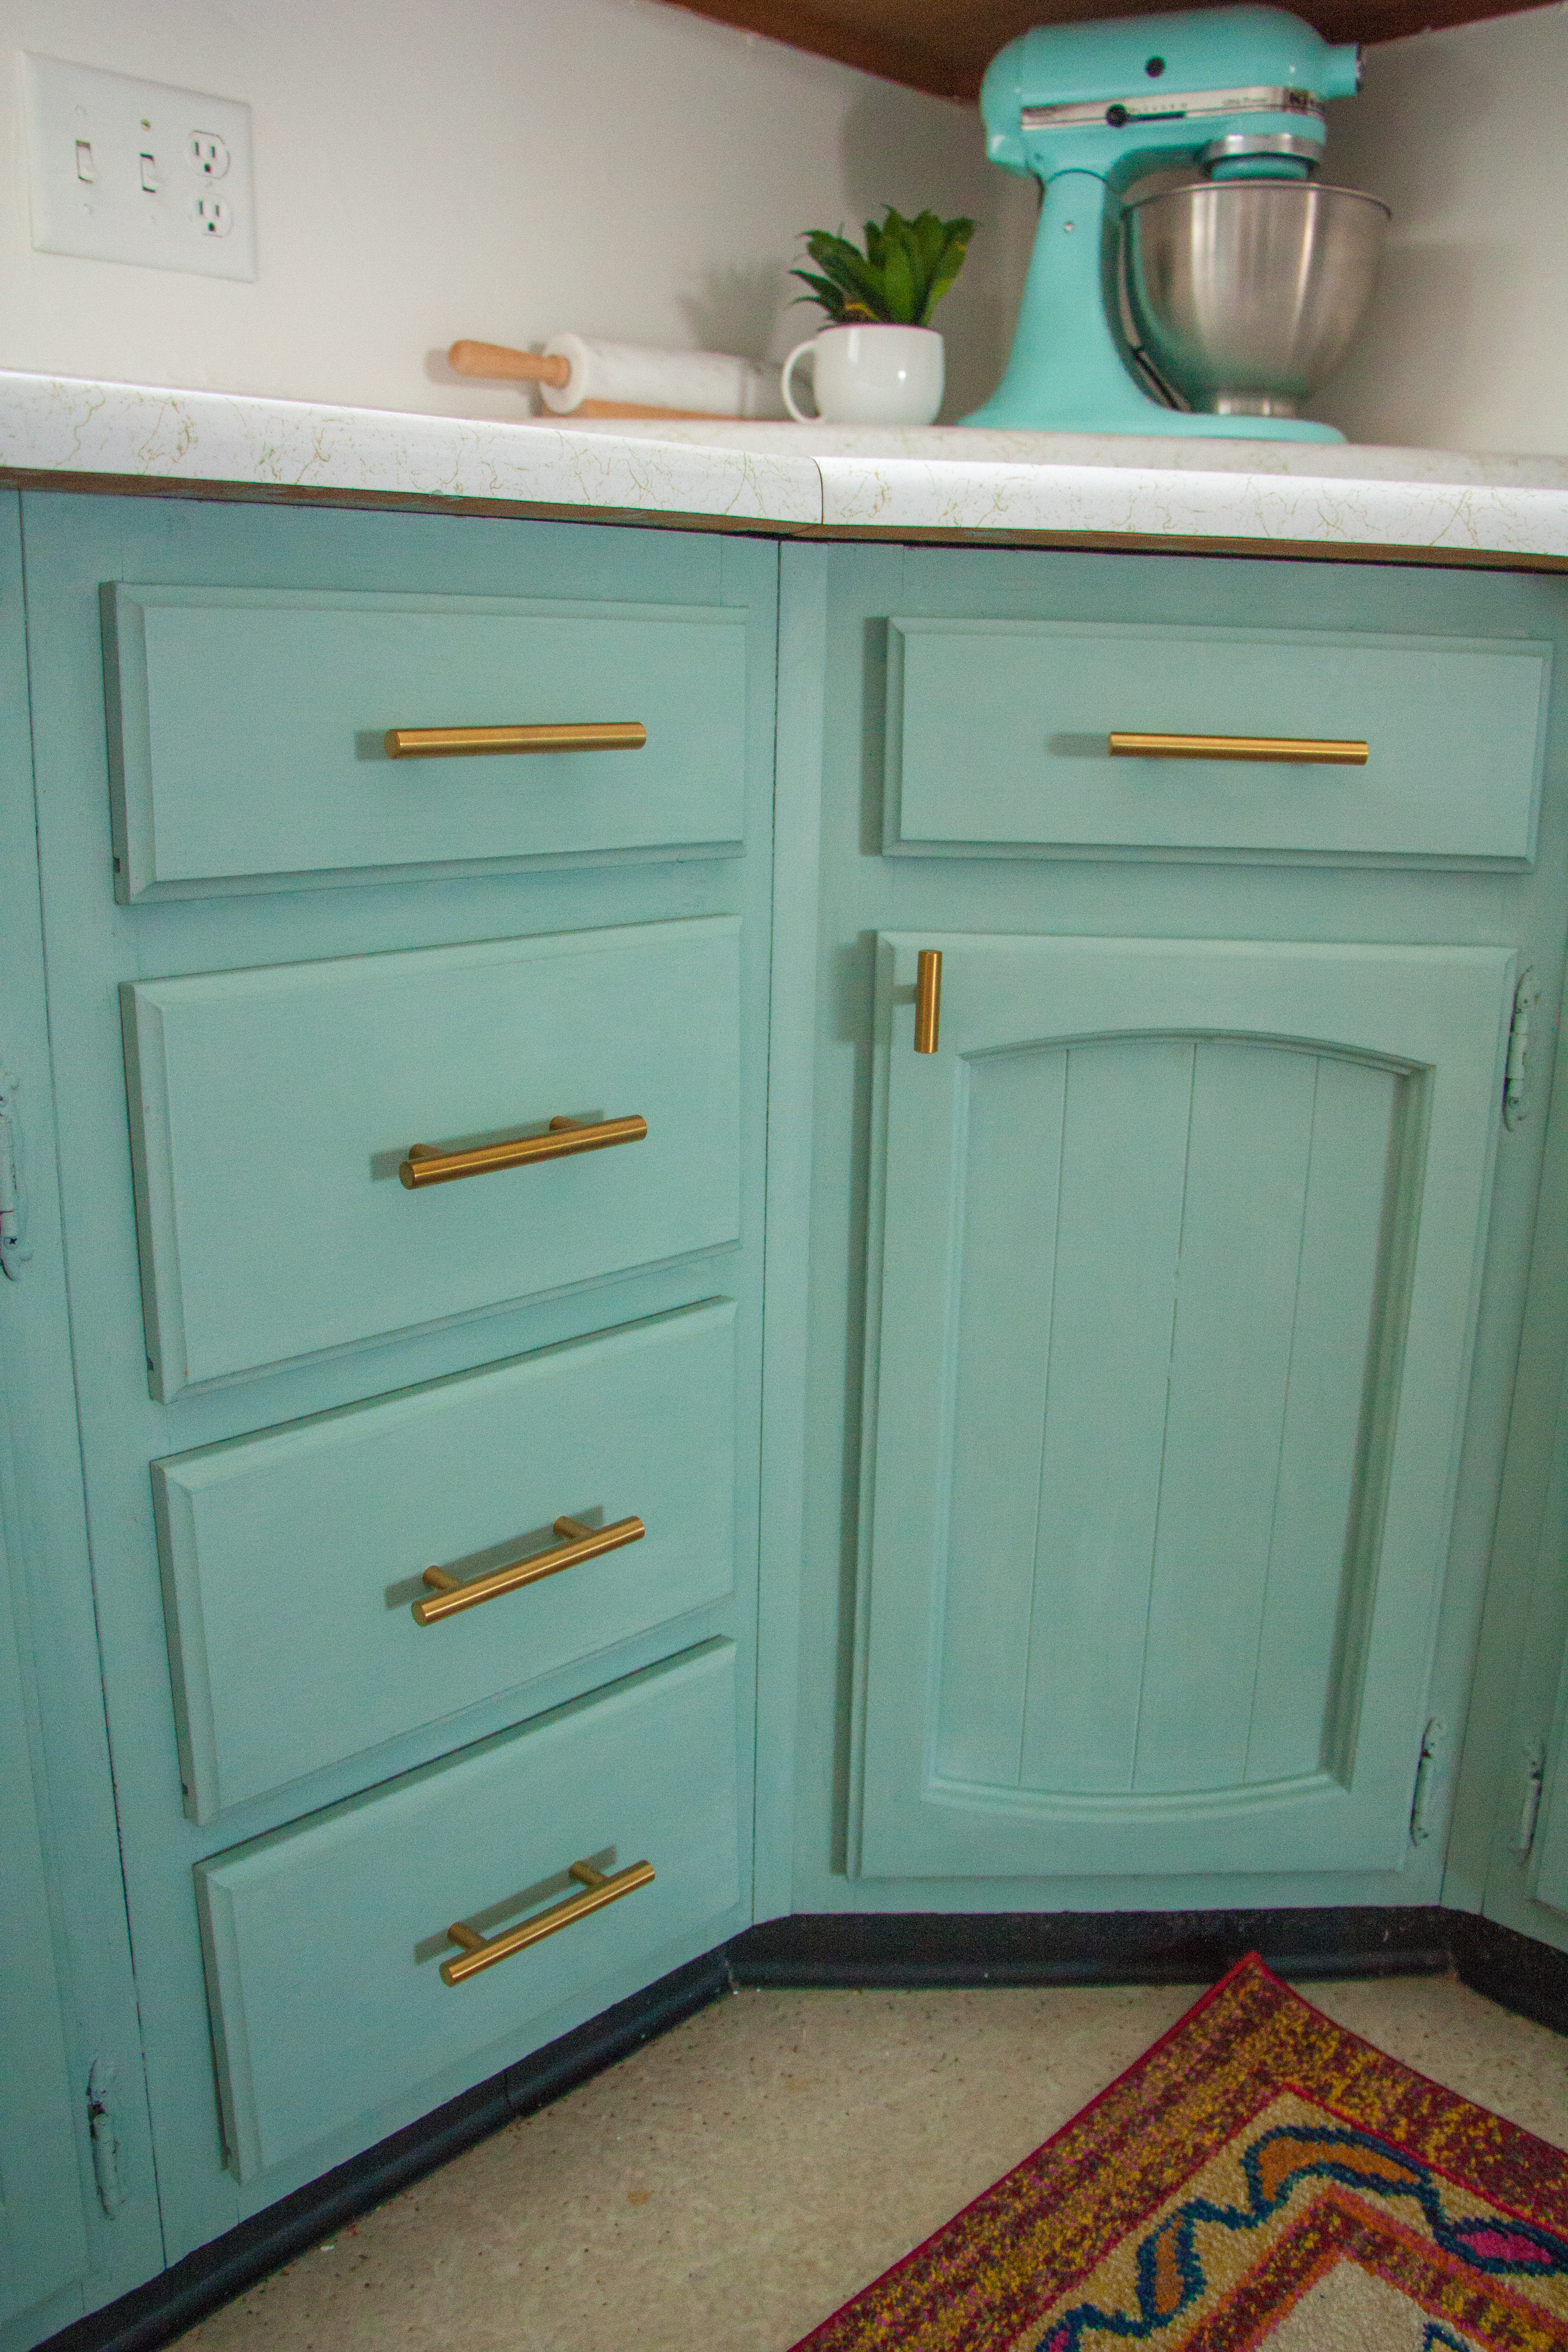
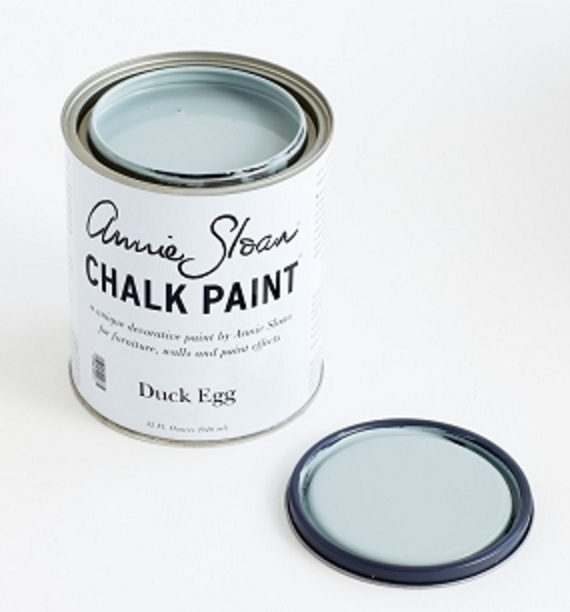
I used Annie Sloan Chalk Paint for the cupboards, and would stand behind that decision over and over. A lot of companies are starting to produce “chalk paint”, but Annie Sloan invented it! I used one quart of Pure White to do two coats on the upper cabinets, and one quart of Duck Egg Blue to do two coats on the lowers. Chalk paint is unique because it requires minimal surface prep. The traditional method of painting cabinets requires taking off the hardware and doors, sanding all surfaces, priming, and painting multiple coats. With chalk paint, you remove the hardware, leave the doors on, and don’t need to use primer!
You do need to degrease the cabinets really, really well with a degreasing soap. (I used Dawn). This step is SO important. Please please please do not skip this step or rush through it. If there are any grease spots on your cabinets, the grease will show through the paint no matter how many coats you apply! After scrubbing our cabinets multiple times, I still had a few small spots show through on the uppers. This brings me to my number one tip for a DIY kitchen remodel.
Approach your DIY remodel with realistic expectations.
I did not have perfect, new cabinets before they were painted. They had stains and scratches and wear and tear. While I was painting, I was disappointed that my cabinets didn’t magically look brand new and blemish free. How silly of me! If you start with an old kitchen, you will still have an old kitchen! But don’t let this discourage you from putting in the hard work to give it an update. When you get really, really close and examine the cabinets, they have some imperfections. But do you ever really meticulously examine your cabinets? I know I don’t! Being in our kitchen is so much more pleasant now. It is bright and colorful and full of light. If I could go back, I would still definitely decide to paint the cabinets! So if you’re considering it, but are afraid of the results, just do it! It is the most affordable way to dramatically change the look and feel of your kitchen.
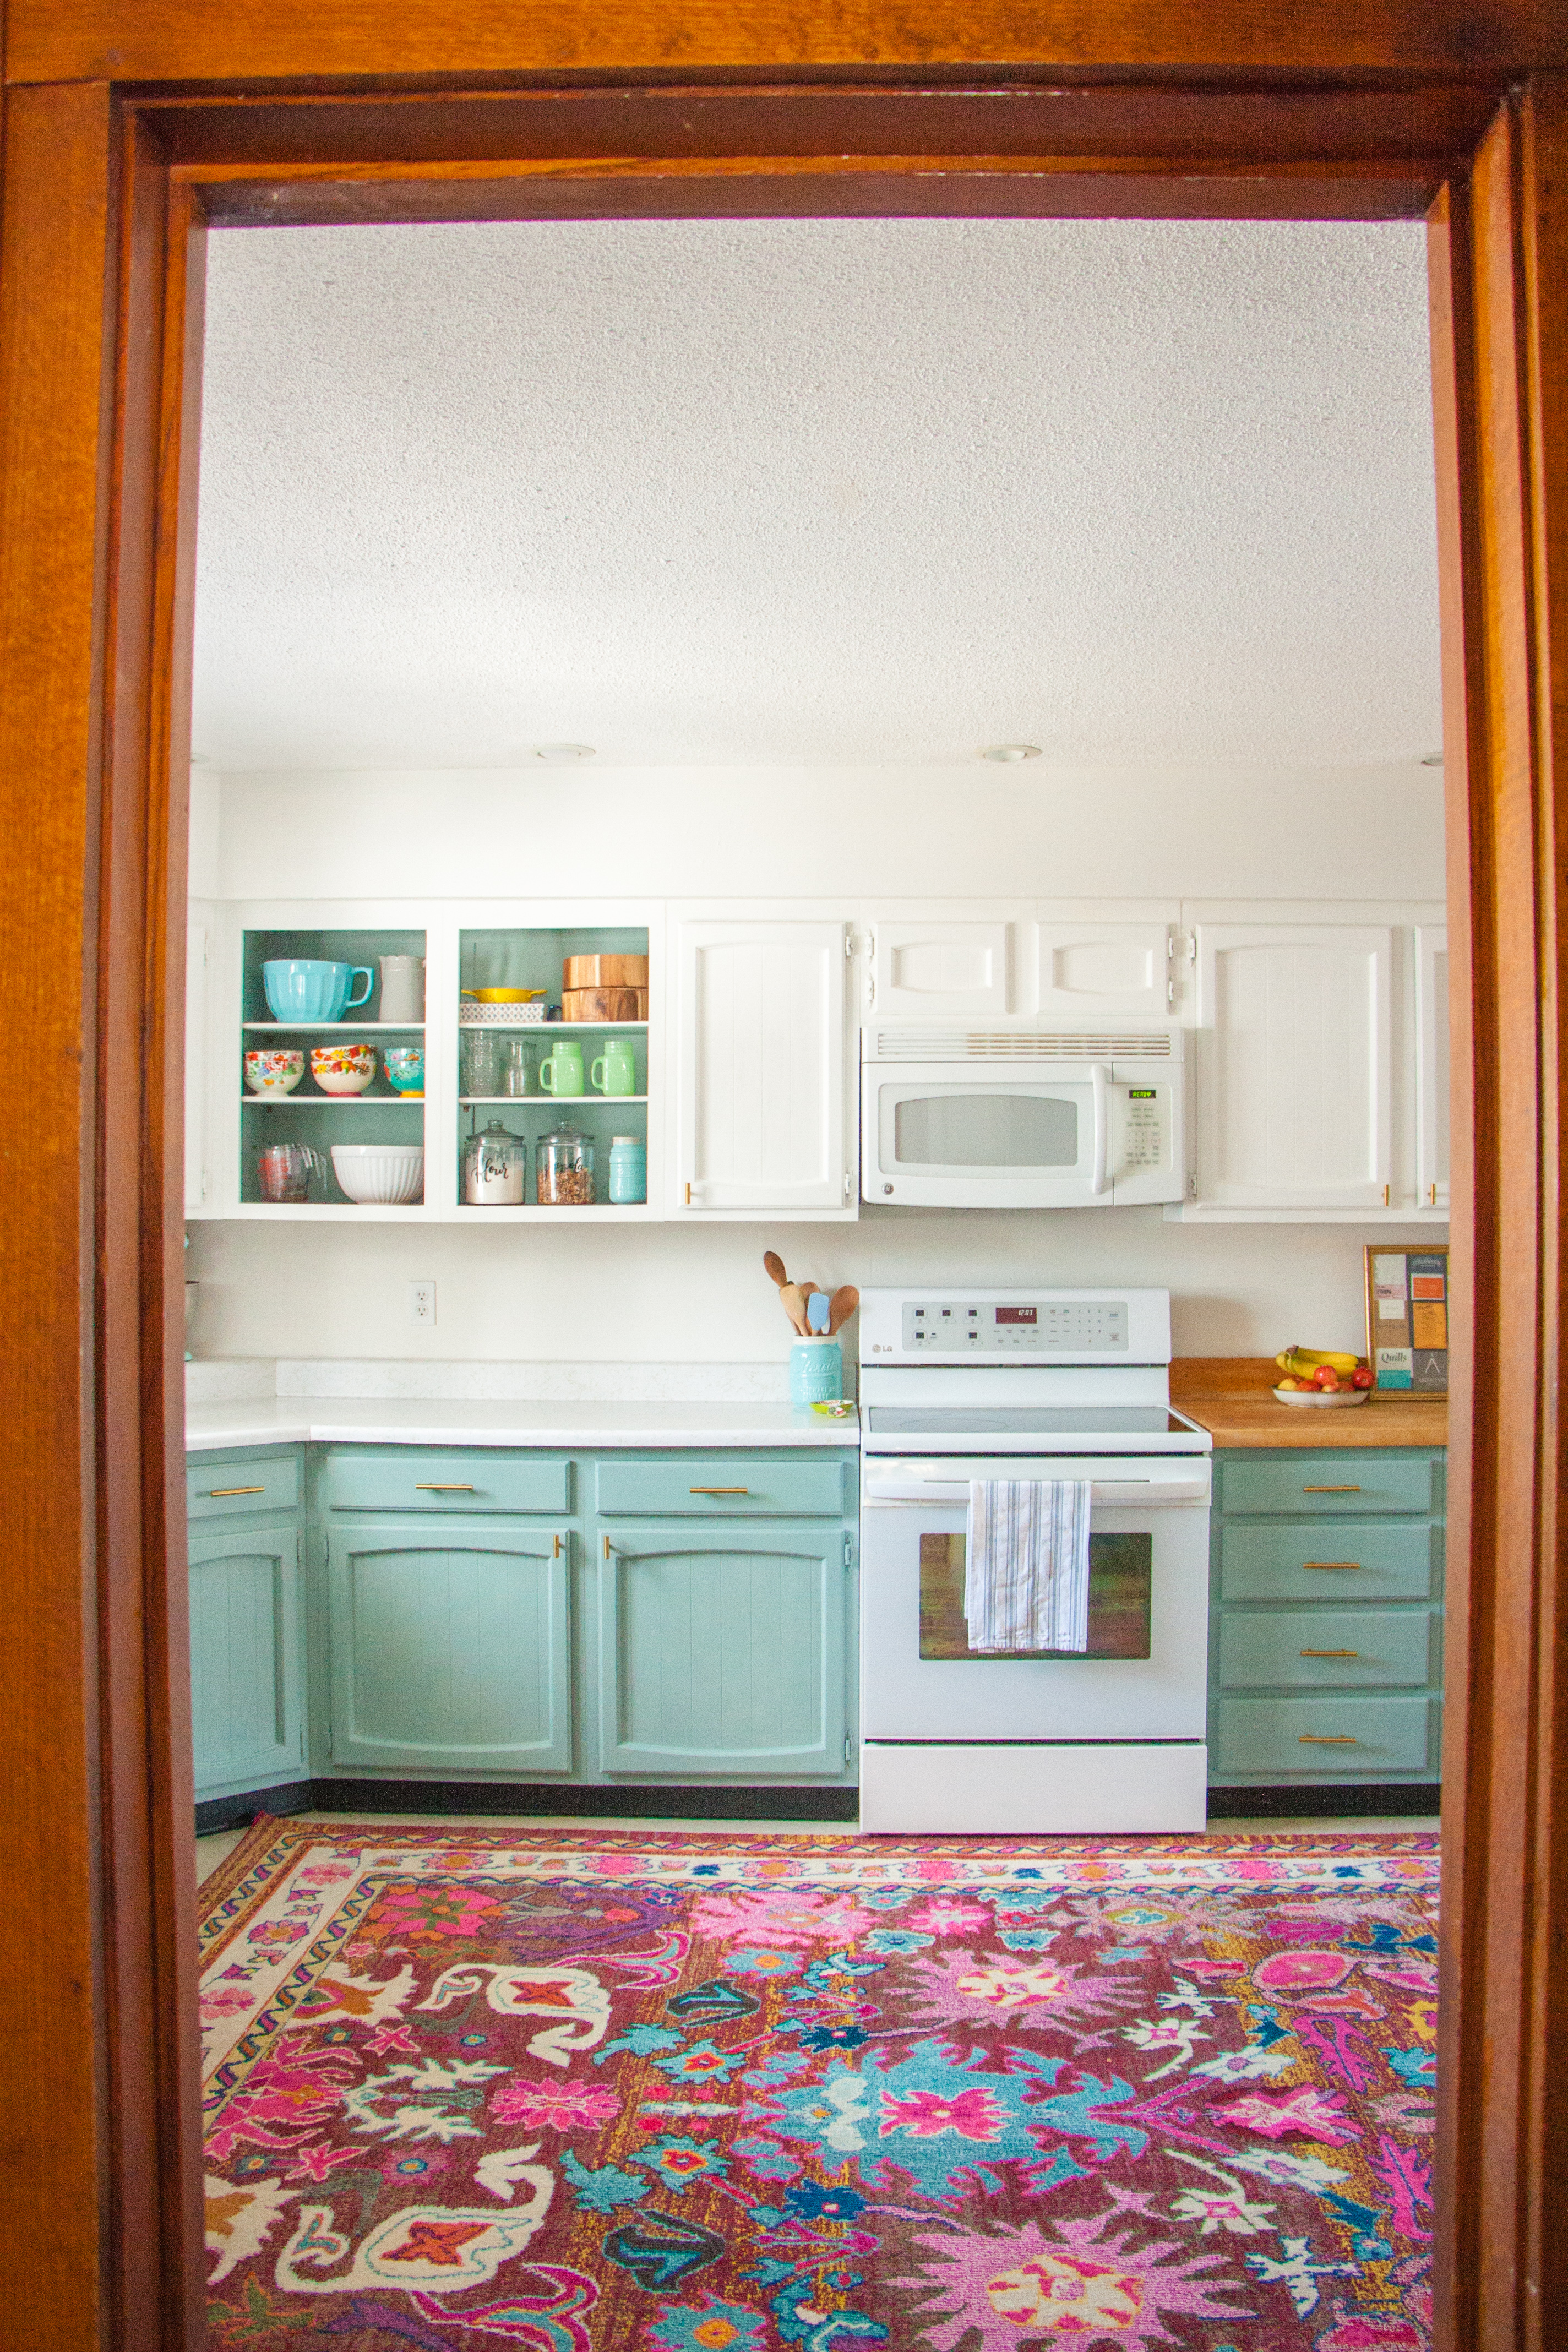
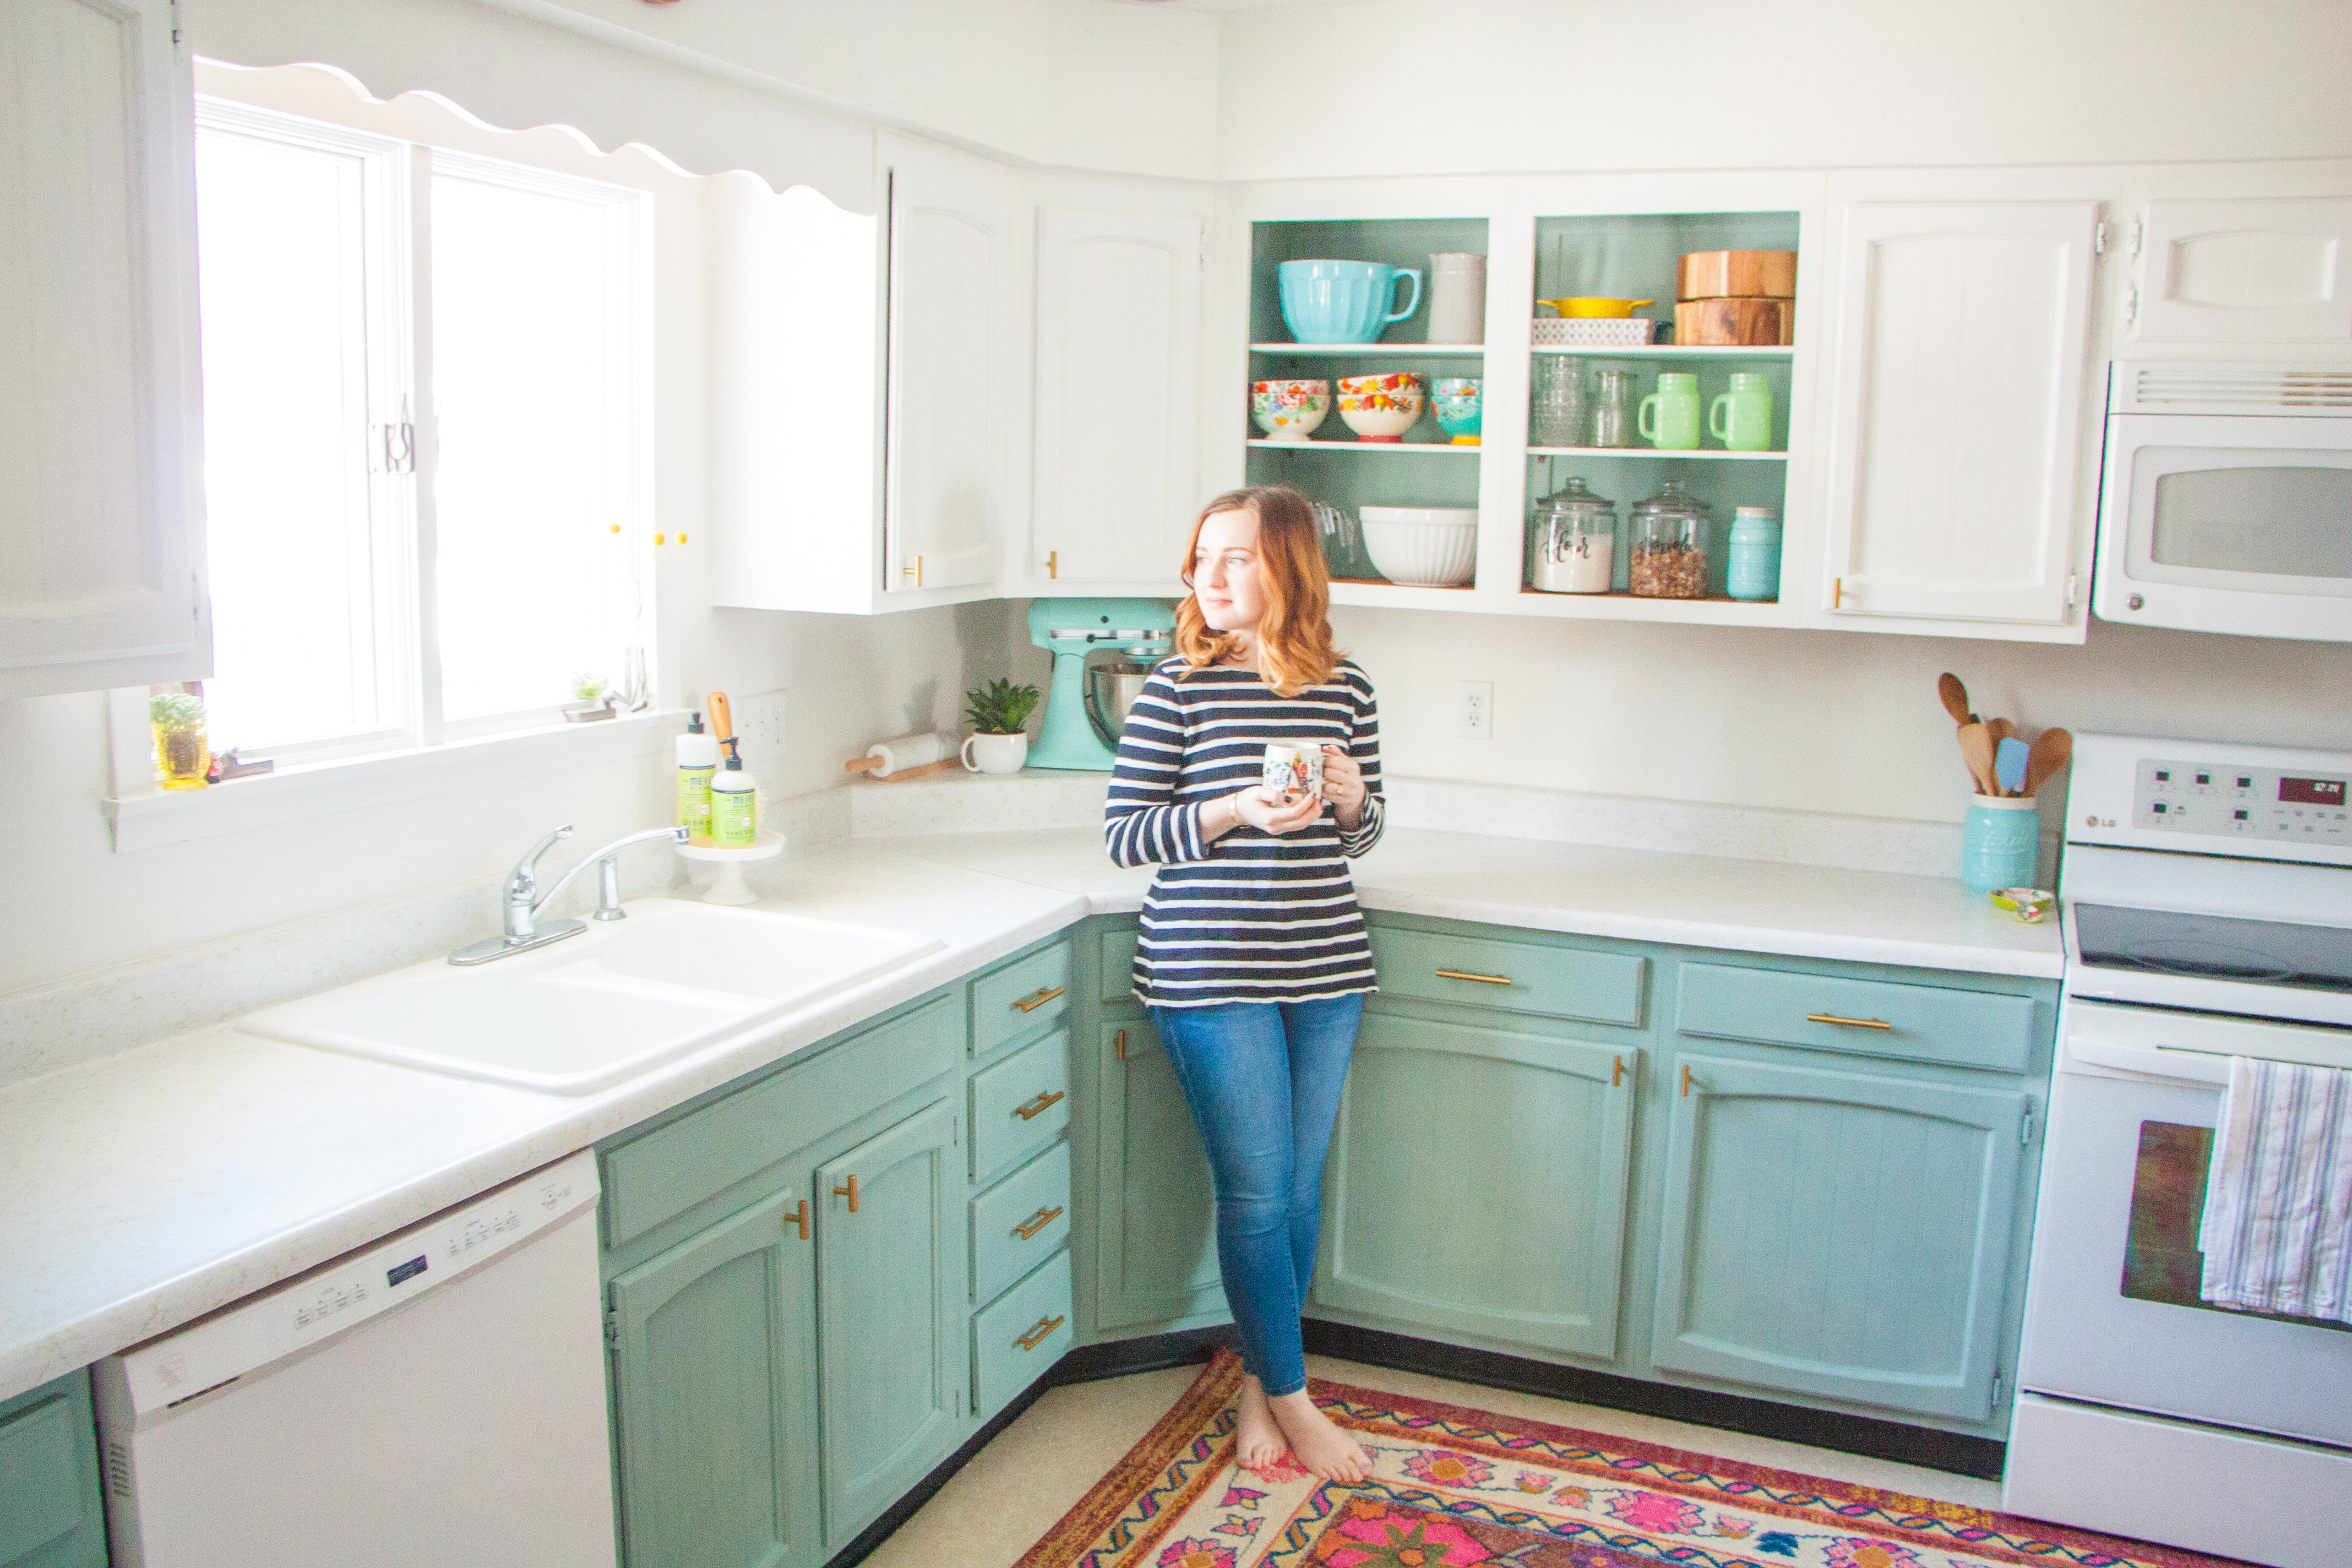
Now that I’ve exhausted the topic of cabinet painting, here is the finished product!


In the “before” photos, every light in the kitchen was on and it still felt like a cave. The “after” photos were taken around the same time of day with NO lights turned on! It is kind of unbelievable what a difference some paint can make in a room. In addition to painting the cupboards, I painted the window frame above the sink, the trim, the backsplash, the soffit, and all of the walls. It felt silly to paint white over white, but the fresh, bright new paint made a huge difference in the brightness of the room.
We considered replacing the floors with a wood-like vinyl, but the $350 price tag was too steep for a cosmetic change. Our floors are in fine condition, so we opted for a giant, colorful rug instead. It adds major coziness to the kitchen.
(A peek at the beautiful wood trim on the outside of the kitchen. I didn’t paint any original wood. Everything in the kitchen was from the 1980’s remodel.)

(I was tempted to take everything off the sides and top of the fridge so that it looked cleaner and more magazine-esque. But I didn’t, because my house has stuff in it. I have stuff on my fridge, and I’m okay with that. I wish more Pinterest posts showed real kitchens with real stuff in them! So there is our stuff. Magnetic poetry, photos, and a card from my grandma.)
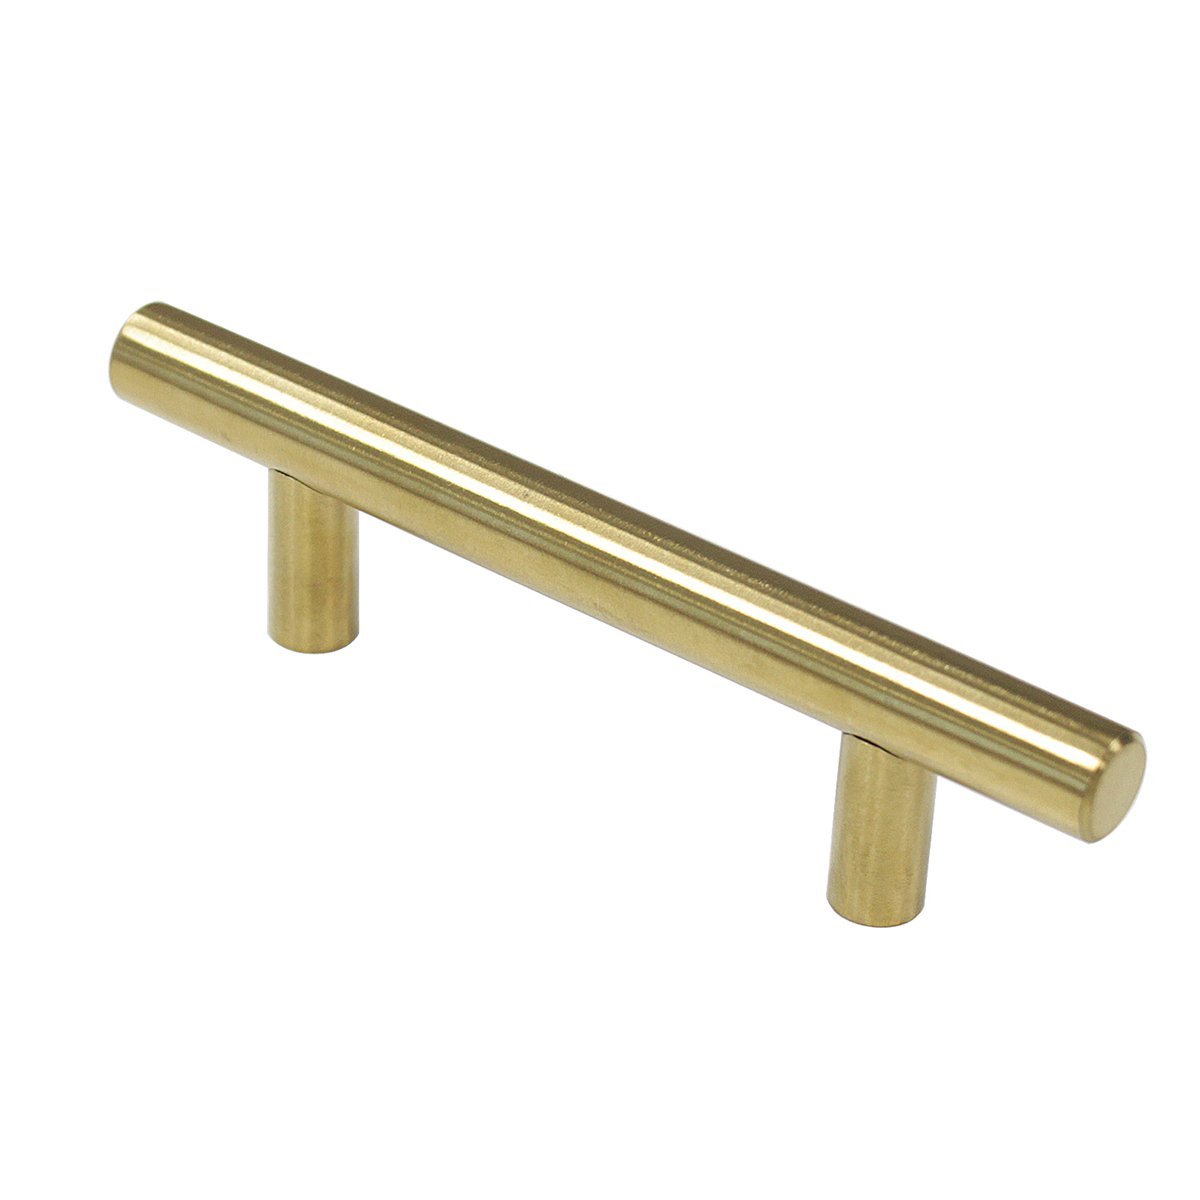
The other major update we made was the cupboard hardware. The doors used to have large handles in the very middle of the panel. They reminded me of door knockers. The previous family must have taken them off (good call) because there were only holes in each door, and one handle on the laundry chute. The drawers had old handles that weren’t in great condition. I removed all of the hardware and filled the holes on the doors with wood filler before painting. The hardware I wanted would have cost a small fortune (about $10 a handle… not joking). After months of searching, I found almost exactly the same style on Amazon for about $1 a piece. I used a $50 Amazon gift card from our wedding, so the total for 20 knobs and 20 handles came out to $3.53. I was so happy about that!
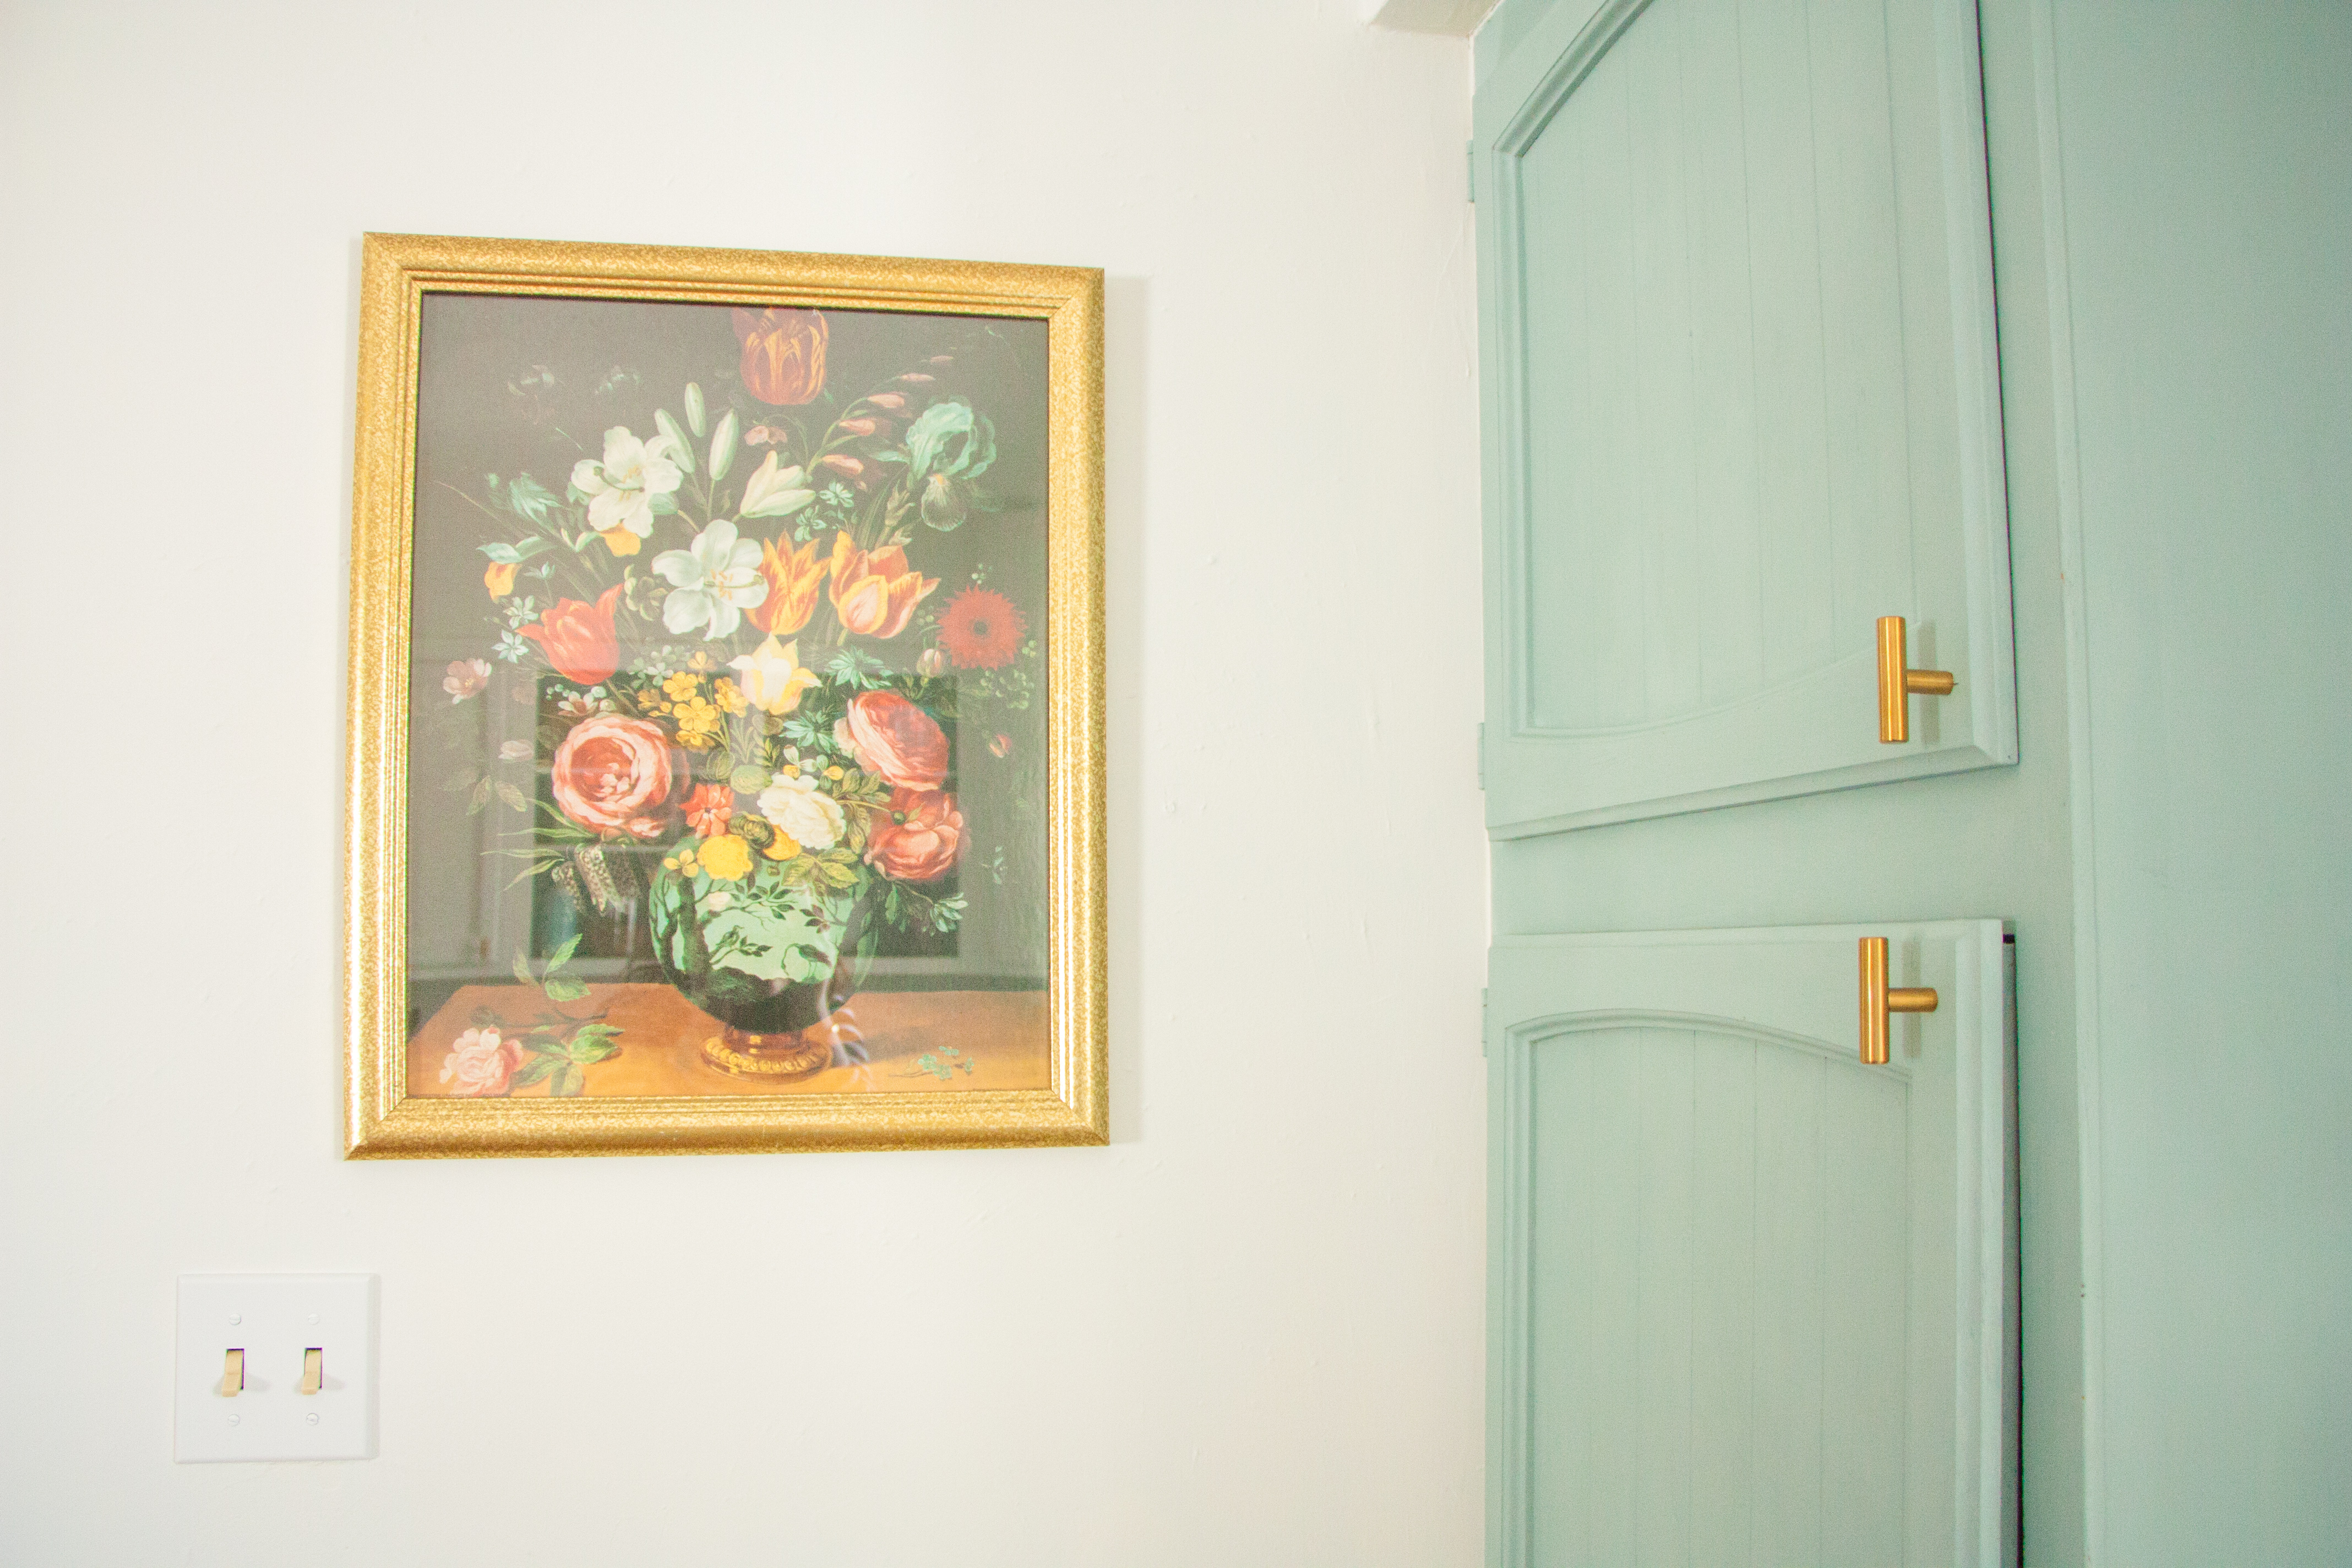
When making design decisions for the kitchen, I initially leaned towards a minimal, modern vibe with all neutral elements. I was thinking of white uppers and black lowers, with modern accents and not much color. But as I browsed Pinterest for inspiration, I undoubtedly gravitated towards bright kitchens with a lot of color- specifically that perfect shade of blue green. I can’t deny it, it is and will always be my favorite color. I decided to be true to my own style instead of what is currently trendy, and I am so glad that I did.
I wholeheartedly believe that nothing you truly love will ever go out of style.
So when you are designing a new space, keep in mind your personal preferences and tastes instead of relying on Pinterest to tell you what’s trendy. Look to the rest of your home, and even your wardrobe for inspiration. Some people say that hardware is the jewelry of the kitchen, which makes sense to me because all of my jewelry is simple and gold! It would make sense that I’m drawn to simple gold hardware!

(I’m jumping forward now from 2016 to 2020 through the power of technology. Welcome to the future. I still adore my kitchen. Here are a few updated photos of the kitchen after installing subway tile, refining my personal style 😉 , and switching out the 9×12 behemoth of a rug for something smaller. But not because we spilled anything on it- don’t worry- the rug is better than ever. I just wanted something antique with a little more soul.)

I repurposed this Antique Table as a Kitchen Island, and it adds so much warmth and charm to my kitchen. (I also seriously upped my photography skills, which is fun for me to see!)

I gave our sad pantry a Low Budget Pantry Makeover with Leftover Paint and $20 of Organization Supplies.
Want more details about the cost breakdown, material sources, and the process I used to paint the cabinets? Check out my $200 Kitchen Update: Sources and Process post. And DON’T FORGET to check out my Chalk Painted Kitchen Cabinets Two Years Later update. I answer your most frequently asked questions since this original post was published four years ago, and share all of my best tips and tricks for tackling a kitchen project of your own!
Be sure to follow Holland Avenue Home on Instagram for daily snapshots of life and encouragement towards thoughtful homemaking. Want to join the Holland Avenue Home community? Sign up for my Newsletter, then hop over to Facebook and join the Thoughtful Homemakers group for project inspiration, an encouraging community, and behind the scenes of Holland Avenue!
With love,

Don’t forget to save this post on Pinterest!
Want to see some more affordable transformations?
Check out my Basement Family Game Room, One Room Challenge High Style, Low Budget Sunroom , and Creating a Cozy Home Library for more inspiration!
Sources:
Hardware. from Amazon

Rug. from Wayfair

Duck Egg Blue Chalk Paint from The Purple Painted Lady
Pure White Chalk Paint from The Purple Painted Lady

Annie Sloan Clear Wax from The Purple Painted Lady
Ultimate Waxing Brush from The Purple Painted Lady


Leave a Reply